With the remarkable evolution of digital technology, business organizations commencing operation in the online market is proliferating day by day. Compared to building a brick and mortar store, setting up an online store and reaching out to target customers is easier in this digital age. Ecommerce is now considered one of the indispensable parts of the worldwide retail framework.
Like several other industries, the retail industry has also undergone a significant transformation due to the advent and astounding popularity of the internet. In a rapidly digitizing world, the number of people inclining towards online shopping is increasing exponentially.
Nearly 1.92 billion people all over the world made purchases of products and services online in 2019. It is estimated that in the coming times, the ecommerce industry is going to surpass many popular industries successfully if the current growth rate gets accelerated further.
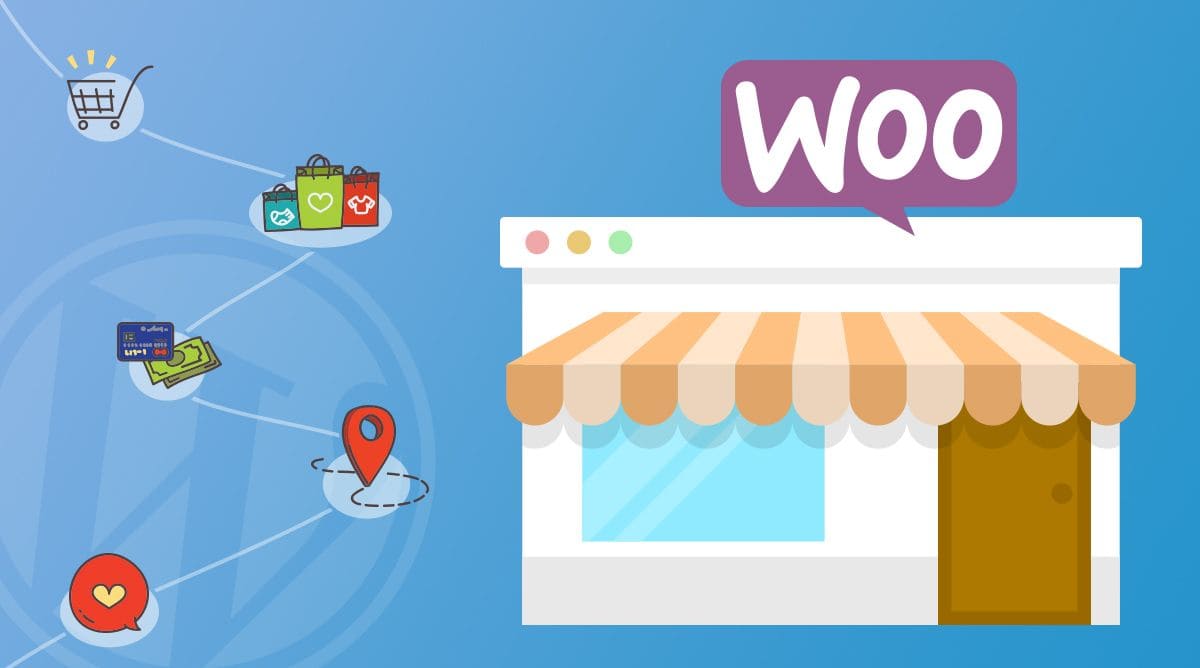
What Is WooCommerce?
Despite the availability of popular online store creation platforms such as BigCommerce and Shopify, a majority of individuals with the intent to set up an ecommerce store prefer relying on WooCommerce. At present, it is considered one of the most reliable, affordable, and worthwhile online store building solutions.
WooCommerce no like the other ecommerce store builders because it doesn’t charge a recurring fee or additional expenses such as the charge for transaction every time when a consumer buys a product from your online store. There is no need to undergo any hassle to integrate complex online shopping cart software into your online store if you choose WooCommerce.
Integrating WooCommerce into your website is extremely easy and one can even configure it in a very simplistic way, even without any knowledge of coding and hiring a professional developer. If you intend to choose WooCommerce to set up an online store and start selling products or services in the digital space, you should know the easy-to-follow steps.
Here are the five important steps for creating an online store using the WooCommerce platform:
STEP 1: Buying a Domain Name and Web Hosting Account
To successfully set up an ecommerce store, you need to have a domain name and set up a web hosting account. The address of a website on the internet where browsers can access the website is known as a domain name. Internet users type the domain name in the browser they use to visit any website.
The storage location on the internet that consists of all files and resources of a website is known as web hosting. When internet browsers enter the domain name of a specific website into their web browser to access the site, prompt delivery of the website’s files and making the website available for users to view online is done by the hosting server. Buying these two essential services – a domain name and web hosting account is imperative to create an online store or any sort of website nowadays.
Related : Learn How To Choose The Right Web Hosting Plan For Your Website
STEP 2: Install & Configure WooCommerce Settings
You have to install the WooCommerce platform and integrate it into your WordPress site. You will find the page where you can configure the settings in WooCommerce once you activate it on your website. To begin the WooCommerce setup process, you need to start adding certain important pages – Shop, Cart, Checkout, and My Account. To proceed to the next step, you need to click on Continue. If you opt for WooCommerce hosting, you will get WooCommerce already installed on your hosting account.
What you need to do now is add certain vital information regarding your store that includes – address, currency, unit of each product and product dimension unit. Hit ‘Continue’ only after filling out all these details properly.
WooCommerce will then ask you to select and include your preferences related to product shipping and tax.
In the final step, you will have to choose the multiple ways in which you will allow your customers to make payments for purchased goods. Some online payment methods WooCommerce supports include Stripe (all major credit and debit cards), PayPal, Bank Transfer and Check, and of course, it supports the simple offline payment method – Cash on delivery.
You are done with WooCommerce set up once you complete configuring checkout options.
Related : 12 Tactics You Shouldn’t Miss To Check For Securing Your WooCommerce Store
STEP 3: Start Adding Your Products To The WooCommerce Store
Upon the successful completion of the WooCommerce setup process, you can begin adding your products to your online store. It is very simple to add products to your WooCommerce store because all you need to do is add a title and suitable description for every product you want to add.
You need to configure the settings for the remaining products after you are done adding the product content. Adding regular and sale price of every product, setting up inventory, shipping is essential along with selecting linked products, attributes and advanced.
After you are done adding a comment button right below the product description section, navigating to the right column can help you set up product categories, tags and images of each product. Clicking on “Add new category” will help you add a new category. Even below tags, you will find an option “product image,” it will allow you to add an image of every product that you want to add to your online store.
STEP 4: Improve Your Store’s Appearance By Customizing The Theme
To make your WooCommerce store stand out and create a unique appeal, choosing a specialized ecommerce-oriented WordPress theme compatible with WooCommerce is imperative. Opting for any random theme won’t help you improve the appearance of your store. There is an availability of quite a few captivating WooCommerce themes that can help you make your store look eye-catching.
Instead of stuffing too many things, what you should try to do is use a simple yet elegant layout that complements your online store perfectly. Customizing the theme settings can help you transform the appearance of your online store whenever you want.
STEP 5: Start Tracking Your Online Sales To Obtain Insights For Business Growth
Once you are done with the setting up procedure of your online store, you can commence operation in the digital space. Gaining insights consistently will help you understand your store’s performance and improve sales.
Remember, to gain an edge over your potential competitors; you need to track your online sales, know the highest-selling products on your store, conversion rate, total monthly revenue, etc. Keeping track of these vital business aspects as they can help you plan result-driven strategies and successfully grow your online store.
Also, the availability of these important stats can help you gain an in-depth understanding of your consumers’ demographics and shopping behaviors. Making informed business decisions and building successful marketing campaigns using crucial data becomes a lot easier.
Related : 6 Tips To Make Money Via WooCommerce Sale
Over to you…
Undoubtedly, WooCommerce is an ideal solution when it comes to setting up an online store. Optimizing your store in just the right way and enhancing its appearance is only possible when you choose a compelling and conversion-friendly theme and some great extensions.
You won’t have to look back anymore if you set up your WooCommerce store diligently following the five important steps mentioned above. Doing whatever is needed to do in the correct way will certainly help you gain an edge over your competitors, and you will be able to grow your online store successfully in a short span of time.