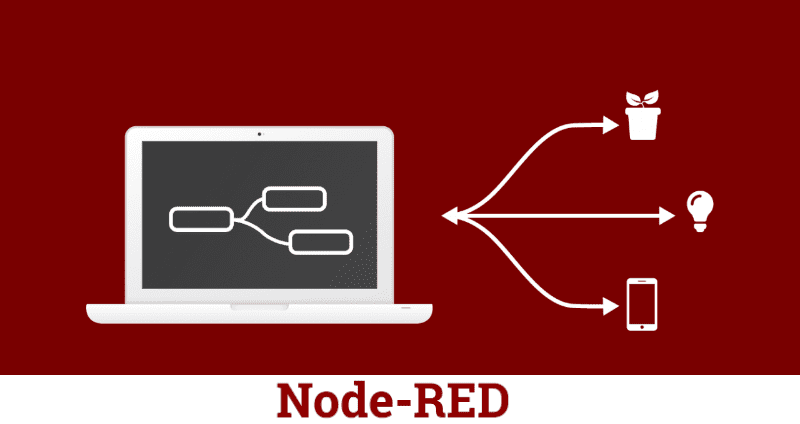
Node-Red is a development tool created by IBM for the interaction of hardware devices, APIs, and online services to simplify the creation of embedded systems called IoT (Internet of Things). It’s especially popular in Node-RED IoT projects for its visual, low-code approach.
Node-Red brings us a browser access flow editor containing several nodes by default mostly done in JavaScript and NodeJS which allows us to create well-advanced schedules in an intuitive way so much that it is not even necessary to be an expert programmer to develop on it. This is part of what makes Node-RED for beginners such an appealing option. All the schedules can be divided into flows, which is a core concept in Node-RED flow-based programming for better visualization. These Flows are stored in JSON, thus simplifying the sharing of the “code”.
Table Of Content
In 2016, IBM contributed Node-RED as an open-source project to the JS Foundation— establishing its role in the growing ecosystem of IoT and automation tools.
Installing Node Network
First, to perform a proper Node-RED installation, one must remember that it is an extension of NodeJS, so we must first install NodeJS on Windows. Just install one of these .exe files, depending on the architecture of your processor.
- x86
- x64
In Linux (Tested: Ubuntu / Debian) just open the terminal (Shortcuts: Ctrl + alt + T) and enter the following commands
sudo apt-get update
sudo apt-get upgrade
sudo apt-get install npm
sudo apt-get update
Note: Always use the sudo command to have administrator authorization.
After that, open the “cmd” in windows because all the next steps are passed in command lines, for those who are in Linux, the terminal in this step should already be open.
Let’s install the Network Node
Enter the next commands taking care to wait for the installations in due time. In this stage, the only difference that will occur between Linux and Windows is that for Linux, all of them should have the command sudo, for authorization of the administrator, and in windows just serve the command directly.
Note: To assist in distinguishing the codes, the sudo command will be highlighted.
sudo npm install -g --unsafe-perm node-red
sudo npm install -g [email protected]
sudo npm install -g grunt-cli
To the terminal, these commands will be available for access, to start it just call the command.
Note: In Linux a few times after installation, it will give an error saying that it was not possible to find the directory in Node, ‘/ usr / bin / env: node: No such file or directory’ to correct this error simply follow the steps below in terminal.
sudo apt-get update
sudo apt-get install aptitude
aptitude install nodejs-legacy
When you finish the installation, call again the node-red command in the terminal, and the server will start normally, to access it simply open your browser and type:
localhost: 1880
This launches the Node-RED dashboard, where you can begin visually building your application logic.
Final considerations
The Node-Red is a powerful tool that is on the rise and can be used soon on several fronts of technology, for its power of simplification, even schools will begin to replace their old methods of teaching programming and started to use it. So whoever learns the tool and the sooner and knows how to divide their knowledge will come out the front.
Another thing—Node-RED is being used a lot in cloud computing, but that can come with high costs. For small projects, like automating your home, services like Azure or Bluemix might be more than you actually need. That’s where Node-RED IoT shines. It allows you to use lightweight, affordable alternatives like Raspberry Pi, Intel Edison, or Galileo—devices where Node-RED use cases are becoming increasingly common.
Whether you’re following a Node-RED tutorial or experimenting on your own, just install it and start playing.
FAQs
Q1. What is a “flow” in Node-RED?
Think of a flow like a train route. In Node-RED, you’re not writing code line by line—you’re connecting blocks visually. Each step in your automation is represented by a node, and the path between them is your flow. That’s the fundamental idea behind Node-RED flow-based programming—you’re literally drawing out how data should move and what should happen along the way.
Q2. What is a “node” in Node-RED?
A node is a single building block in your project. One might read data, another might process it, and a third might send an alert. In the Node-RED dashboard, you simply drag these nodes and connect them like puzzle pieces. It’s a hands-on way to build logic, no coding degree needed.
Q3. Is Node-RED suitable for beginners?
Yes—and not in the “marketing buzzword” way. We are talking about actual beginners who’ve never touched a line of code. Node-RED for beginners means dragging stuff around on a screen, connecting boxes, and hitting deploy. You’re not buried in code—you’re just building things that work.
Q4. What kind of integrations does Node-RED support?
Honestly, that’s one of its best features. From smart bulbs and temperature sensors to APIs, databases, and cloud platforms, Node-RED connects to almost anything. Wondering what is Node-RED good at? It’s built for connecting random stuff and making it play nice—without needing to write code for every little thing.