With increasingly complex AI workflows, integrating components like code-heavy LLM servers, APIs, vector databases, and automation pipelines is challenging. Developers now turn to LangFlow, a graphical user interface, for help.
LangFlow simplifies AI orchestration with drag-and-drop workflow building on a graphical canvas, removing the need for manual coding.
In addition, when installing LangFlow, the most effective means of doing so is through the use of a Docker Compose-based solution.
By following this complete MilesWeb tech guide, you can successfully install and configure LangFlow on your server using Docker Compose with PostgreSQL and secure HTTPS access. So without any further delay let’s begin building your own AI workflow, RAG pipeline, and other automation projects.
Similar Read: N8n vs Langflow: The Best AI Workflow Tool
Overview — LangFlow Docker Deployment
- 1 Easy to self-host
- 2 Independently isolated containers
- 3 Cleaner upgrade process
- 4 PostgreSQL solution for data management
- 5 More flexible scalability
- 6 Straightforward HTTPS implementation
- 7 Shortened recovery time and increased portability
💡
Implementing a LangFlow solution with Docker offers you the following advantages.
Table Of Content
What is LangFlow?
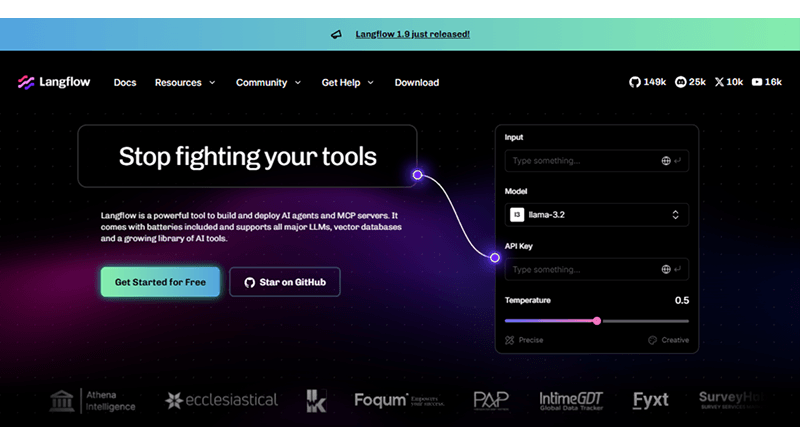
LangFlow is a free, open-source, graphic-based builder for AI workflows to simplify the creation and management of LLM-based applications. LangFlow allows users to create workflows using a drag-and-drop canvas rather than coding in the backend using programming languages such as JavaScript, Python, Java, etc. It also visually links LLMs, APIs (REST and gRPC), vector databases, memory systems, prompts, and automation into a working workflow that can be used as a functional pipeline.
To put it plainly, it is like a visual control panel for AI applications.
How Does LangFlow Benefit You? Top Examples
- 🧪 Prototyping AI
- 📚 Creating RAG workstreams
- 💬 Creating chatbot workflows
- 🤖 Orchestrating agents
- 🔌 Integrating APIs
- 💻 Experimenting locally with AI
- ⚡ Building AI applications with little to no code
The flexibility of LangFlow setups based on Docker is one of the primary reasons for their rapid popularity. LangFlow can interface with most of the leading AI models on the market today, including but not limited to:
- OpenAI GPT-4
- Anthropic Claude
- Gemini from Google
- Local server models utilizing Ollama
The new version of LangFlow has numerous modernizations and features compared to previous releases. These include, but are not limited to, the following:
- Support for MCP (Model Context Protocol)
- Dark mode UI
- Support for knowledge base ingestion
- Improved component organization
- Improved workflow management capabilities
With the increased modernizations, users are opting to install LangFlow with Docker Compose rather than manual LangFlow installation. With the utilization of Docker Compose, deployments are simplified, services are isolated from one another, and upgrades can now be completed in production environments more easily than earlier.
How to Set-Up LangFlow with Docker Compose?
Using Docker Compose to deploy LangFlow is one of the easiest ways. It handles the installation in a reliable way with reduced manual dependency setup. With Docker, you can deploy LangFlow, PostgreSQL, networks, and volumes repeatedly for each deployment without any additional efforts, codes, or setups.
The top benefits of this setup are that it’s beginner-friendly, easier to maintain, and provides better long-term workability for LangFlow.
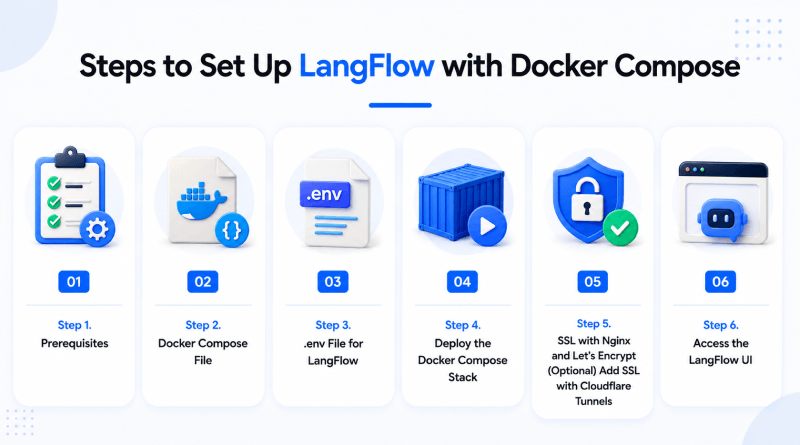
1. Prerequisites
Before you start with the LangFlow installation, ensure you have all the basic management setup. This way, you get to experience a smooth setup without any hindrances.
The following are the prerequisites for installing Docker Compose:
- You must have Docker (Docker Compose) installed on your server/VPS.
- You need a supported version of Linux (preferably Ubuntu 22.04).
- You need at least 2 CPU cores.
- You need at least 4 GB of RAM.
- You need to have registered a domain name if you want access and use HTTPS.
To verify that you have correctly installed Docker, you can use the following commands:
- docker --version
- docker-compose version
If you have not already installed Docker, please visit:
- Docker Official Download Page.
2. Docker Compose File
The next step is to create a new project directory. Create a new directory called langflow-docker using the below commands:
mkdir langflow-docker
cd langflow-docker
Now, you’re about to create a new docker-compose.yml file. The following is the code for it:
services:
Postgres:
image: postgres:16
container_name: langflow-postgres
restart: unless-stopped
environment:
POSTGRES_USER=langflow
POSTGRES_PASSWORD=strongpassword
POSTGRES_DB=langflow
volumes:
- postgres_data:/var/lib/postgresql/data
langflow:
image: langflowai/langflow:latest
container_name=langflow
restart: unless-stopped
ports:
- 7860:7860
environment:
LANGFLOW_DATABASE_URL=postgresql://langflow:strongpassword@postgres:5432/langflow
depends_on:
- postgres
volumes:
postgres_data:
The above setup should deploy:
- LangFlow container
- PostgresSQL database
- Persistent storage volumes
- Internal Docker networking
For better reliability and scalability in a production environment, it is recommended that you utilize PostgreSQL rather than SQLite.
3. .env File for LangFlow
Next, you’ll have to create a .env file within the same directory. Use the commands below to execute smooth creation:
POSTGRES_USER=langflow
POSTGRES_PASSWORD=strongpassword
POSTGRES_DB=langflow
The .env file serves to keep sensitive values separate from the main Docker Compose configuration. Thus, it makes the LangFlow Docker installation cleaner and easier to manage in the future.
4. Deploy the Docker Compose Stack
Once the .env file is ready, you need to start the containers. For this, execute the following command:
docker-compose up -dThe Docker will do the following:
- Pull the latest version of the LangFlow image.
- Pull the latest version of PostgreSQL.
- Generate the required containers.
- Configure Docker networking
- Automatically start all of the services
You can check the current status of each of the containers using the command:
docker psAssuming everything has been successfully built and is running as expected, you can access LangFlow now at:
http://YOUR_SERVER_IP:7860
5. SSL with Nginx and Let’s Encrypt
It’s strongly advised to run LangFlow securely using SSL if you expose your server publicly. Securing your server helps protect all login sessions created, allows calls between your system and an API, and helps to keep workflow data secure while also suppressing any browser security warnings.
The first thing to do is install Nginx and Certbot. Utilize the below codes to install them:
sudo apt update
sudo apt install nginx certbot python3-certbot-nginx -y
Next, create a new configuration file for Nginx, using:
sudo nano /etc/nginx/sites-available/langflowThen, you have to add in the following configuration:
server {
server_name yourdomain.com;
location / {
proxy_pass http://127.0.0.1:7860;
proxy_set_header Host $http_host;
proxy_set_header X-Real-IP $remote_addr;
proxy_set_header X-Forwarded-For $proxy_add_x_forwarded_for;
}
}
Next, enable your configuration, using the following codes:
sudo ln -s /etc/nginx/sites-available/langflow /etc/nginx/sites-enabled/
sudo nginx -t
sudo systemctl restart nginx
After that, you need to run the Let’s Encrypt Certbot to create your SSL certificates:
sudo certbot --nginx -d yourdomain.comAfter the Certbot process completes successfully, you can now access your LangFlow deployment using the following URL:
- https://yourdomain.com
– Add SSL with Cloudflare Tunnels (Alternative)
If your aim is not to expose ports to everyone on the Internet or you do not want to manually configure a reverse proxy, then the Cloudflare Tunnel solves this problem without effort. The tunnel provides a safe way to create a repipe from your server to Cloudflare’s network so that you can use LangFlow over Cloudflare’s network without opening up ports such as 80 and 443 on your firewall.
Here’s how you do it:
curl -L https://github.com/cloudflare/cloudflared/releases/latest/download/cloudflared-linux-amd64.deb -o cloudflared.deb
sudo dpkg -i cloudflared.deb
Authenticate Cloudflare:
cloudflared tunnel loginCreate a tunnel:
cloudflared tunnel create langflow 1. Install Cloudflare Tunnel
2. Route traffic to LangFlow (which is running on port 7860).
Cloudflare Tunnel is a popular solution for use in homelabs, private AI environments, and VPSs because it has reduced the complexity of configuring HTTPS.
6. Access the LangFlow UI
Once you’ve completed the deployment of your application, go to http://YOUR_SERVER_IP:7860 (if you do not have SSL setup)
or
https://yourdomain.com (if you do have SSL setup) in a web browser.
The LangFlow dashboard as well as the visual workflow canvas are now available to view.
In LangFlow, you can:
- Develop AI-based workflows
- Interface with GPT-4o, Claude, Gemini, and / or Ollama AI models
- Create RAG pipelines
- Integrate APIs and Vector Databases
- Use RAG and other local automation tools.
Your Langflow Docker instance is now deployed, including PostgreSQL, utilizing secured HTTPS integrity.
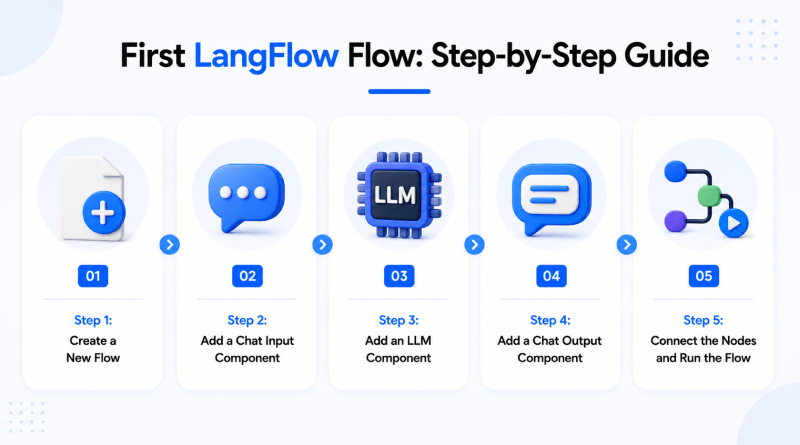
How to Build Your First LangFlow Flow?
With your LangFlow Docker installation up and running, you can now start to create your first AI-driven workflow (for example, a chatbot).
LangFlow provides the unique flexibility of visually designing your own flows by fitting together different pieces of code and dragging them onto a visual canvas instead of writing complicated back-end logic.
In this example, we are going to build a simple chatbot flow using:
- Chat Input
- LLM Model (Language Model)
- Chat Output
This flow can be used as a starting point to build more complex AI workflows like RAG pipelines, AI agents, automation systems, or knowledge assistants.
Step 1: Create a New Flow
After opening LangFlow UI, click on:
New FlowThis creates an empty visual canvas on which to design a workflow with your components.
Step 2: Add a Chat Input Component
From the left sidebar of the LangFlow UI, search for:
Chat InputDrag your component onto the canvas. This component is used to accept user input and send prompts into your workflow.
Step 3: Add an LLM Component
Now you are adding a component representing your AI model.
You can use anything from the following:
- OpenAI
- Ollama
- Claude
- Gemini
- Another supported provider
For instance, with OpenAI, you drag the OpenAI component to your canvas and input your API key. Similarly, if you only want to utilize fully local AI, you can create your own Ollama instance running locally as well. The flexibility offered by LangFlow is one of the major reasons it’s becoming so popular for cloud users and self-hosted users alike.
Step 4: Add a Chat Output Component
Next, you search for:
Chat OutputYou drag that onto your canvas. This component outputs your AI-generated response back to the user.
Step 5: Connect the Nodes and Run the Flow
Next, to connect your components together, they will be in
Chat Input → LLM → Chat Output
After everything is now connected, click the following:
RunYou have just created your first active workflow in LangFlow. As long as you have typed something into the chat input field, then the connected model will generate an output directly in your workflow interface.
Example of a Simple LangFlow Workflow
A basic completed flow usually looks like this:
Input → Knowledge Source (Optional) → LLM/Agent → Processing Components → Output
🚀 Example LangFlow Workflow
📝 User enters a question
↓
📄 Relevant documents are retrieved from a vector database (RAG)
↓
🤖 An LLM such as OpenAI, Ollama, or another model processes the query
↓
🔍 Additional tools or APIs enrich the response
↓
📤 The final answer is displayed to the user
Another great new functionality of the latest version of LangFlow is that it is portable! Flows can be exported as JSON files for importing at any future date into another LangFlow instance. It enables you to collaborate and back up the workflows you create and share them between teams and environments easily.
The next step from here is to explore the capabilities provided by LangFlow:
- Explore the LangFlow components library.
- Connect to vector databases such as Qdrant or Chroma.
- Create RAG pipelines that are aware of the documents they are operating on.
- Integrate with APIs and automation tools.
- Experiment with local AI workflows.
- Export & reuse your flows in multiple environments.
You can learn about advanced configuration and getting updates and see the official documentation for LangFlow at LangFlow Official Docs.
Bottom Line
Congratulations!
Your LangFlow installation is fully set up with Docker Compose, PostgreSQL, and secure HTTPS connections. You now have an easy way to create and manage a large variety of complex workflows by using a visual interface instead of having to manually manage the complexity of integrating AI systems with each other.
This flexibility to create, modify, and deploy complex workflows is one of the key strengths of LangFlow. You can connect to an OpenAI model, create a local deployment using Ollama software, build an AI agent, and develop a full RAG pipeline. This is made easy with the drag-and-drop functionality of the LangFlow platform.
As new features such as support for MCPs and improvements in managing workflows are added to the newest version of LangFlow, an increasing number of people are seeing that deploying LangFlow on top of Docker is one of the most effective ways to self-host the infrastructure needed to run modern AI systems.
FAQs
1. What are the minimum server requirements to run LangFlow with Docker?
To run LangFlow with Docker on a basic level, you generally require a minimum of 2 CPU cores and 4 GB of RAM with around 20 GB of available storage for small testing/working of workflows. If you are intending to work with larger-sized AI models, use vector databases, or have multiple users accessing LangFlow, then you must go for more specified resources. The more resources you have, the smoother the LangFlow deployment and performance you get.
2. Do I need to know programming to use LangFlow?
No, LangFlow’s main advantage is that you do not need programming skills to use this platform. LangFlow uses a visual drag-and-drop style workflow builder so users can create AI workflows without any extensive programming skills. However, some knowledge regarding APIs, prompts, and AI models is still useful when building complex or well-developed workflows.
3. Why does LangFlow take so long to start for the first time?
When you first set up LangFlow, Docker has to get all of the necessary components: downloading container images, installing required software packages, configuring the network, and setting up the database. All of these processes take several minutes, depending on your server speed and its internet connection. However, once everything is set, future starts should be quicker because the necessary components are already on your server/local machine, i.e., cached.
4. Should I use SQLite or PostgreSQL for LangFlow in Docker?
SQLite is fine to use for testing or small, personal projects. However, you should usually choose PostgreSQL for production LangFlow Docker installations. PostgreSQL provides better reliability, scalability, concurrency, and stability compared to SQLite over time.
5. What is the .env file and why is it important?
The .env file contains environment variables (like database connection strings, API keys, etc.) that are used by your LangFlow deployment when running in Docker. Having these values contained in a separate file improves the clarity and usability of your Docker Compose setup. It also keeps sensitive data more secure, without directly storing it in your configuration files.