Modern viewers are essentially chasing moving targets. You open one app to find a movie, only to realize it migrated to a different service last Tuesday. Ownership often feels like an illusion—you pay monthly for a digital library that can be revoked or censored at any moment. The cycle of rising subscription costs and disappearing content has turned viewers into digital tenants, wandering between platforms to find their favorite shows. It is time to stop chasing licenses and start building a permanent home for your data.
A self-hosted media server acts as your private broadcast station. Relying on cloud hosting helps you move past the bottlenecks of residential Wi-Fi and traditional local hardware. This setup provides a central vault where your files live, accessible from any device, anywhere, without a corporate gatekeeper tracking your watch history or interrupting your experience with ads.
Table Of Content
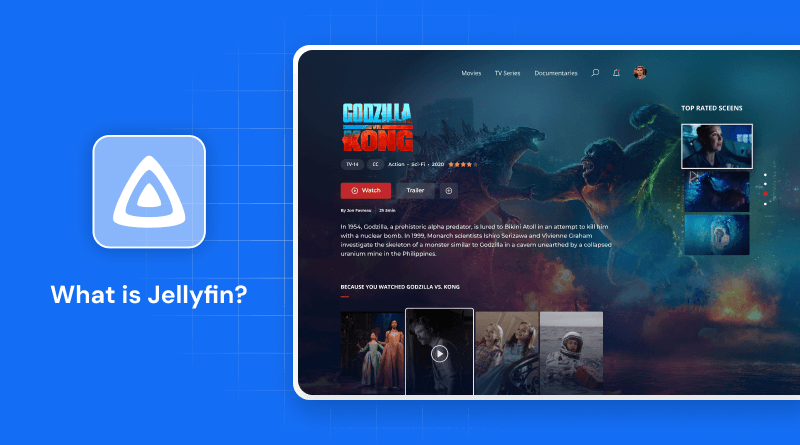
What is Jellyfin? — The Open-Source Media Server
The Jellyfin media server is a community-driven platform that organizes your raw video and audio files into a sleek, functional interface. Unlike earlier platforms, it does not lock features behind “Premium” tiers or require an internet connection to verify your account. It is a pure, transparent tool that scans your folders, retrieves metadata, and presents your collection with high-resolution posters and detailed cast info.
Whether you are managing a massive 4K movie collection, years of home videos, or a high-fidelity music library, this software handles it all. By utilizing high-performance web hosting, you can move past the limitations of local hardware and maintain a central vault for your files. It supports live TV, books, and photo galleries natively, cataloging every piece of your digital life. Because the code is public on Jellyfin GitHub, you can trust that there are no hidden trackers or backdoors—just your media, served exactly how you want it.
Competitive Analysis — Why Jellyfin Outperforms Plex and Emby
While many media servers begin with free access, they eventually implement fees for vital capabilities like mobile syncing or hardware transcoding. Jellyfin remains the only major competitor providing these professional-grade tools at no expense, whereas Plex and Emby require paid subscriptions for the same functionality. While Plex and Emby often force you into their ecosystem with an account-based login, Jellyfin allows you to remain completely anonymous. You don’t need a central server’s permission to watch your files.
| Feature | Jellyfin | Plex | Emby |
|---|---|---|---|
| Licensing | Fully Open Source | Proprietary | Proprietary |
| Hardware Transcoding | Free (Included) | Paid (Plex Pass) | Paid (Emby Premiere) |
| Mobile Apps | Free | Paid | Paid |
| Offline Downloads | Free | Paid (Plex Pass) | Paid (Emby Premiere) |
| User Privacy | Local Authentication | Requires Plex Account | Requires Emby Account |
| Live TV / DVR | Included | Paid (Plex Pass) | Paid (Emby Premiere) |
Prerequisites — Preparing Your Infrastructure
Before the installation, you need a stable environment. A Windows VPS or a dedicated Linux machine offers the best performance for 24/7 availability. Ensure you have Docker installed and enough storage to accommodate your current library plus future additions. Proper folder structure is the secret to a clean setup; keep your movies and TV shows in separate directories so the scanners can identify them without errors.
Getting Docker Ready: Quick Setup
Docker eliminates the complexity of manual software dependencies. Follow these steps to get your environment up and running:
- Refresh your system packages to maintain compatibility across the board.
- Pull the Docker engine using the package manager native to your distribution.
- Integrate the Docker Compose plugin so you can manage apps that use multiple containers.
- Launch the “hello-world” container to confirm the installation is working.
- Set up a specific folder for your media stack to keep your configuration files organized.
Related Read: Docker Container: What is it and what are its advantages?
Benefits of Jellyfin: The Freedom Framework
Transitioning to an open-source media environment provides immediate practical advantages for your digital collection. This framework prioritizes user control and technical transparency over corporate monetization strategies.
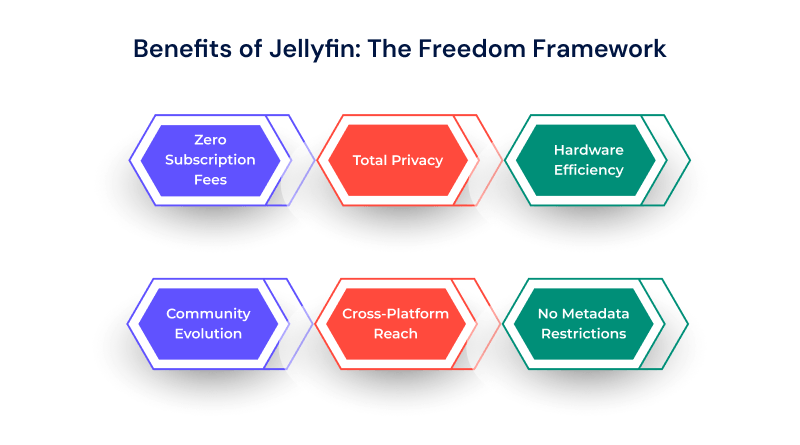
- Zero Subscription Fees: Every feature, including mobile apps and hardware acceleration, is free forever.
- Total Privacy: No data mining, no tracking, and no requirement to link a central account.
- Hardware Efficiency: It uses minimal system resources while offering powerful transcoding capabilities.
- Community Evolution: Frequent updates and new features come directly from users and developers on GitHub.
- Cross-Platform Reach: Use a Jellyfin download application on almost any smart device, from phones to game consoles.
- No Metadata Restrictions: You choose where your posters and descriptions come from, ensuring 100% accuracy.
Jellyfin Docker Compose File — Complete Configuration
Think of the YAML file as the primary blueprint that tells your container exactly how to run. It tells Docker which image to use, which ports to open, and where your media resides.
YAML
services:
jellyfin:
image: jellyfin/jellyfin
container_name: jellyfin
user: 1000:1000
network_mode: 'host'
volumes:
- /path/to/config:/config
- /path/to/cache:/cache
- /path/to/media:/media
restart: 'unless-stopped'
Running Jellyfin with Docker — Step by Step
To launch the server, navigate to your folder and run docker-compose up -d. This pulls the latest image and starts the process in detached mode. Verify the logs to confirm the server started without errors. Once the process is active, you can reach the dashboard through port 8096 on your server’s IP. This container-based strategy allows you to migrate your website to a new whole environment in minutes—you just transfer the configuration folder and your YAML file.
Initial Setup Wizard — Basic Configuration Steps
When you first open the web interface, the wizard walks you through the core settings:
- Create your primary administrator account with a secure password.
- Map your media libraries by pointing the system to the specific folder paths you defined in Docker.
- Pick your preferred language for metadata, as this choice dictates which posters and plot summaries the interface displays.
- Adjust the remote access settings if you intend to stream your collection while away from your home network.
- Disable automatic port mapping if you intend to use a more secure reverse proxy later.
Related Read: Cloud Computing For The Media Industry & OTT Platforms: How Does It Work?
Adding Your Media Library — Movies, TV Shows & More
The system works best when files follow a standard naming convention. Once you point a library to a folder, Jellyfin begins the scanning process. It identifies the titles, downloads subtitles, and organizes episodes into seasons automatically. You can manually edit any entry to change the artwork or fix a misidentified film, giving you full creative control over your digital storefront.
Accessing Jellyfin on All Devices — Phone, TV, Browser
You aren’t tethered to a desktop. Most smart TVs and mobile devices have dedicated apps available in their respective stores. For devices without a native app, the web interface provides a high-performance automation alternative that scales perfectly to any screen size. Having this kind of flexibility means your media is ready to go, whether you’re at home or on a flight.
Enable Hardware Acceleration — Smooth 4K Playback
Transcoding is a resource-intensive task that converts video formats during active playback. By enabling hardware acceleration in the “Playback” menu, you offload this work from the CPU to your graphics card. This results in faster load times and the ability to stream 4K content to devices that wouldn’t normally support those file types. It is the difference between playback interruptions and a seamless cinematic experience.
Remote Access Setup — Watch From Anywhere
Expanding your streaming capabilities to the internet requires establishing a secure connection between your server and external networks. Setting up a reverse proxy is the most professional method, as it allows you to use a custom domain name. To achieve the highest level of protection, implement SSL security. This encryption secures the data traveling from your server to your phone, preventing anyone from intercepting it.
Personalizing Your Server — Themes & Plugins
The default look is just the beginning. You can use custom CSS to reconstruct the UI, making it resemble premium streaming platforms. Explore the best Jellyfin plugins to add features like automatic theme songs, movie trailers, or integration with AI-powered tools for better subtitle management. These extensions allow you to build a custom experience that matches your style.
How to Update Jellyfin — Stay Up to Date
Updates are frequent and necessary for security. Since you are using Docker, the process is straightforward: pull the latest image, stop the current container, and restart it. Your settings and library remain intact because they live in the volumes you defined earlier. Updating the software regularly means you always have the newest codecs and speed boosts the community has built.
Final Thoughts — The Future of Your Digital Library
The transition from a casual viewer to a server manager changes how you interact with entertainment. You now run private infrastructure to bypass licensing shifts and price hikes. This setup isn’t just about saving money; it is about ensuring that your digital assets remain under your authority, independent of corporate strategy.
As you expand your collection, the scalability of Docker and the flexibility of Jellyfin allow your server to grow with your requirements. You have the tools to integrate advanced security, automate your downloads, and customize every pixel of the interface. The time for a single “all-in-one” subscription has passed, giving way to a personalized setup that values your privacy and access first.
Maintaining this level of control requires a commitment to a stable environment and proactive security. By keeping your software updated and your infrastructure secured, you ensure that your media remains available for years to come. Your digital sovereignty starts here—enjoy a streaming experience that is truly your own.
FAQs
1. Is Jellyfin completely free to use?
Yes. Unlike other platforms that hide features behind a “Pro” or “Pass” subscription, every part of the Jellyfin media server remains open and accessible. You get hardware acceleration, mobile syncing, and user management without ever entering credit card details.
2. Is Jellyfin legal?
The software is completely legal. It is a tool created to help you organize and stream your media collection. As long as you own the movies, shows, and music you upload to your Jellyfin server, you are operating within legal boundaries.
3. Jellyfin vs. Plex—Which is better in 2026?
The choice depends on your priority. Plex offers a more commercial, “plug-and-play” experience but tracks your data and charges for premium features. Jellyfin is the superior choice for users who want total privacy and 100% of the features for free, especially since the Jellyfin GitHub community has closed the gap in terms of stability and UI.
4. Can I access Jellyfin outside my home network?
You can, provided you configure your network correctly. Most users set up a reverse proxy or use a VPN to reach their Jellyfin setup from a remote location. This allows you to stream your entire library at a hotel or on a commute just as you would at home.
5. What devices support Jellyfin?
Compatibility is extensive. You can find official apps for Android, iOS, Roku, Amazon Fire Stick, and various smart TVs. If a specific device lacks a native app, you can simply use a web browser to complete your Jellyfin install experience and start watching.
6. How much storage do I need for Jellyfin?
The software itself is lightweight, but your media files will dictate your storage needs. A single 4K movie can take up 60GB, while a standard 1080p file might be only 2GB. Most users start with a few terabytes of space on their Jellyfin Windows or Linux host to allow their collection to grow over time.