After completing with your website customization, move website free from your computer to server machine to make it accessible for all. Let’s learn to move your WordPress website from local server to a live site with the manual method.
Step 1: Exporting Local WordPress Database
At first, export your local WordPress database using phpMyAdmin.
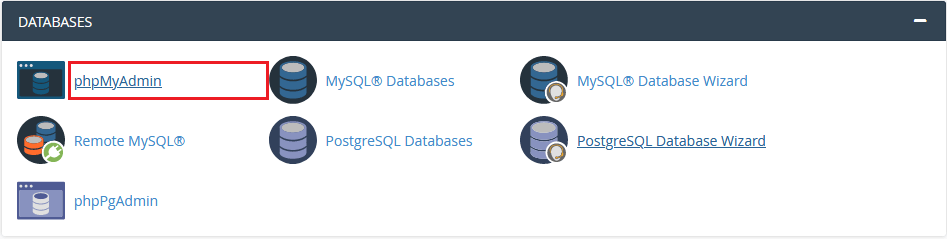
Navigate to http://localhost/phpmyadmin/ and click on your WordPress database. Then, from the top menu bar click on the Export button.

In the Export option, select either “Quick” or “Custom”. With Custom, you will get more options for exporting your database.
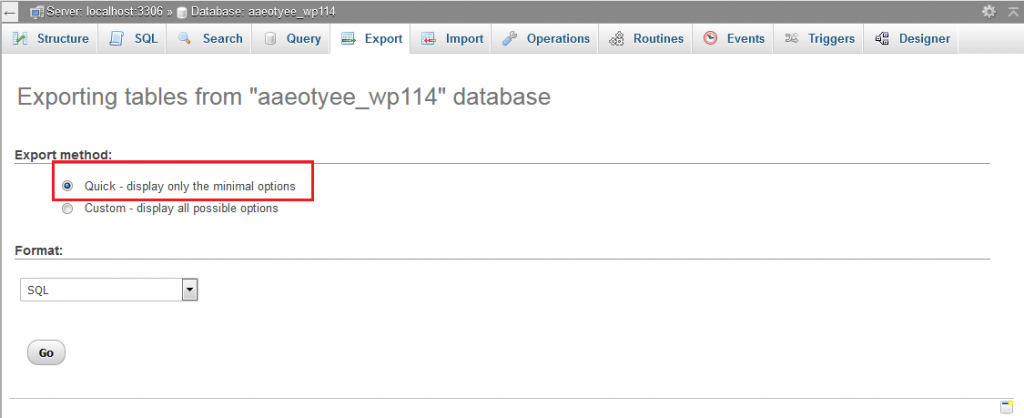
It is recommended to select Quick, and then click the Go button. This will download your database.
Step 2: Uploading WordPress Files to Live Site
After your database is downloaded, you will need to move your website files to the live site.
To start with, open the FTP client and connect to your web hosting account.
After getting connected to your live site, ensure that you upload the files in the right directory. For example, if you want to host your site on yoursite.com, then you will need to upload all the files in your public_html directory.
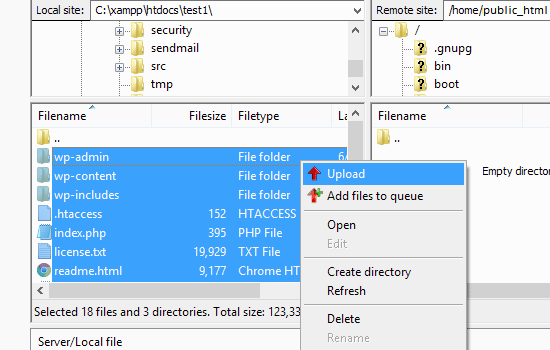
Choose the local WordPress files and upload them to the live server.
Step 3: Creating MySQL Database on Live Site
Start importing your database to live server, while the FTP client is uploading your WordPress files. cPanel is offered by most of the WordPress hosting providers for managing your hosting account.
At first, log in to your cPanel dashboard and click on the MySQL Databases icon located in the Databases section.
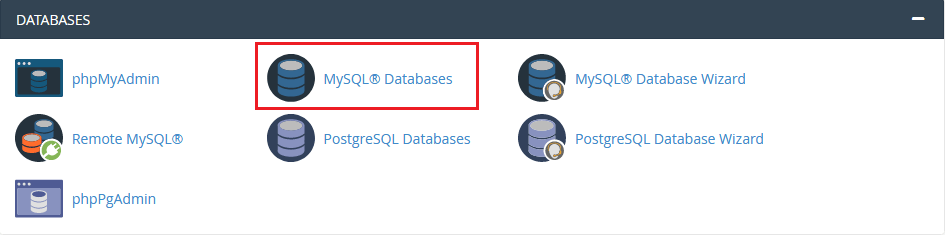
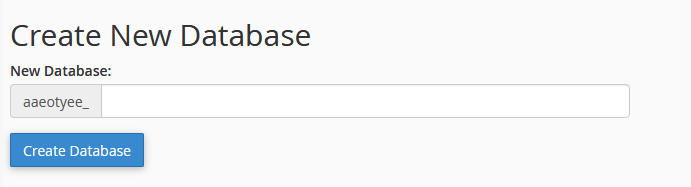
Next, enter a name for your database to create new database and click on the Create Database button.
Once you create a database, go to the MySQL Users section and create a new user or add an existing user to the database.

After this, the MySQL privileges for that user will get displayed. Here, grant all the privileges to the user by checking every box and then click on the Make Changes button.
Step 4: Importing WordPress Database on Live Site
Now, you will need to import your WordPress database.
In the cPanel dashboard, go to the Databases section and click on phpMyAdmin.
After the phpMyAdmin dashboard gets displayed, click on the database you created in Step 3. This will show your new database without any tables.
In the top menu, click on the Import tab. Once the Import page gets displayed, click on Choose File button and then select the database file saved in Step 1.
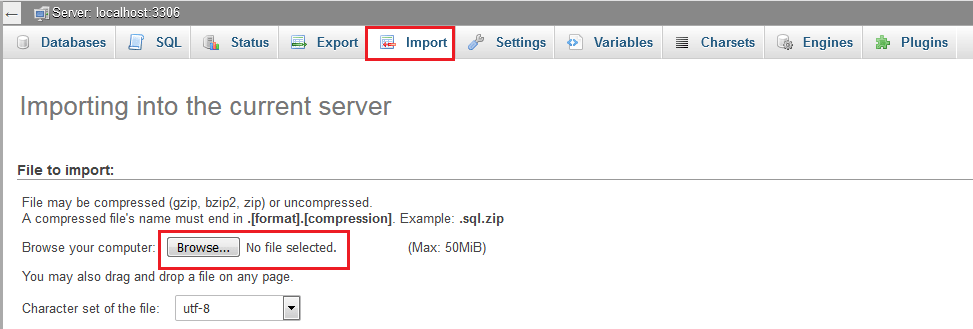
Next, click the Go button at the bottom of the page. This will import your WordPress database.
Step 5: Changing the Site URL
You will need to change the site URL in your database for connecting with the live WordPress site.
In phpMyAdmin, search for the wp_options table in your database imported in Step 4. In case, you have changed your database prefix, then instead of wp_options, you will see it as {prefix}_options.
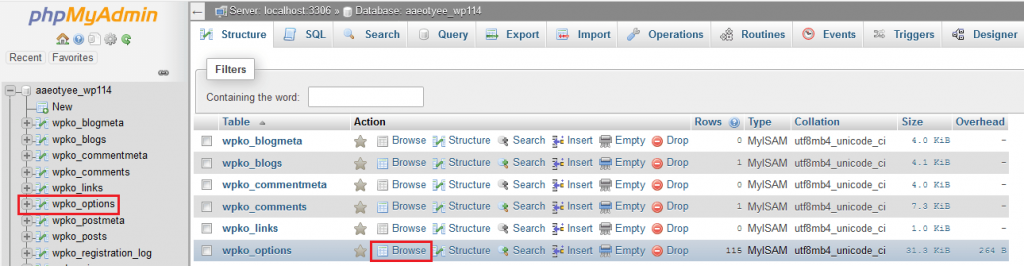
Next to wp_options click on the Browse button or the link in the sidebar to open the page with list of fields in the wp_options table as shown below:

Search for the siteurl under the option_name. Click on the Edit icon located at the far left at the start of the row.
The Edit field window will get displayed. You will see the URL of your local install such as: http://localhost/test in the input box for option_value. Insert your new site url in this field, for example: https://howto.idigitalcamp.com/blog.
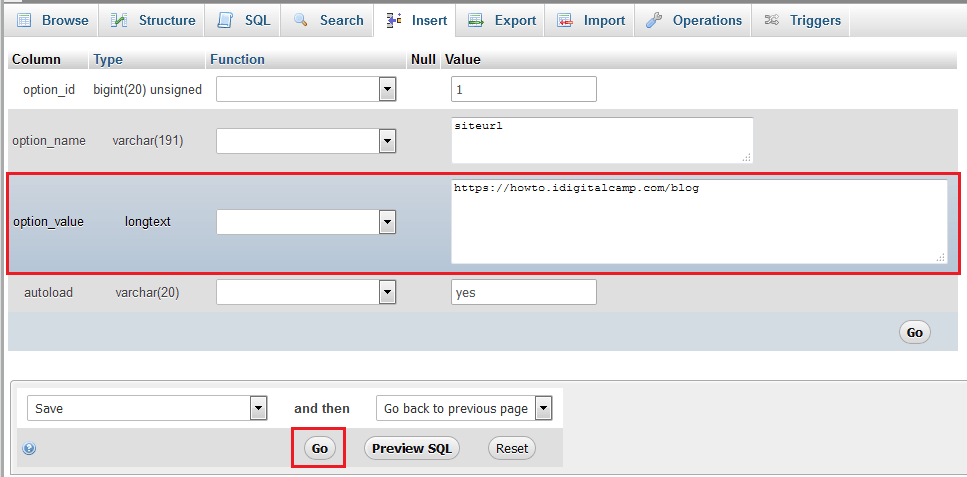
Click on the Go button to save the changes.
Repeat this step for the option_name: home. Since the wp_options page is a few pages long, so just search for the name home. Generally, you will find it on the second page.
Update the home url similar to your siteurl.
Step 6: Setting up Your Live Site
After importing the database and uploading the content, you need to configure WordPress.
If you try browsing your site now, you will get an Error Establishing Database Connection error.
This can be fixed by connecting to your website using an FTP client and editing wp-config.php file.
Here you need to provide the database name, user and password created in Step 3.
Save the wp-config.php file and upload it back to your server.
Now visit your website, and it will be live now.
Next, login to your WordPress admin panel and go to Settings » General. Scroll to the bottom and click the Save Changes button.
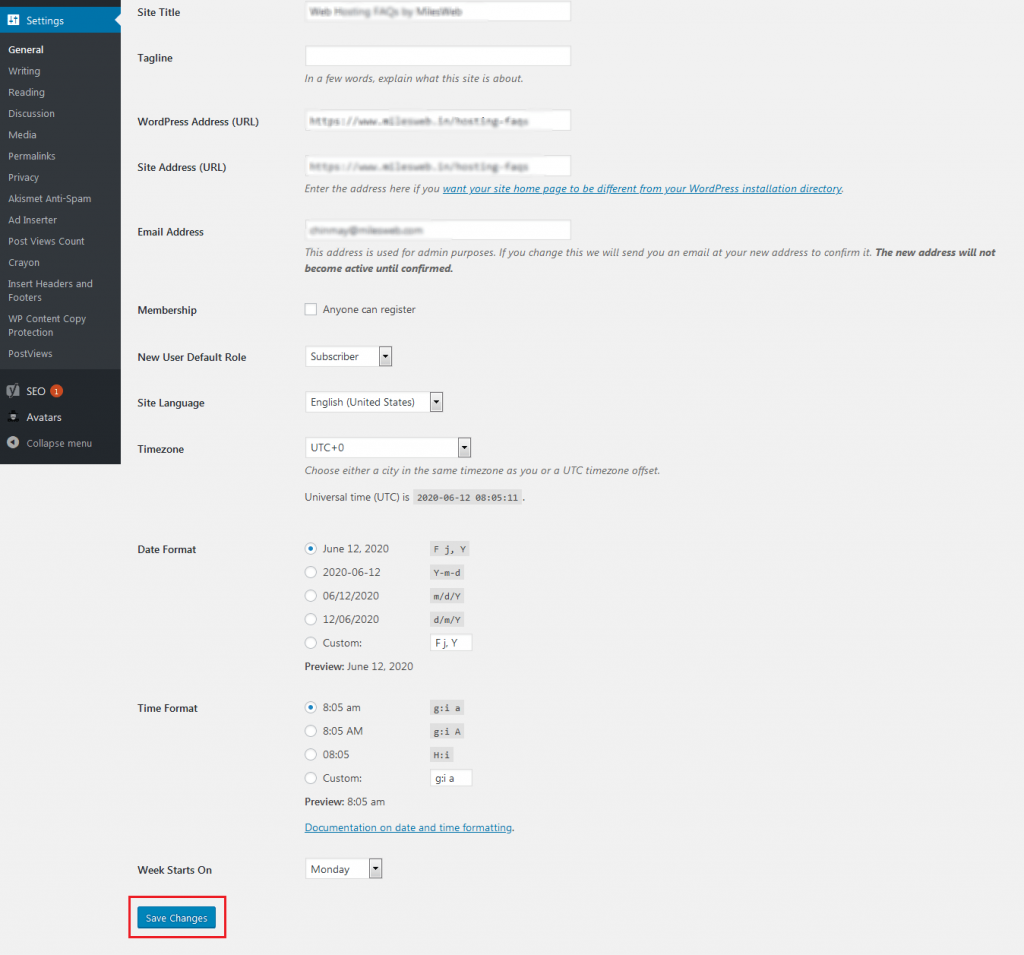
With this, the site URL will get corrected anywhere else where it needs to be.
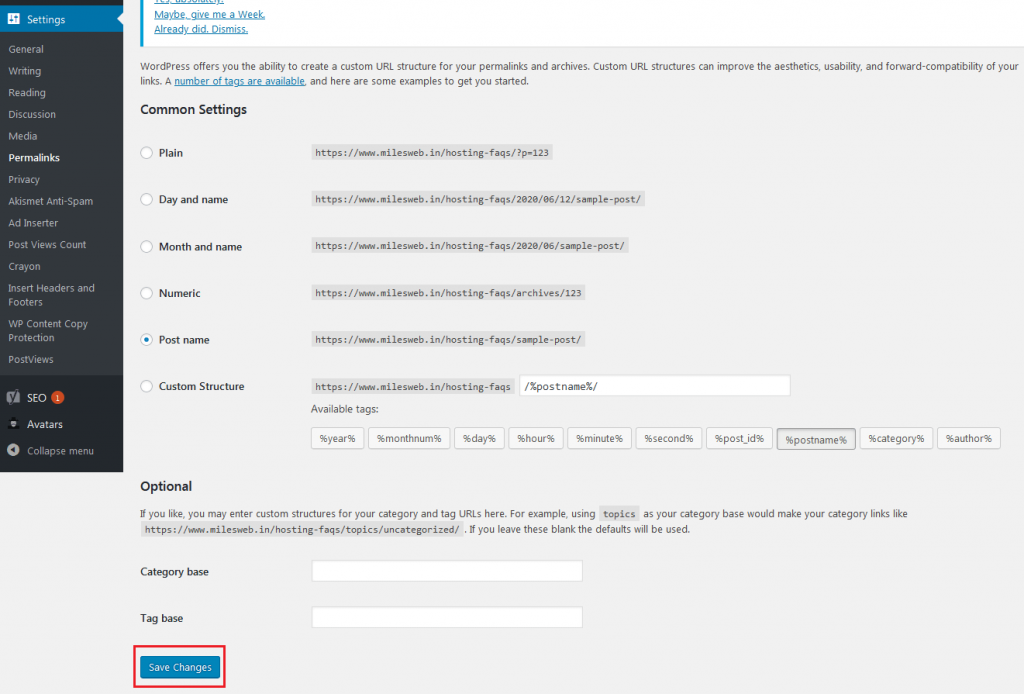
Next go to Settings » Permalink and click Save Changes to check that all post links are working fine.
Step 7: Fixing Images and Broken Links by Updating Paths
When you move a WordPress site from one domain to another, or from local server to a live site, there will be broken links and missing images.
You can use the SQL query or use the Velvet Blues WordPress plugin for fixing this issue.
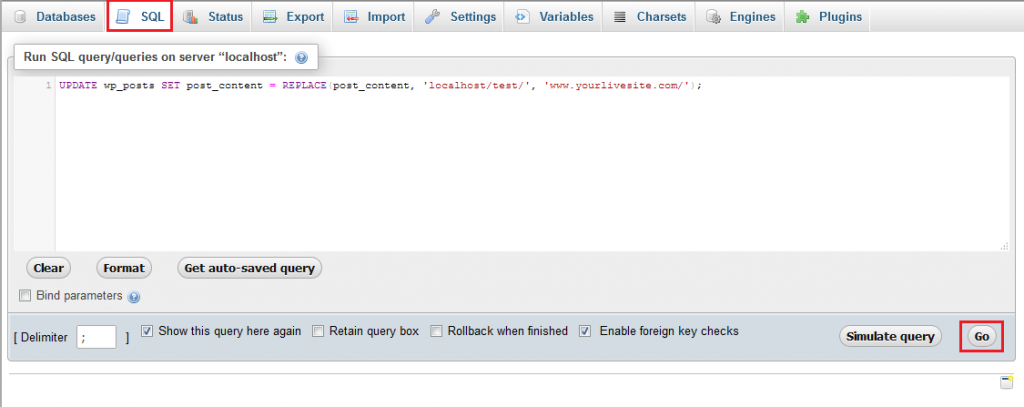
If you want to do it via SQL, use the below simple SQL query:
UPDATE wp_posts SET post_content = REPLACE(post_content, 'localhost/test/', 'www.yourlivesite.com/');
Go to phpMyAdmin, click on your database and then click on SQL from the top menu. Use this query, but replace it with your own local site and live site URLs.
That’s it, you have migrated WordPress from local server to a live site successfully!
Hope that now your live website is up and running smoothly. Browse your website and make sure that everything is working as expected. In case there are any errors, go though this guide to common WordPress errors for help troubleshooting.


