Follow the steps mentioned below to add your company logo or your website or blog logo to your WordPress website:
- Log in to WordPress.
- Go to Appearance and click on Themes.
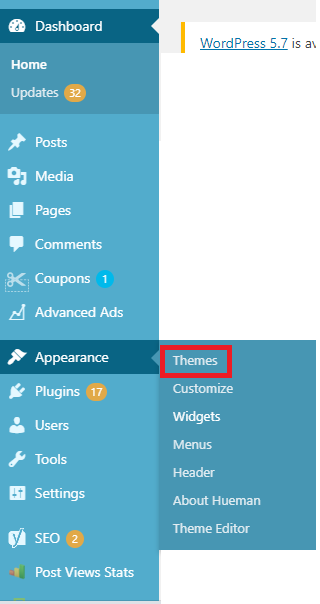
- Now, on the selected theme click on the Customize button.
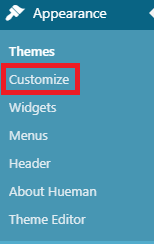
- From the left panel, click on the Web page design section and then click on Site Identity.
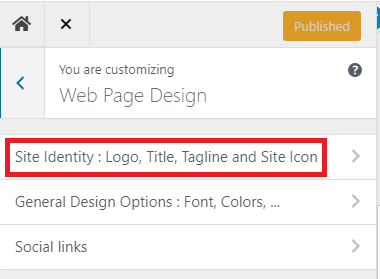
- Click on Select logo.
![]()
- Upload the new logo by clicking on Select Files or drag and drop the new logo file.
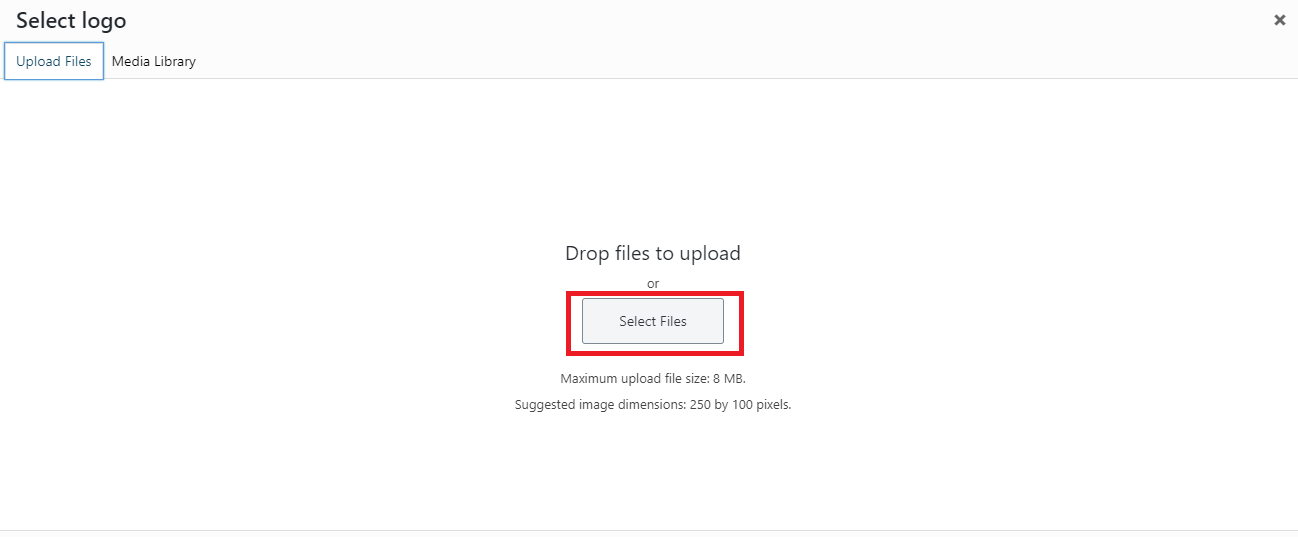
- Choose a logo and click on Open.
- Click on the Select button from the bottom right corner.
![]()
- If you want to crop the logo then resize the logo and click on the Crop image option or click on click on Skip cropping.
![]()
- A new logo will get added under the Logo section.
- Now, click on Publish and close the window.
![]()
- Under the My Blog section, click on Visit Site.
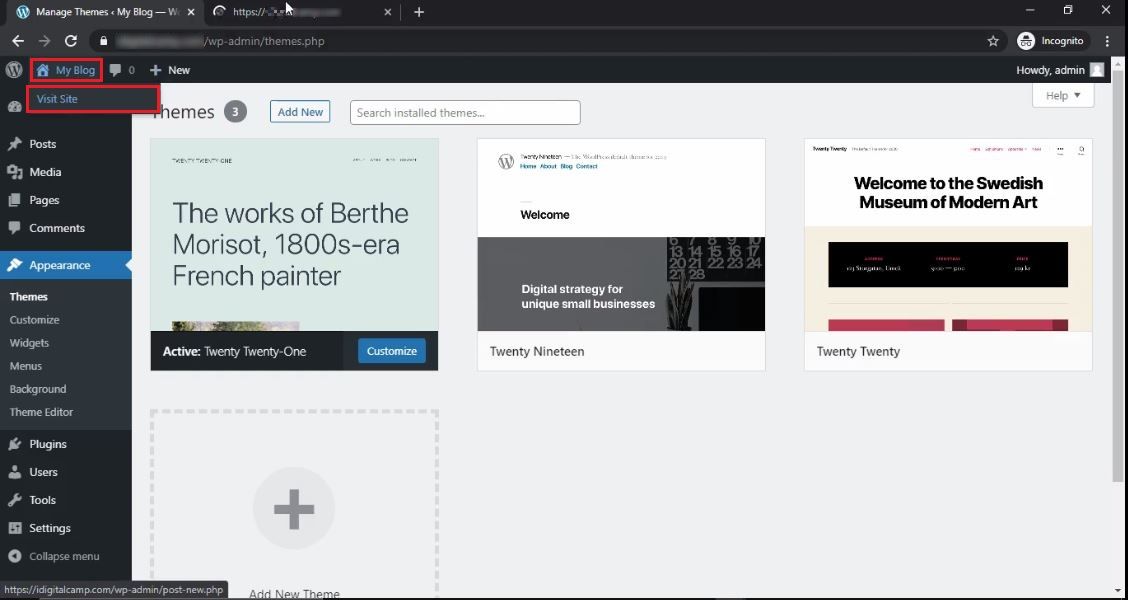
You will see the new logo on your website. That’s it! Your company logo is now uploaded on your WordPress website.
![]()


