Let us see how to change the hostname on Windows Server.
Requirements:
- Windows Server installed on a VPS or Dedicated Server.
- You must be logged in as an administrator to use this feature.
Steps to change the hostname on Windows Server:
1] Log in to the Windows Server via RDP. Use the login credentials to connect to your server.
Reference: How to Connect to a Windows Server (RDP)
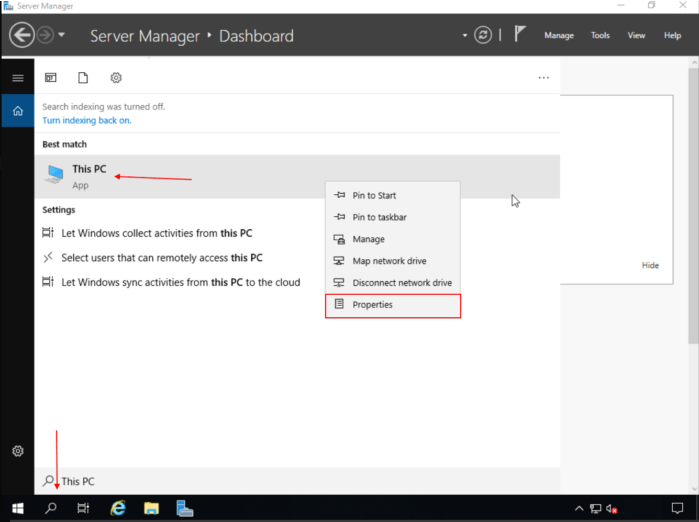
2] Search for This PC using the search icon in the lower-left corner. Then, right-click the mouse button and select Properties.
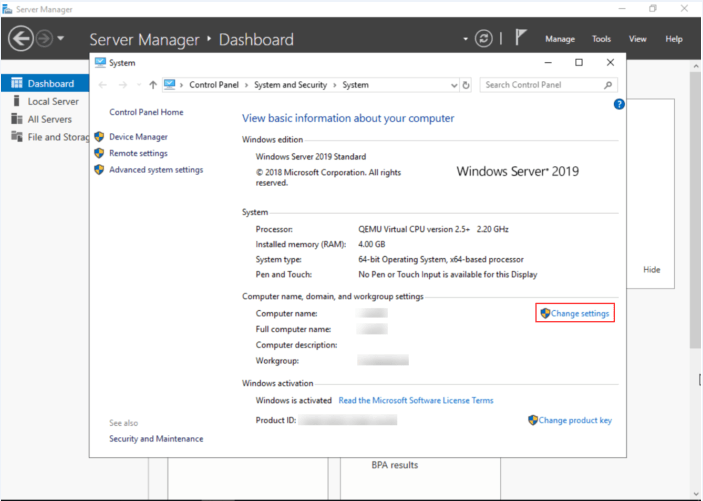
3] Click on Change settings that is next to the Computer name.
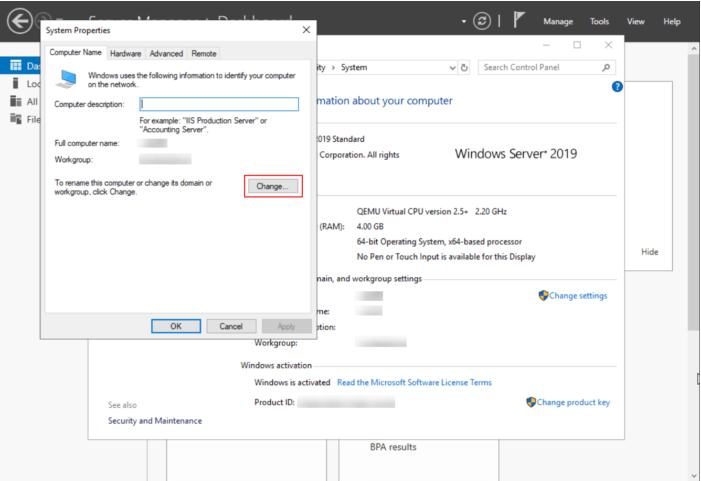
4] Select the Change button next to To rename this computer or change its domain or workgroup, click Change.
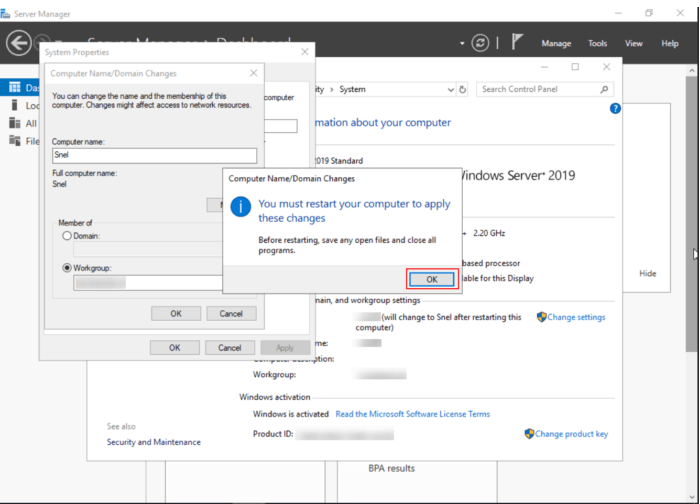
5] Now, add the name you want in the Computer name text box you want and click OK.
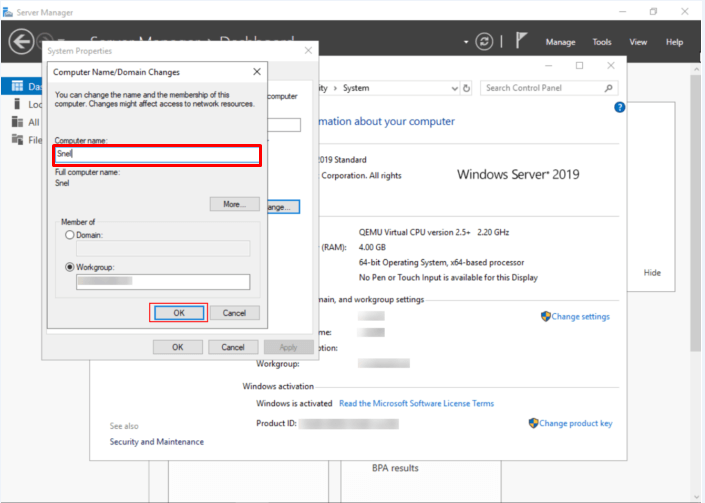
6] You must restart your computer for the changes to get reflected. Restart your computer after clicking OK.
And you are done changing the hostname on the Windows Server!


