Setting up your own private nameservers (like ns1.yourdomain.com and ns2.yourdomain.com) is one of the best ways to inject a serious dose of professionalism into your online presence. Instead of letting your clients or visitors see the default branding of your hosting provider, private nameservers allow you to maintain a seamless, fully branded ecosystem.
Whether you are a reseller looking to offer a white-label hosting experience, or a business owner aiming to reinforce your brand identity and gain tighter control over your DNS management, registering private nameservers is a crucial milestone. While the process might sound deeply technical, it boils down to a few straightforward steps at your domain registrar.
- Log in to the client area.
- Go to the Domains section.
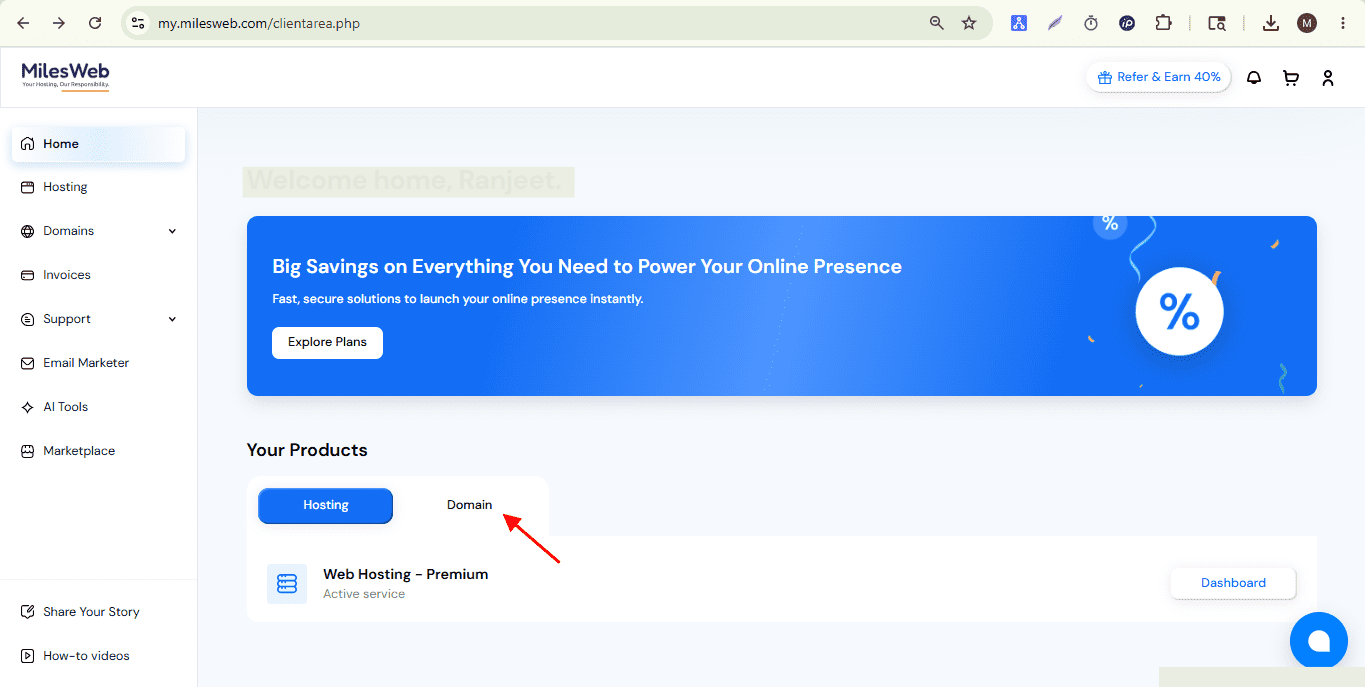
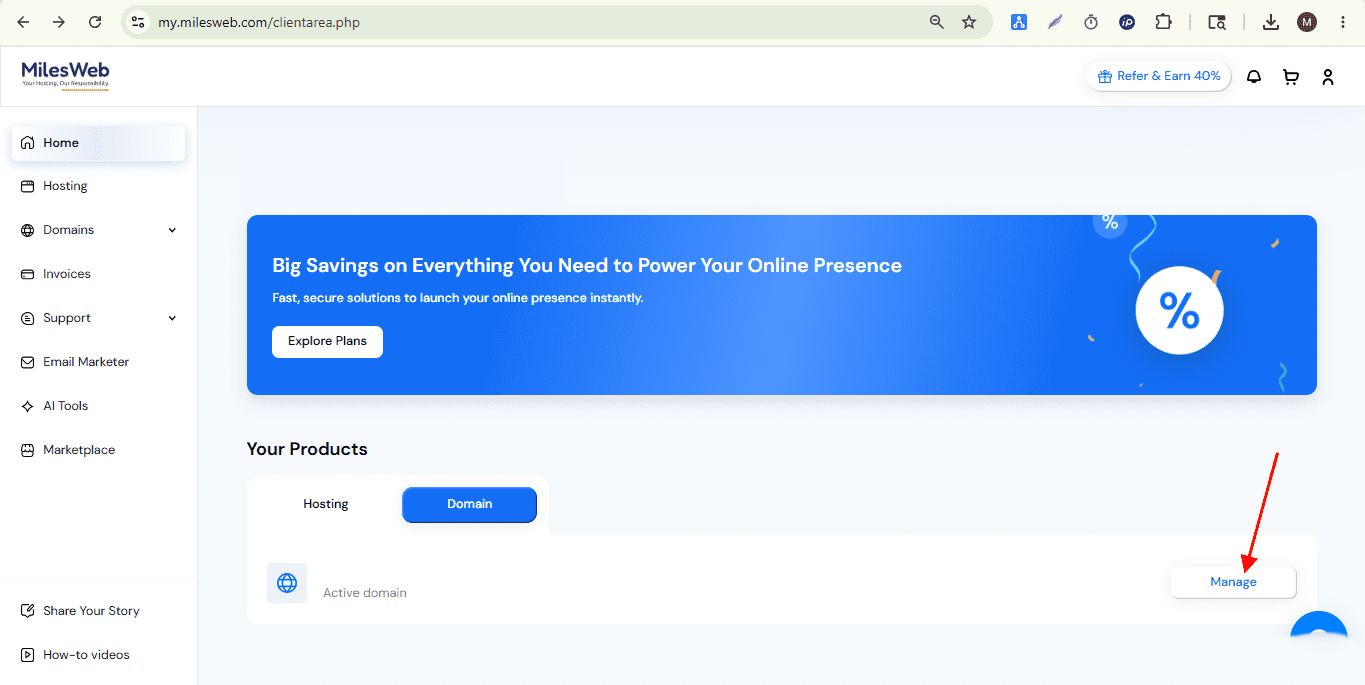
- Click the Manage button to configure a domain.
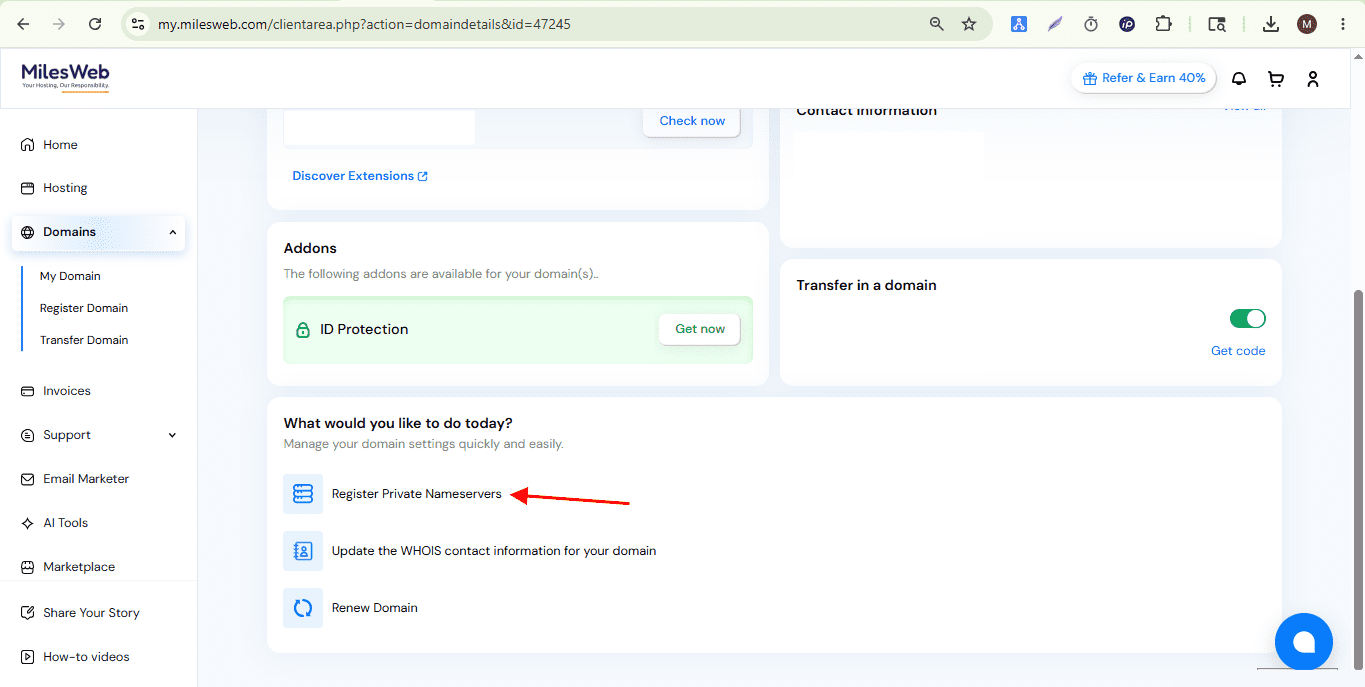
- Scroll down the same page and select Register Private Name Servers.
- Enter the private name server details (for example, ns1 and ns2) along with the server IP address they should point to, as shown in the screenshot.
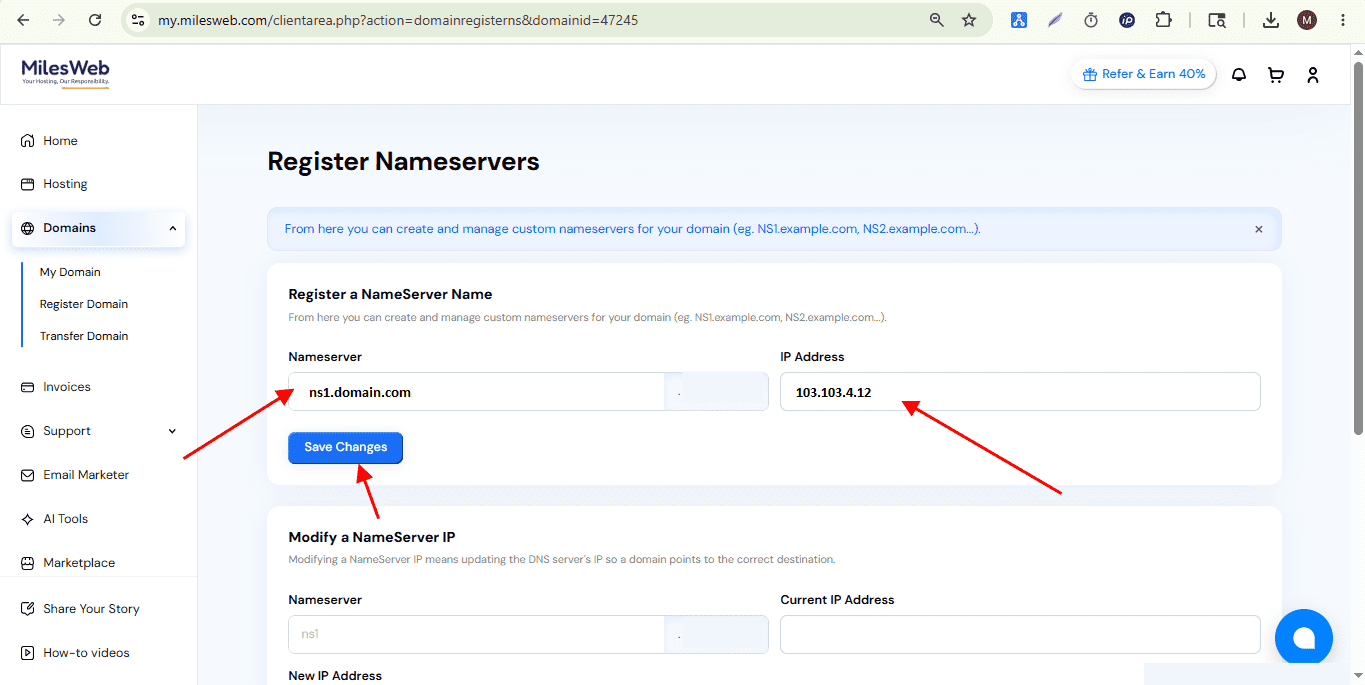
- Update the domain to use these newly created private name servers by returning to the Edit Name Servers section mentioned in Step 4.
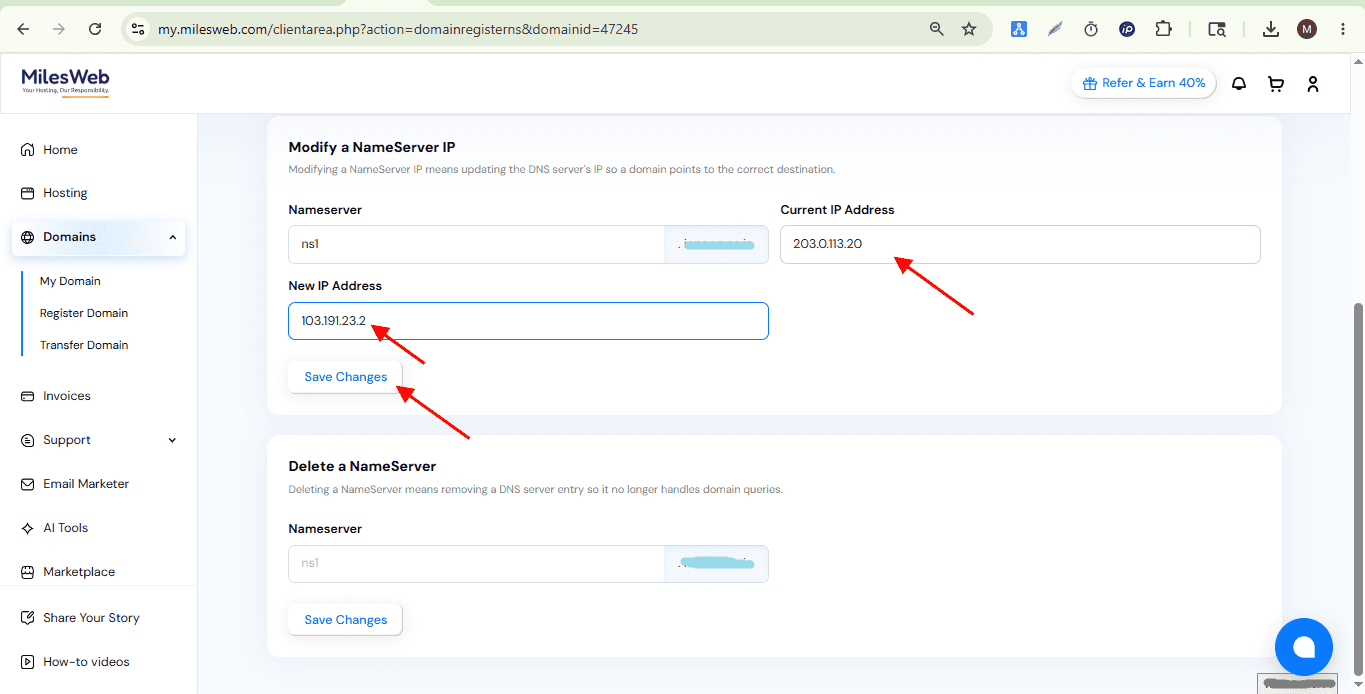
On the same page, scroll down and enter the IP address of an existing private name server:
- Name server initials
- Current IP address,
- New IP address, as shown in the screenshot.
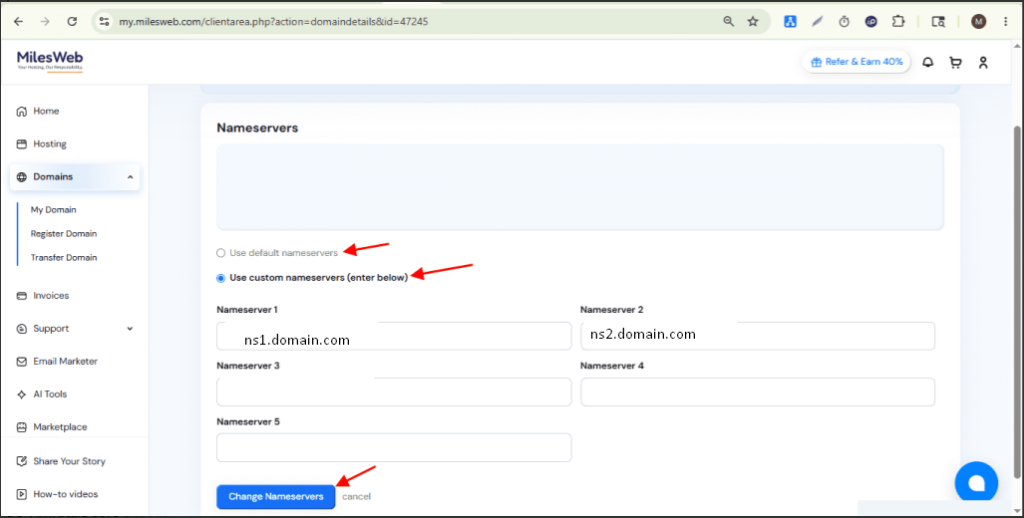
- If you would like to use the default name servers, select the default radio button and click change name servers.
Otherwise, click custom name servers and add the name servers you want to customize. Refer to screenshot for more guidance.
Please note that after updating the name servers, DNS propagation may take anywhere from a few minutes up to 48 hours worldwide.
You can verify the updated name servers here:
https://www.dnswatch.info/
You can also check DNS propagation status here:
https://www.whatsmydns.net/


