EasyApache 4 is a software tool exclusive to the users of the cPanel/WHM Server. With the EasyApache 4 interface, you can manage and maintain the Apache, PHP and other services on your server. It even enables you to allot many PHP variants or versions to your domains.
To Install a PHP Version from the WHM Panel
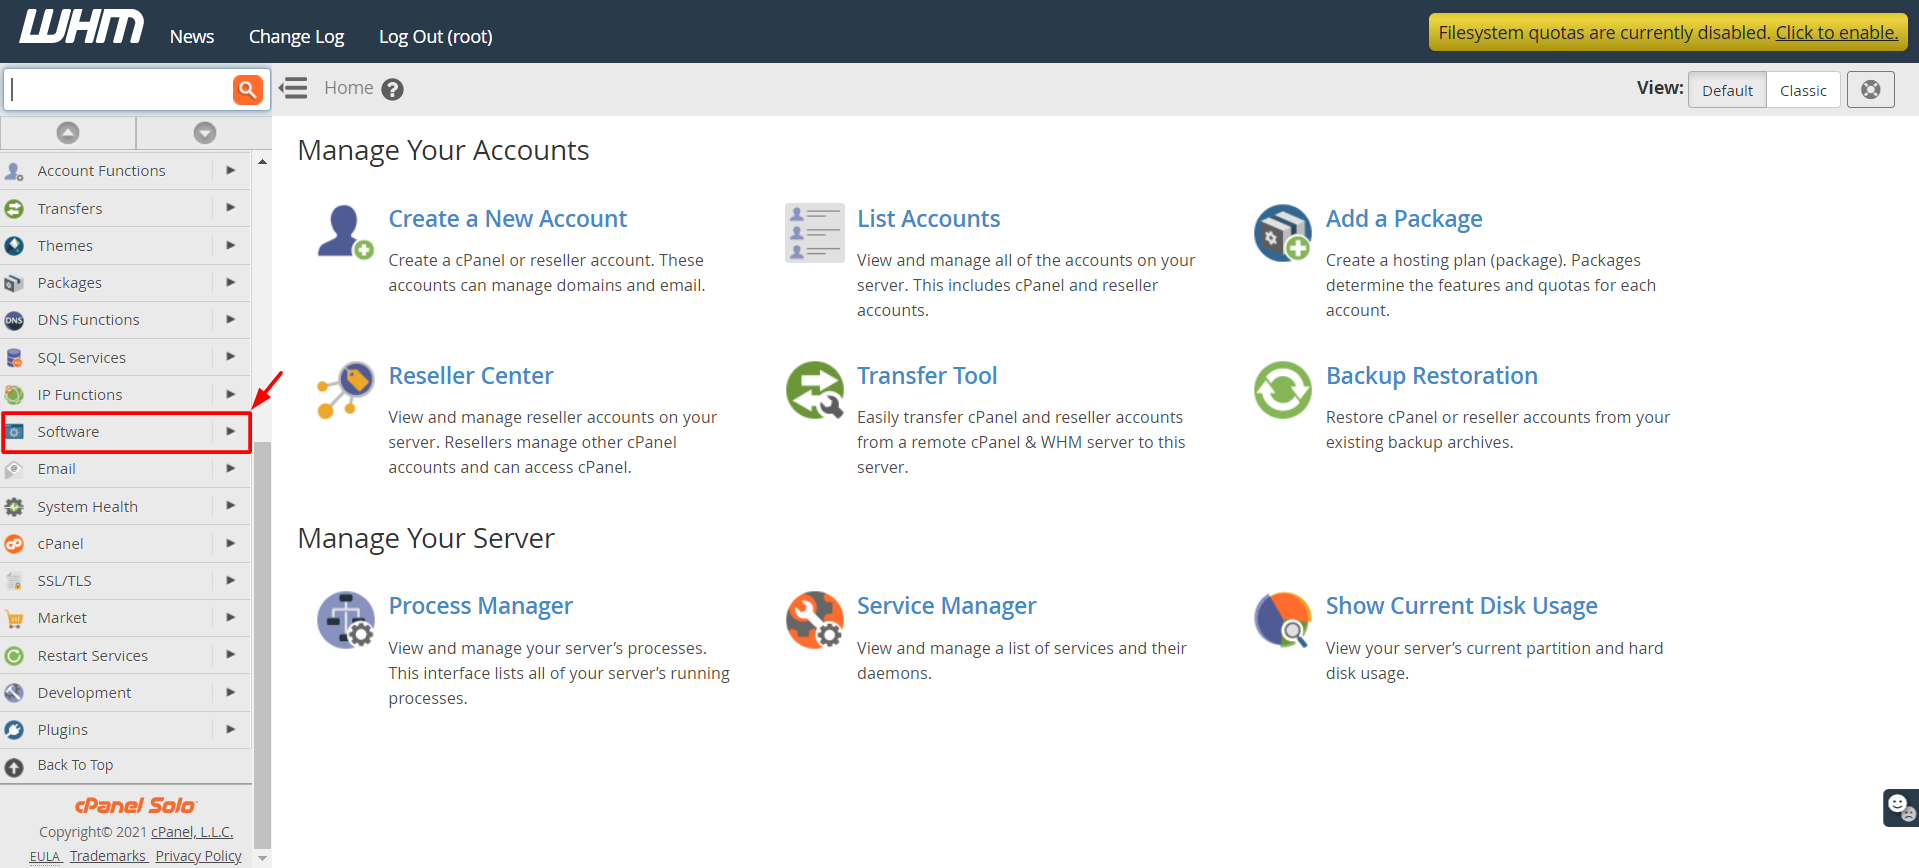
1. Log in to WHM Panel with your root access.
2. Select the Software option.
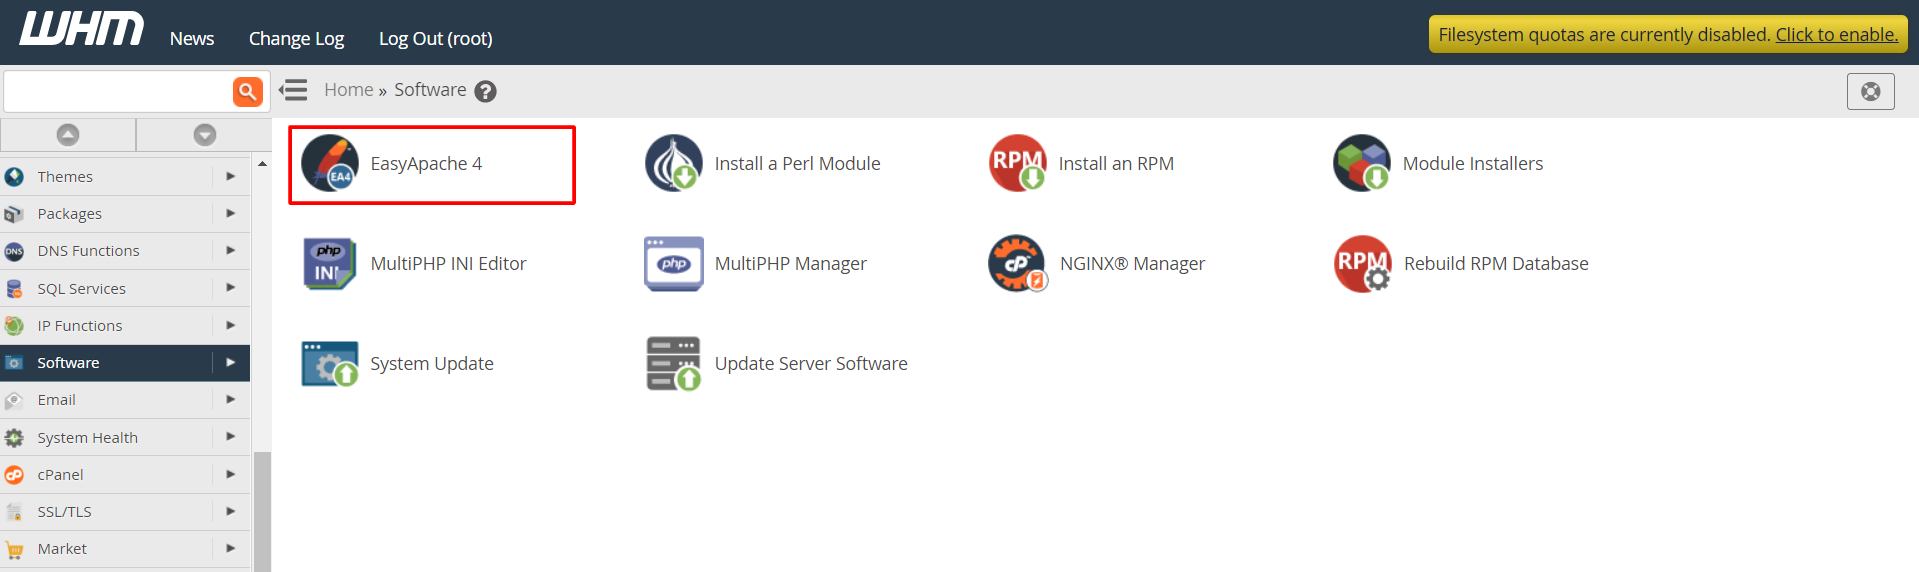
3. Click on EasyApache 4.
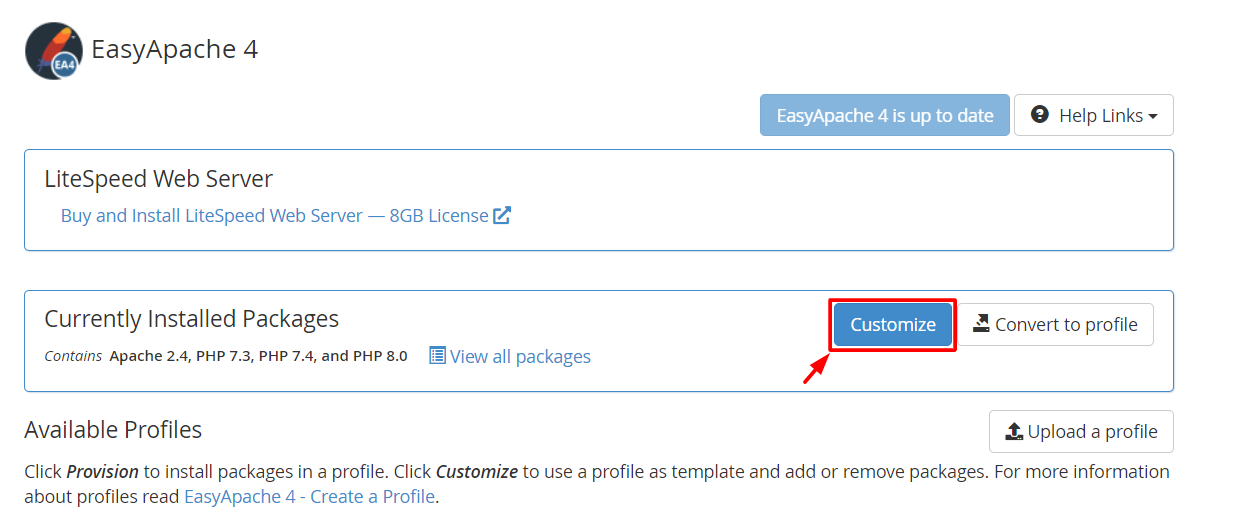
4. You will see the interface of EasyApache 4. In the Currently Installed Packages section, click on the customize button.
5. Various customization options will appear. Click on PHP Versions.
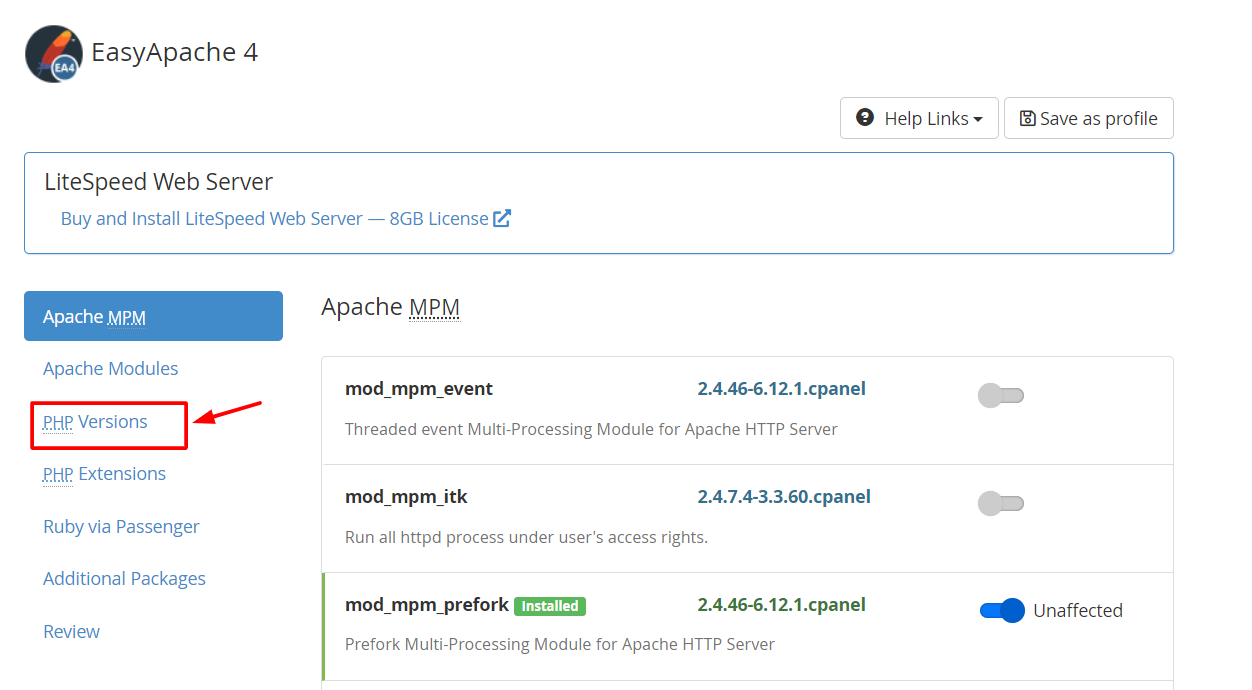
WHM/cPanel will also check for PHP Extensions that are presently used by other PHP versions.
6. Tap the toggle button of the PHP version to install it on your server. Click the blue button that will appear as shown in the screenshot and click Next.
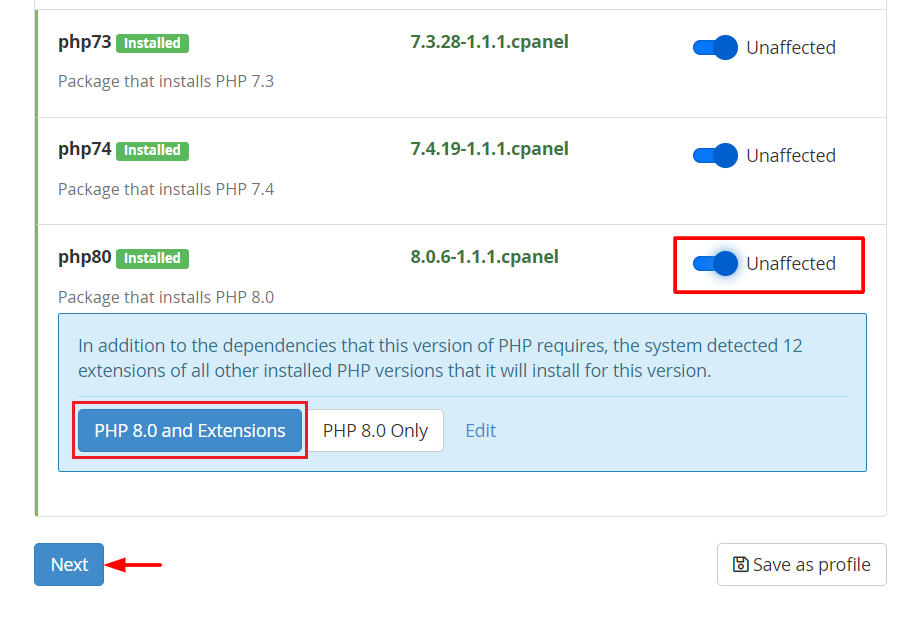
WHM/cPanel will also check for PHP Extensions that are presently used by other PHP versions.
Note:- We recommend you use the latest versions of PHP. As of January 1, 2019, no security updates will be released for PHP versions 5.6 and 7.0. For more details, you can refer: https://www.php.net/supported-versions.php
To Install PHP Extensions from the WHM Panel
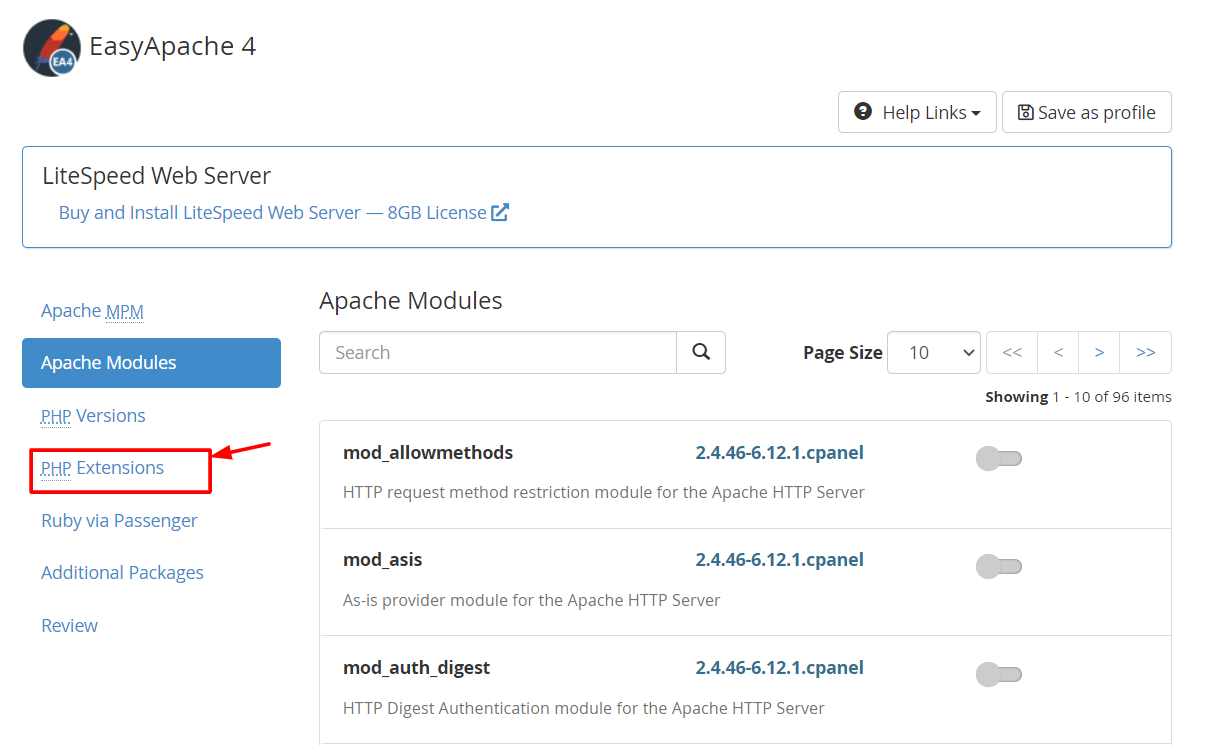
1. Click the PHP Extensions menu.
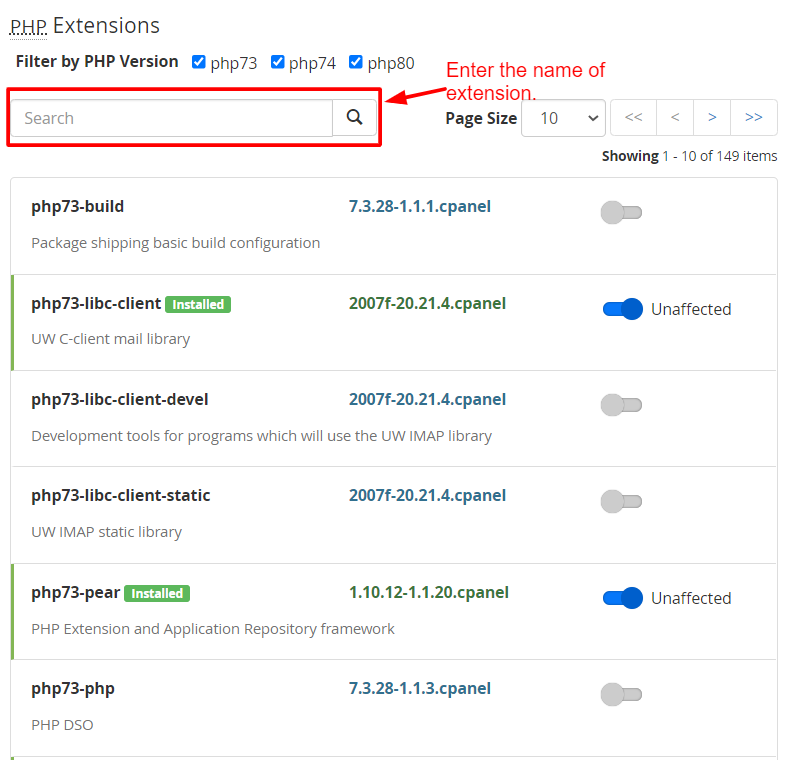
WHM already selects some PHP Extensions in EasyApache 4 by default. You can also find an extension by entering their name in the Search field.
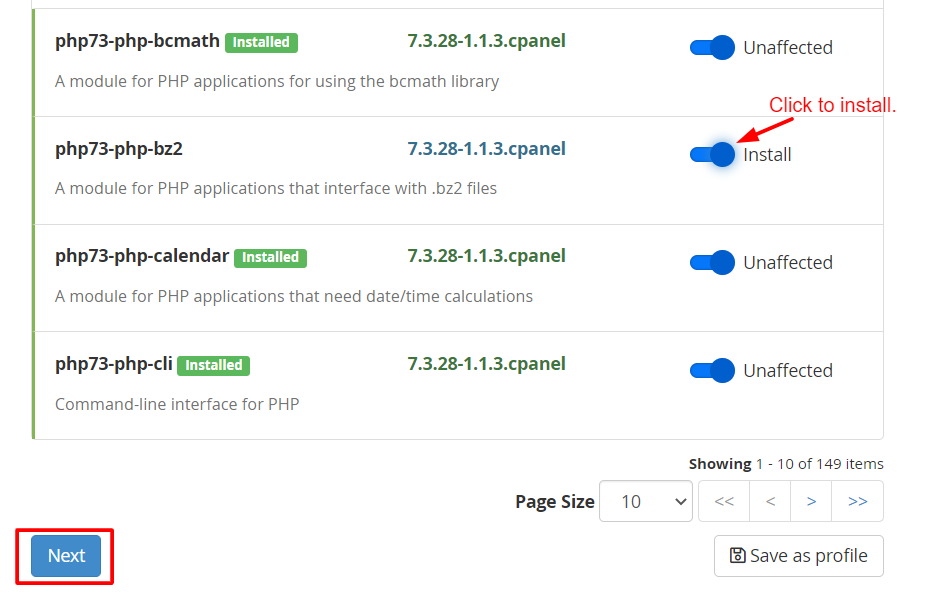
2. Click on the toggle button next to the extension to install it on your domain.
3. After you select the extensions to install, click on Next.
4. Now, choose the Review option.
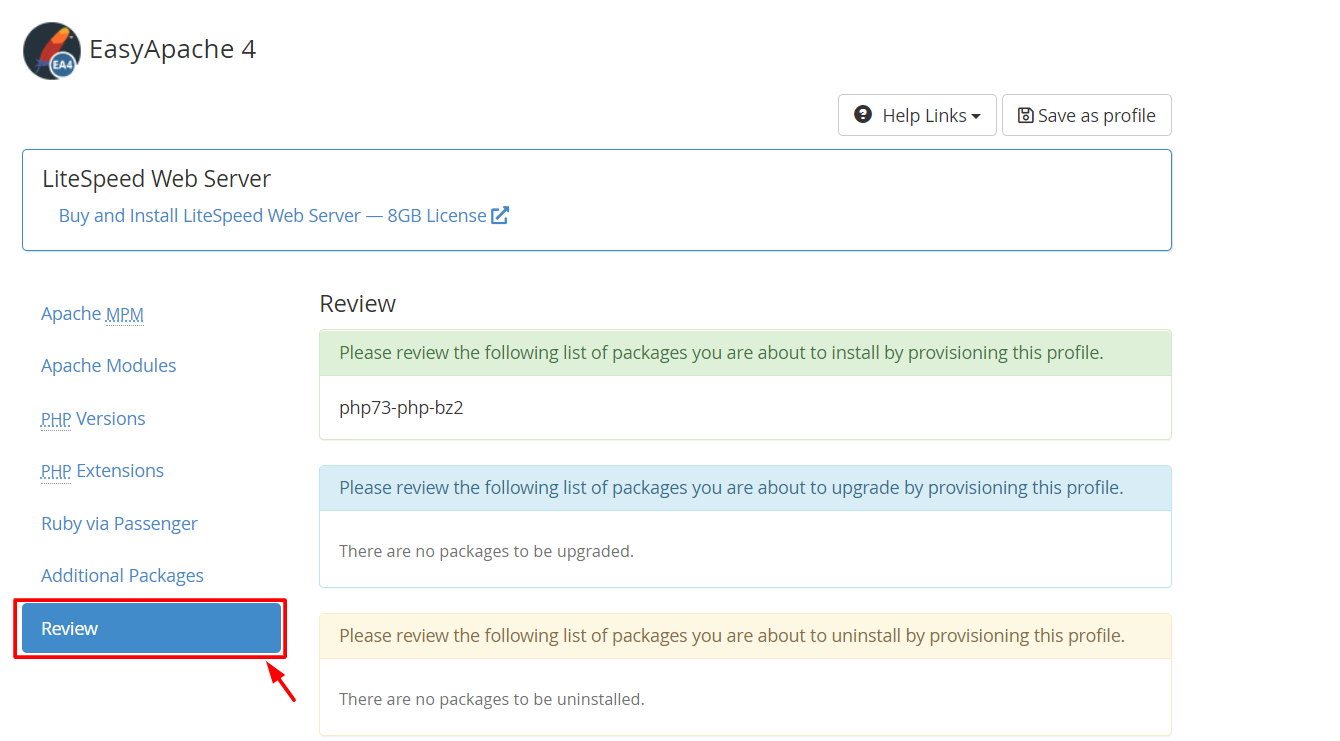
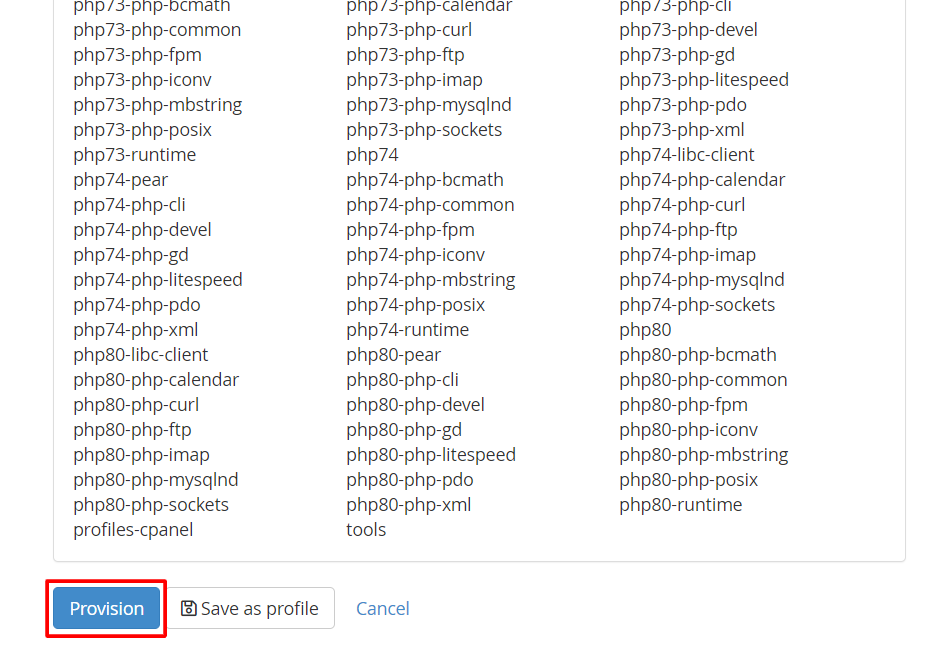
5. Scroll down and click on the Provision button.
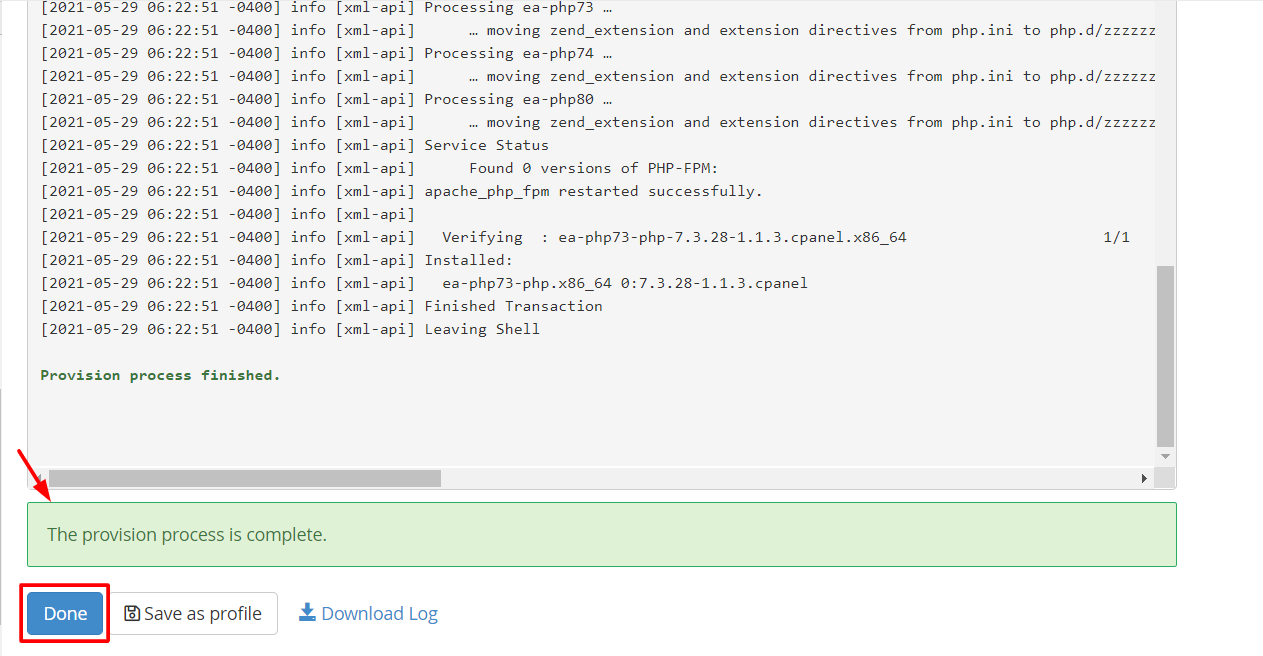
The provision process will resume the installation of extensions. In some time, a message: “The provisioning process is complete” will flash on-screen. When it does, click the Done button.
With this, you will have successfully installed PHP versions & PHP Extensions on your cPanel/WHM Server.
To Assign a PHP Version to a Domain
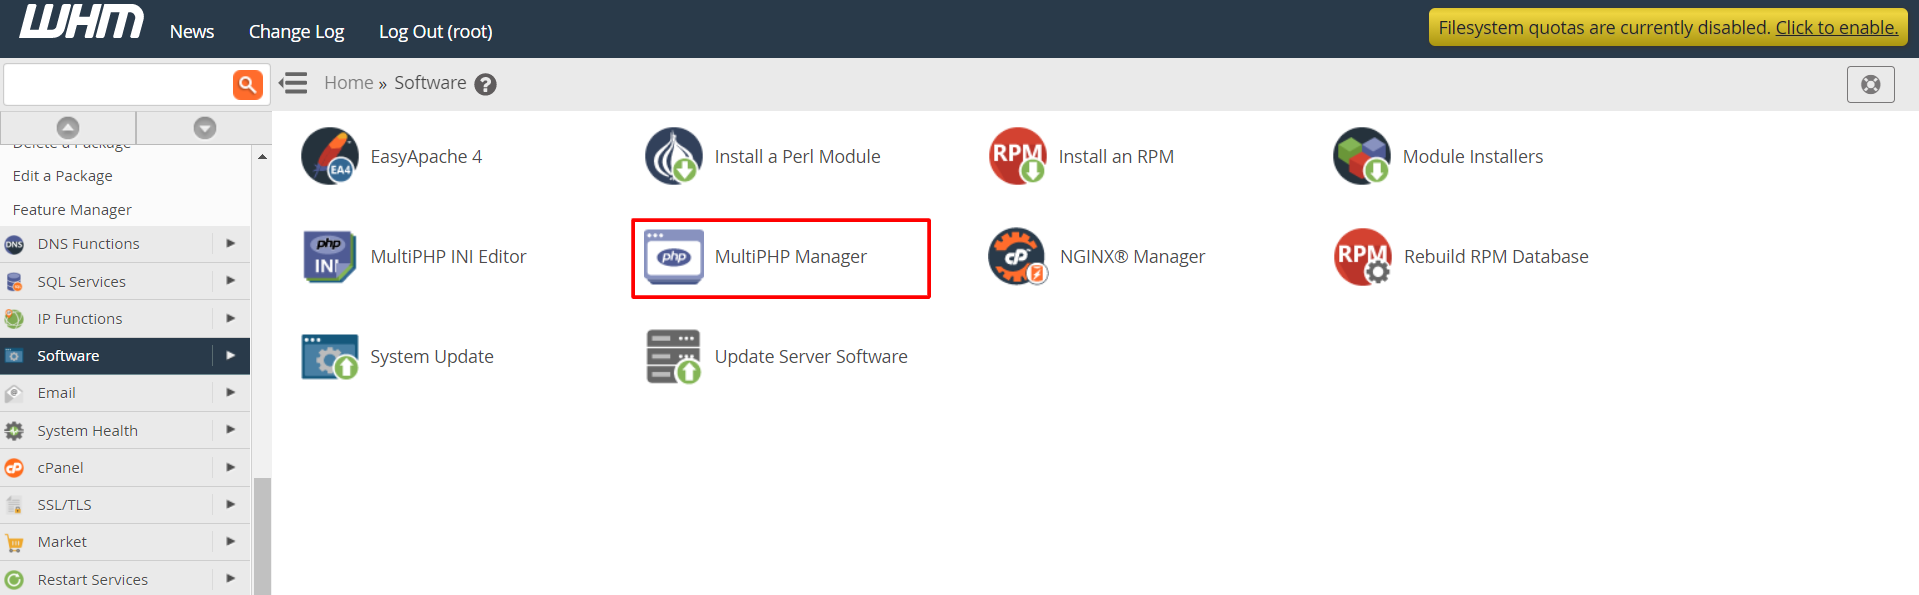
1. Go back to Home and select the Software option.
2. Click on MultiPHP Manager.
3. Go to User Domain Settings. To assign a new PHP version for a domain, click on the version in its PHP Version column.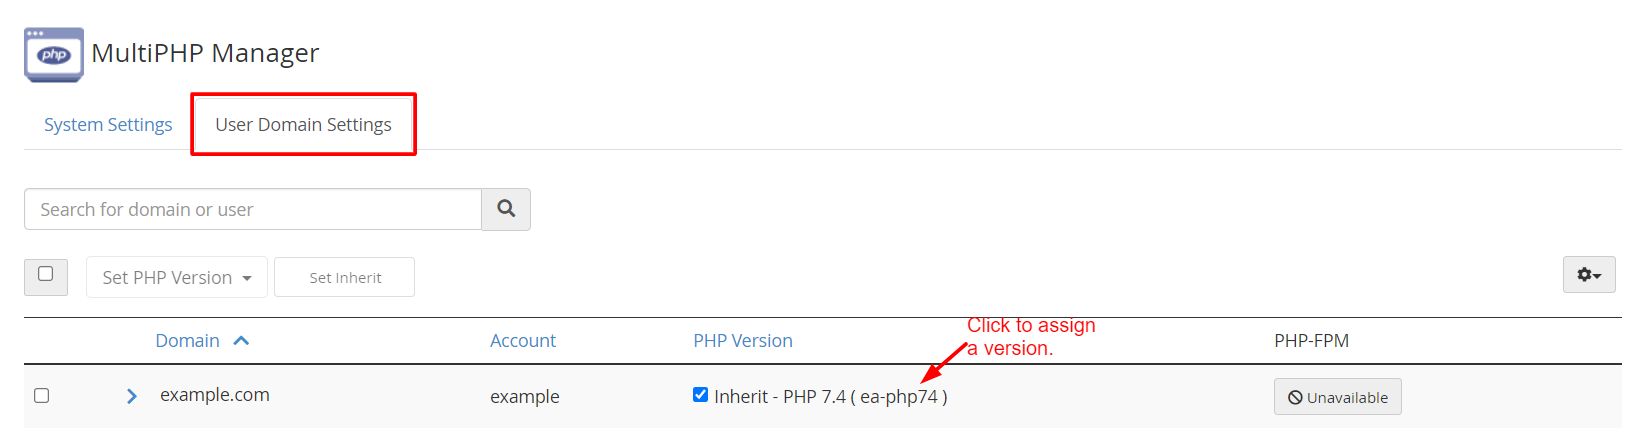
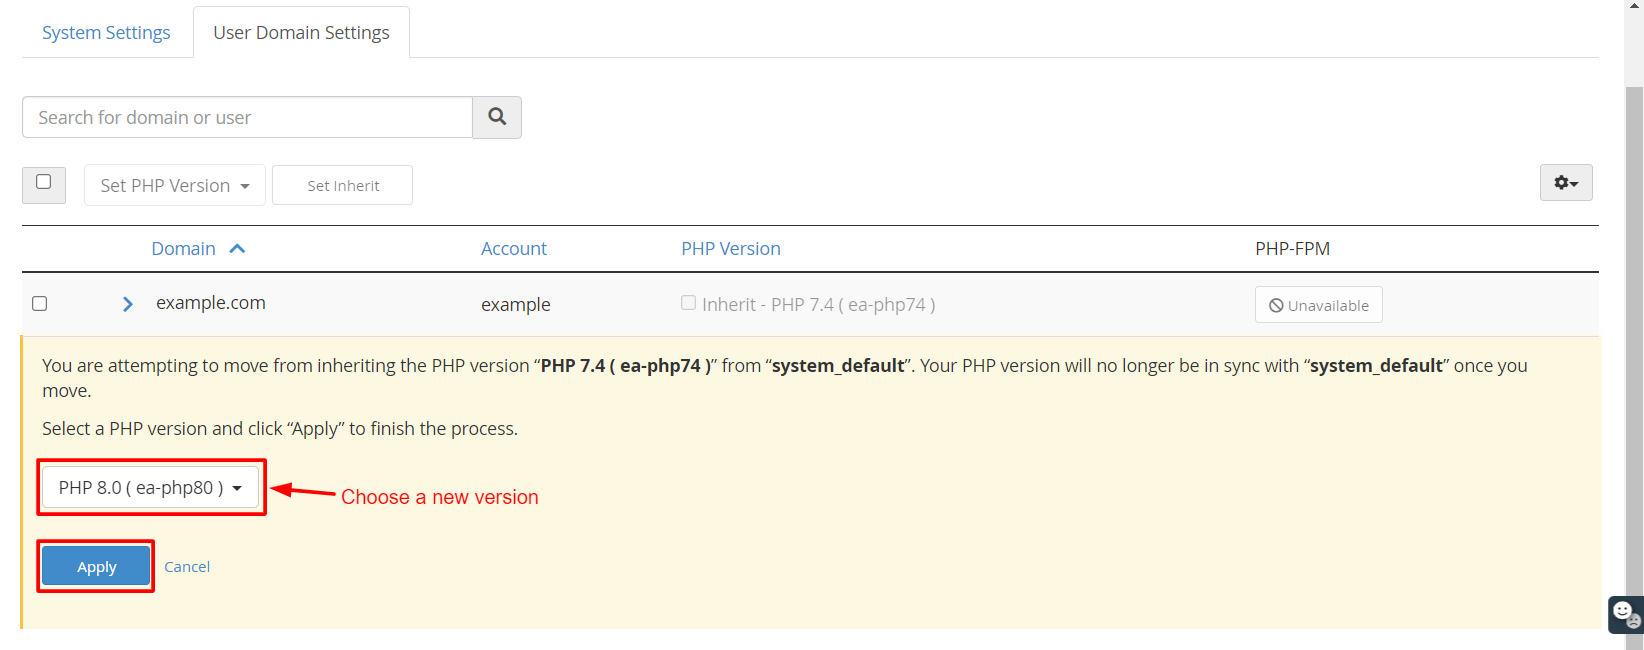
4. Choose the required PHP version from the dropdown list and click on Apply.
With this, you can assign any PHP version installed on your WHM server to your domains.


