The process to add or edit a .htaccess file through the cPanel file manager is as follows:
- Login to the cPanel.
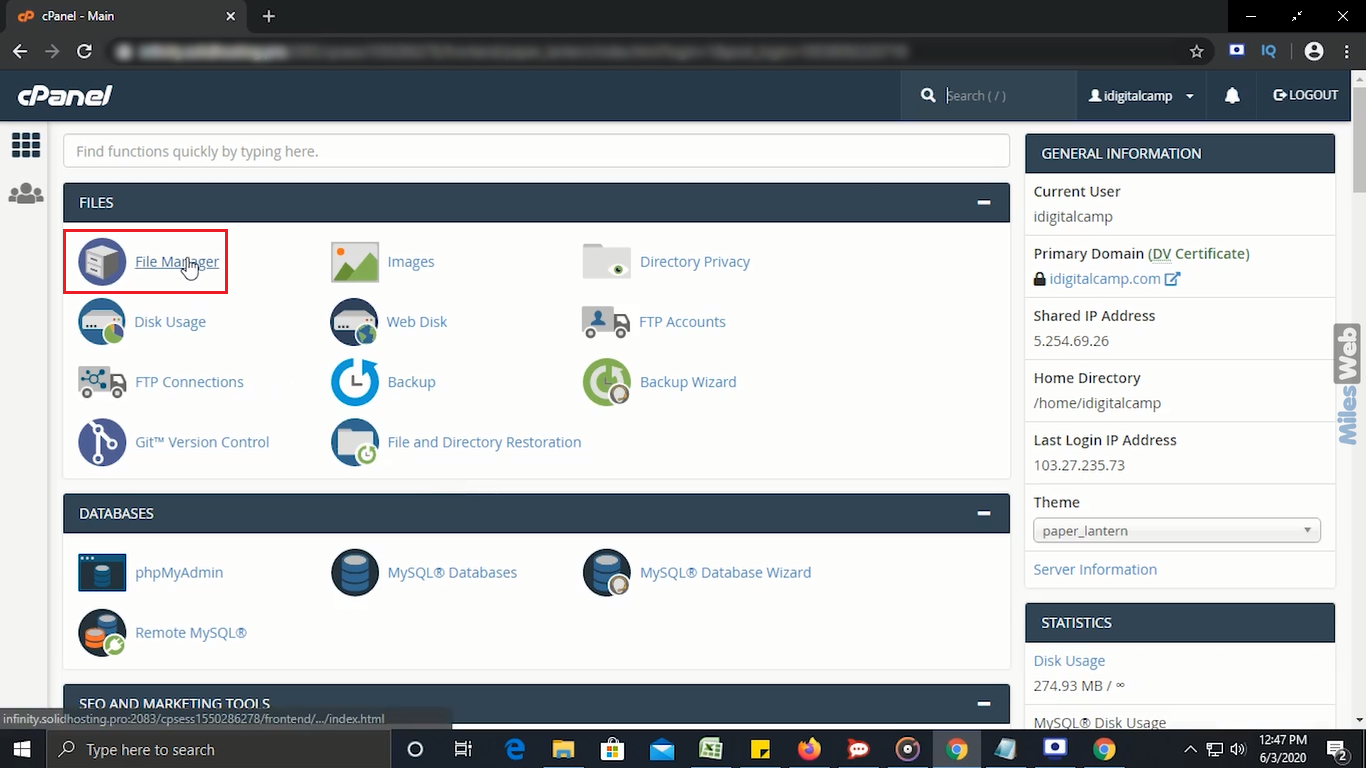
- Under the Files section, click on File Manager.
- On the left side, click on the public_html directory.
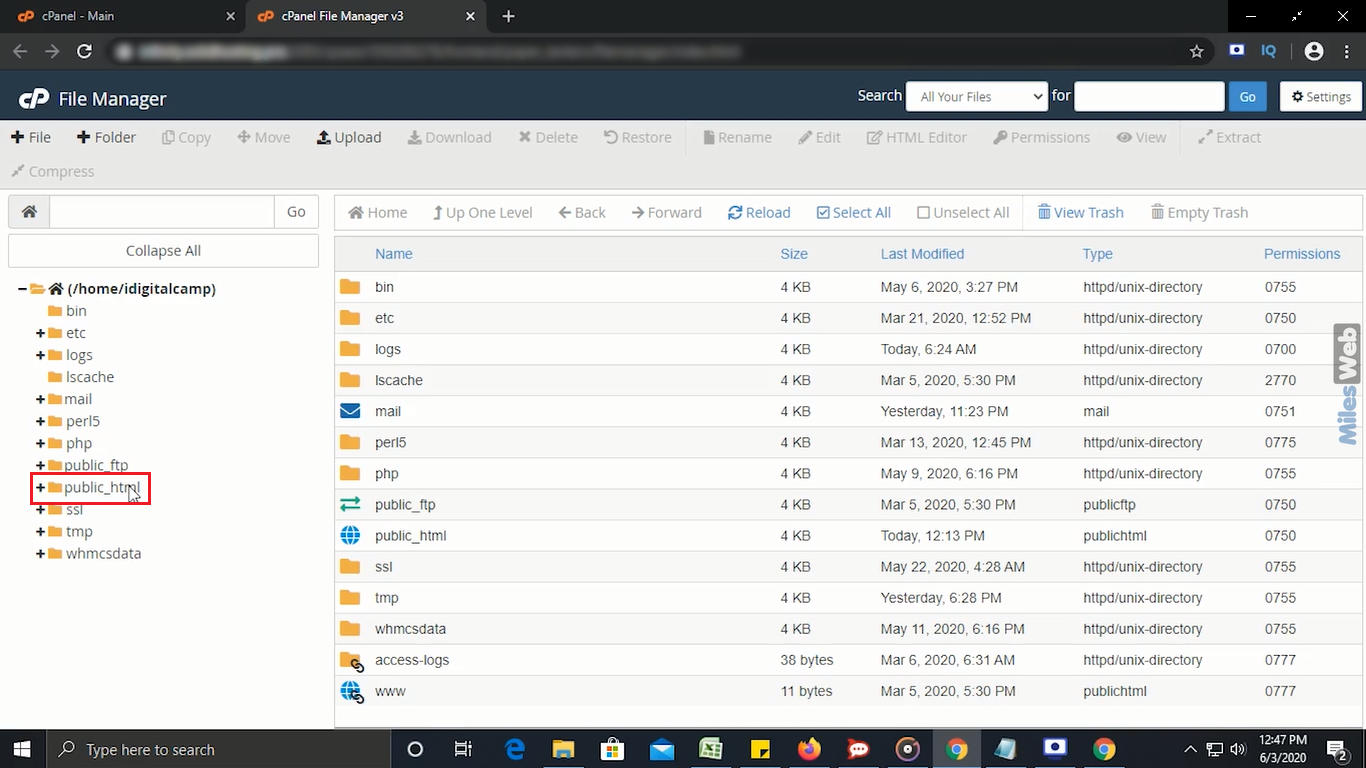
- Here you will see the files and folders.
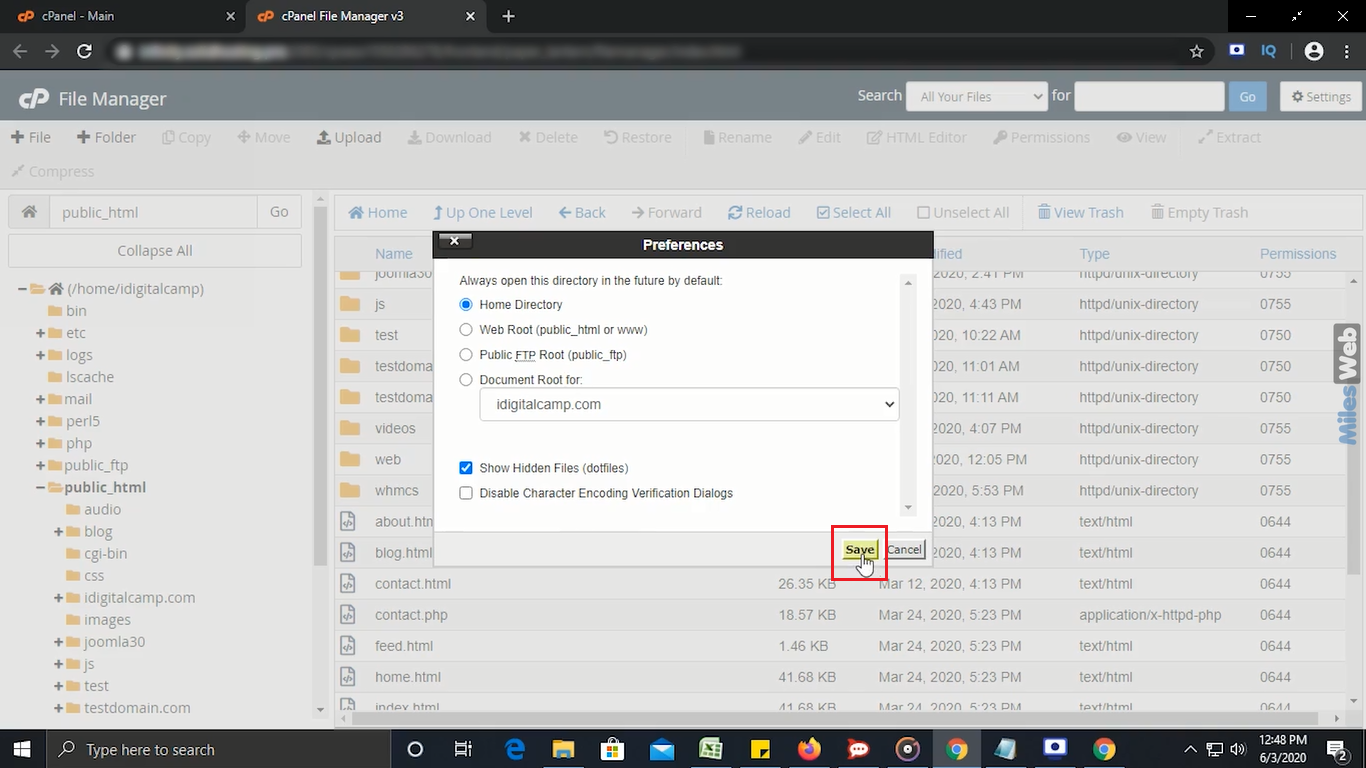
- In this section, if you’re not able to see the .htaccess file, then go to Settings.

- In this Preferences window, you need to mark the option Show Hidden Files (Dotfiles).
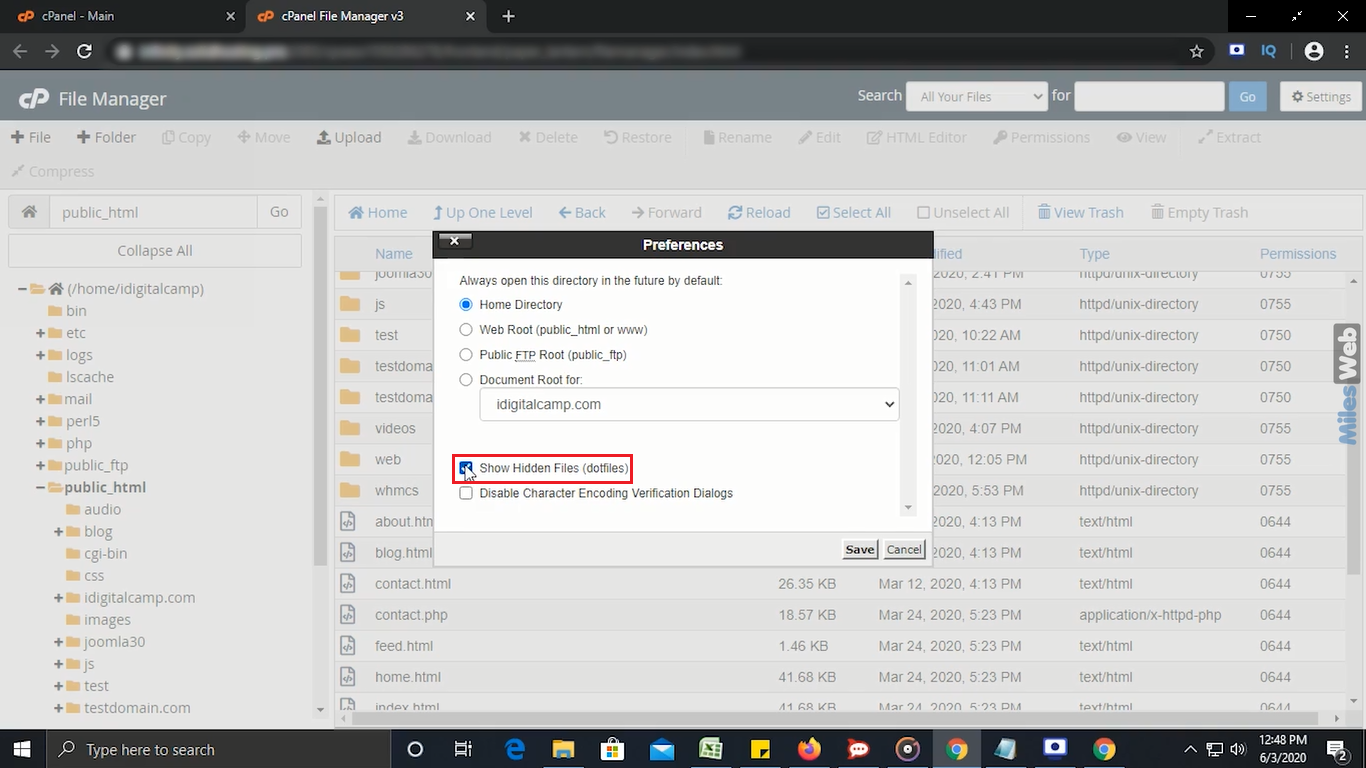
- Click on the Save button.
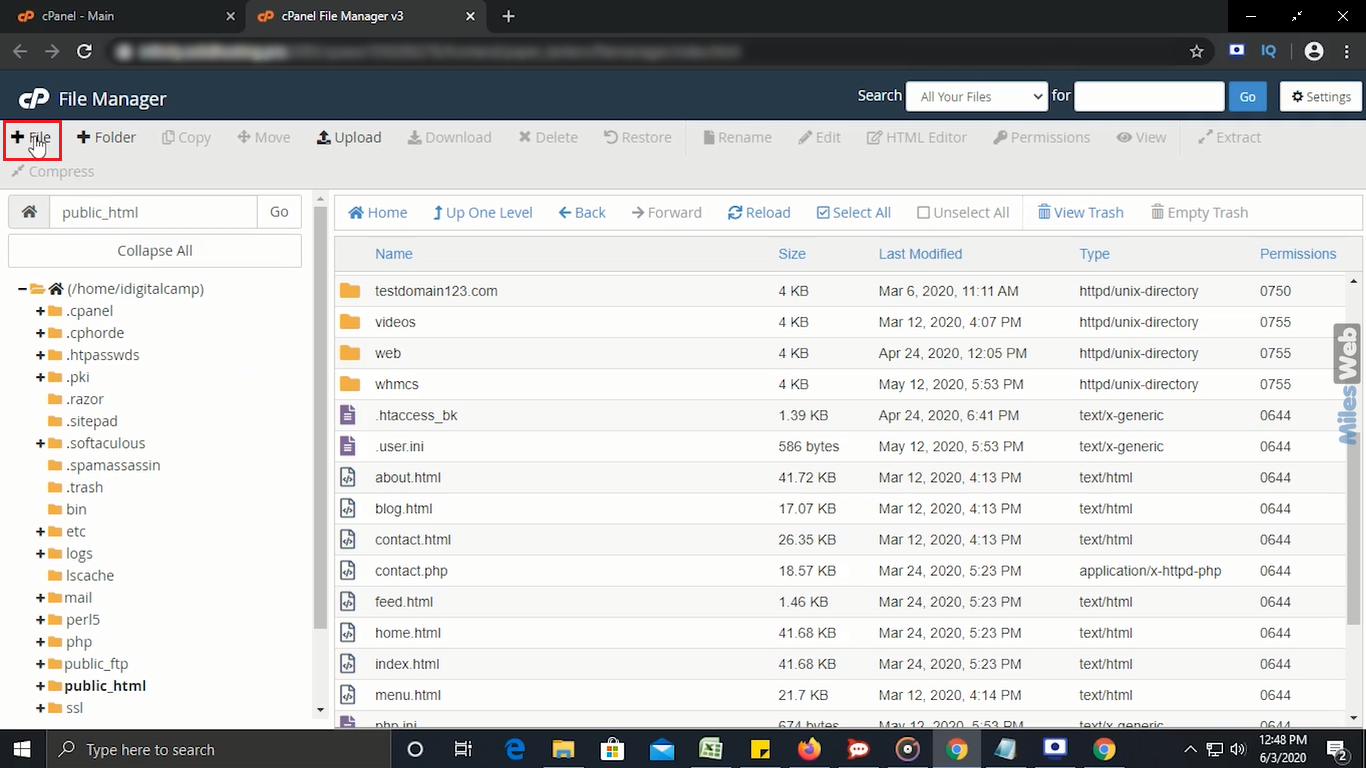
- Now, you will be able to see the .htaccess file, if you don’t see it then you need to create a new one.
- To create a new .htaccess file, click on File option in File Manager.
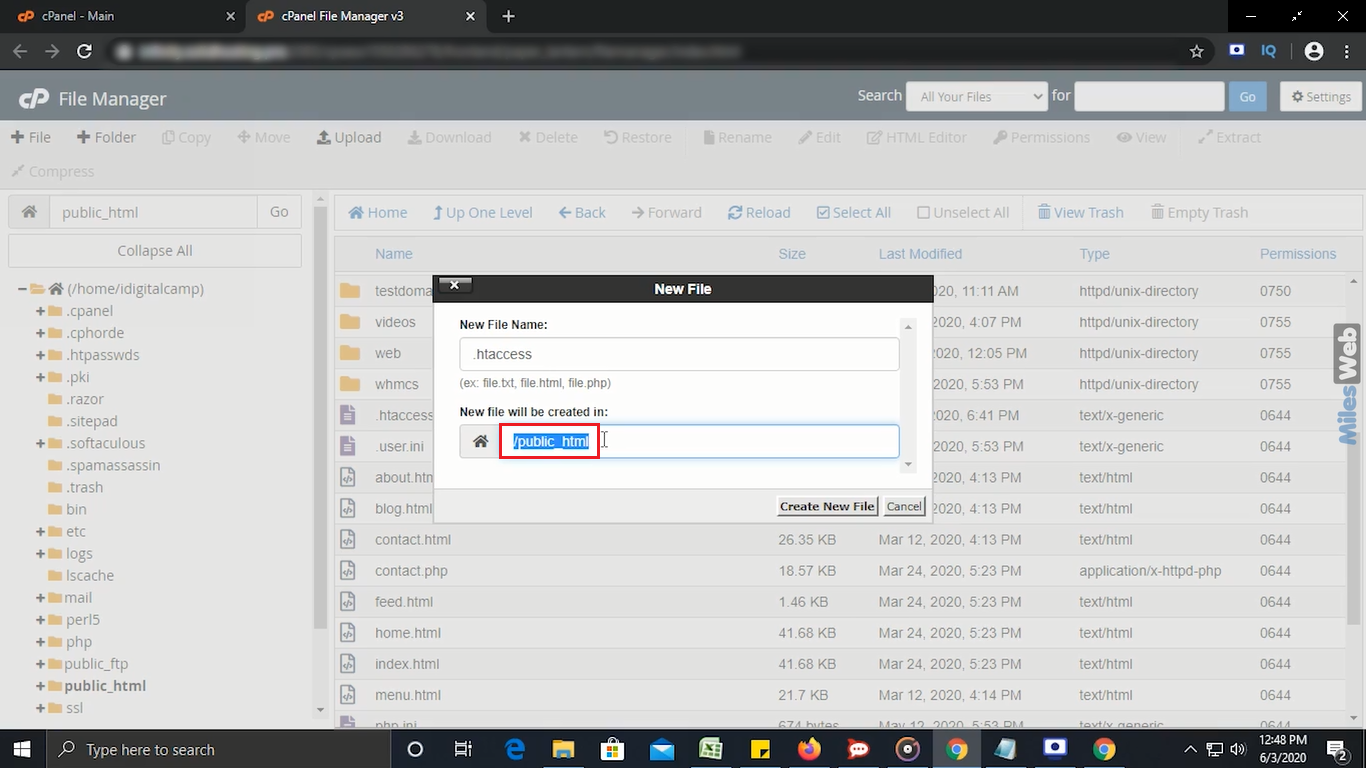
- A New File window appears.
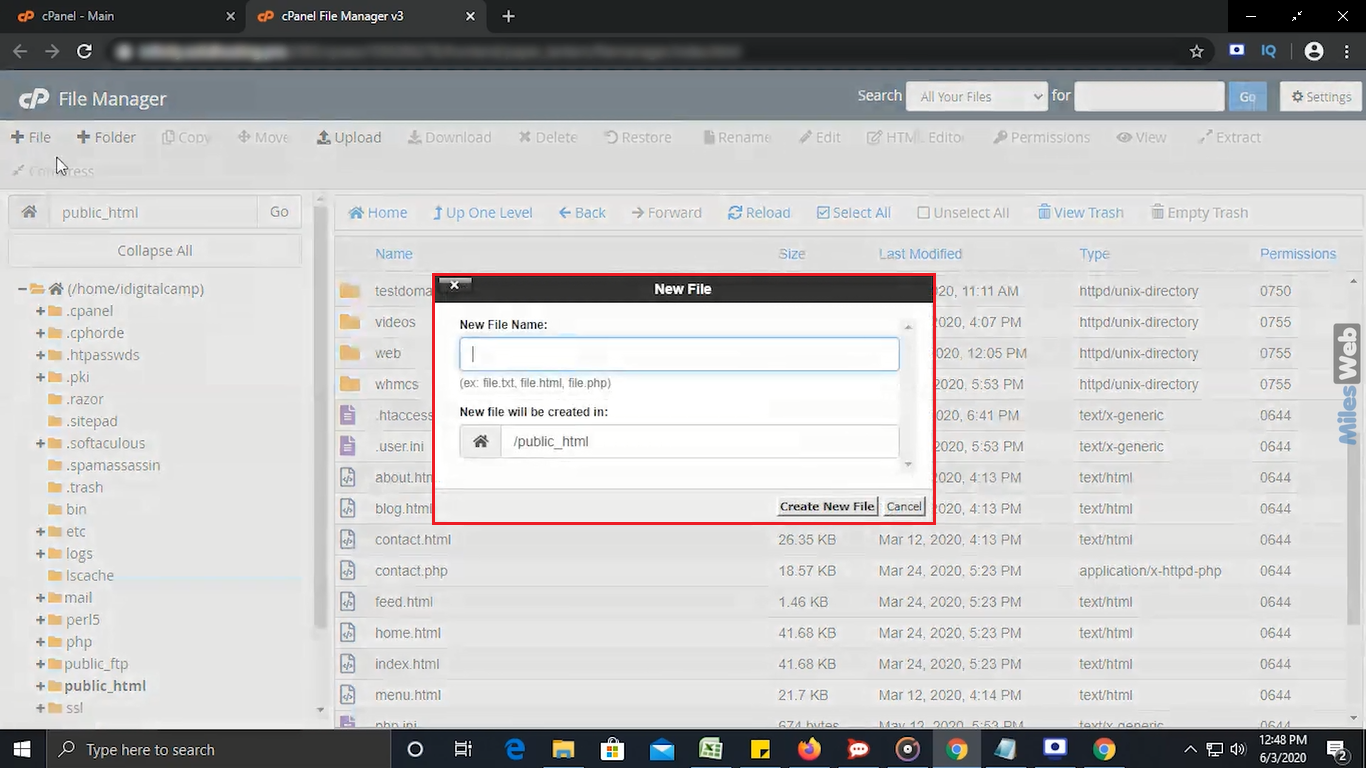
- Now, in New File Name text box type the file name as .htaccess and enter a directory where you want to place the .htaccess file in the below section. Here I have selected public_html directory so it is being displayed by default in this section.
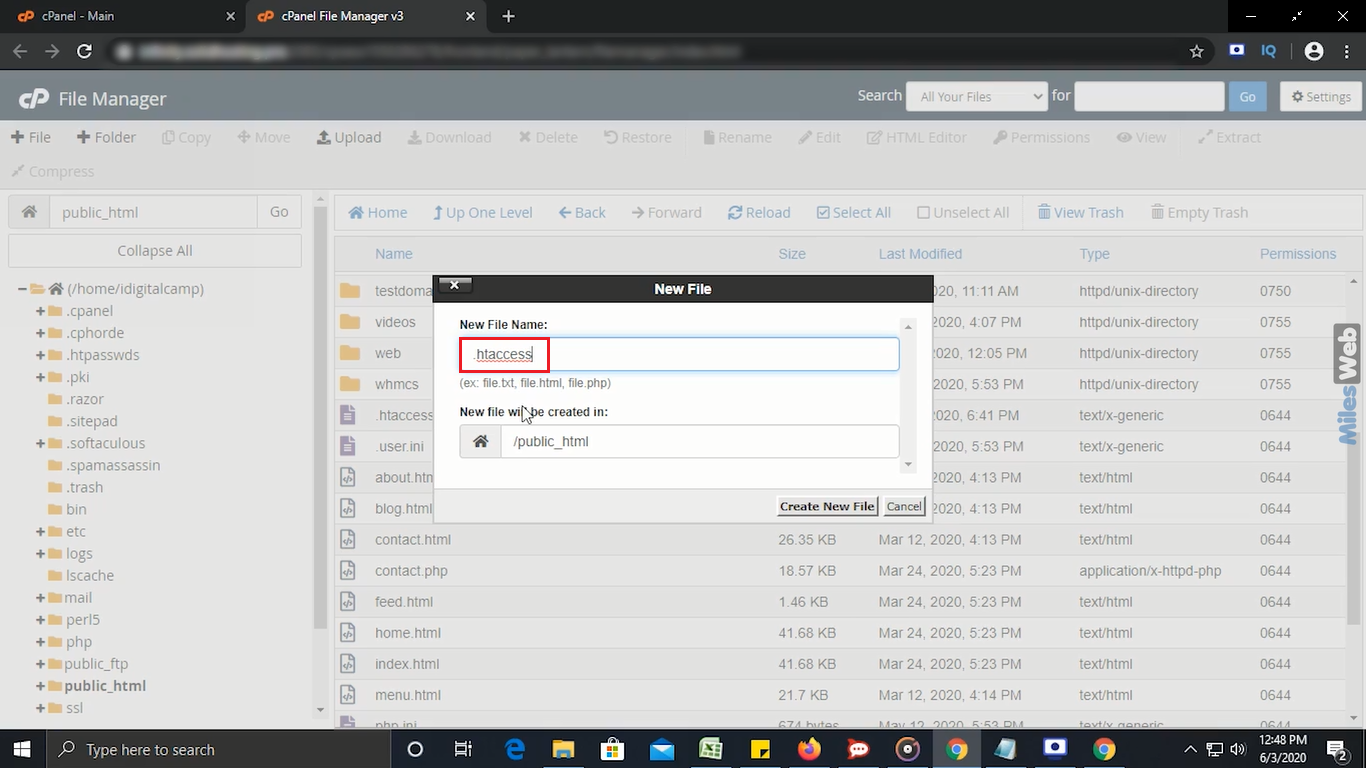
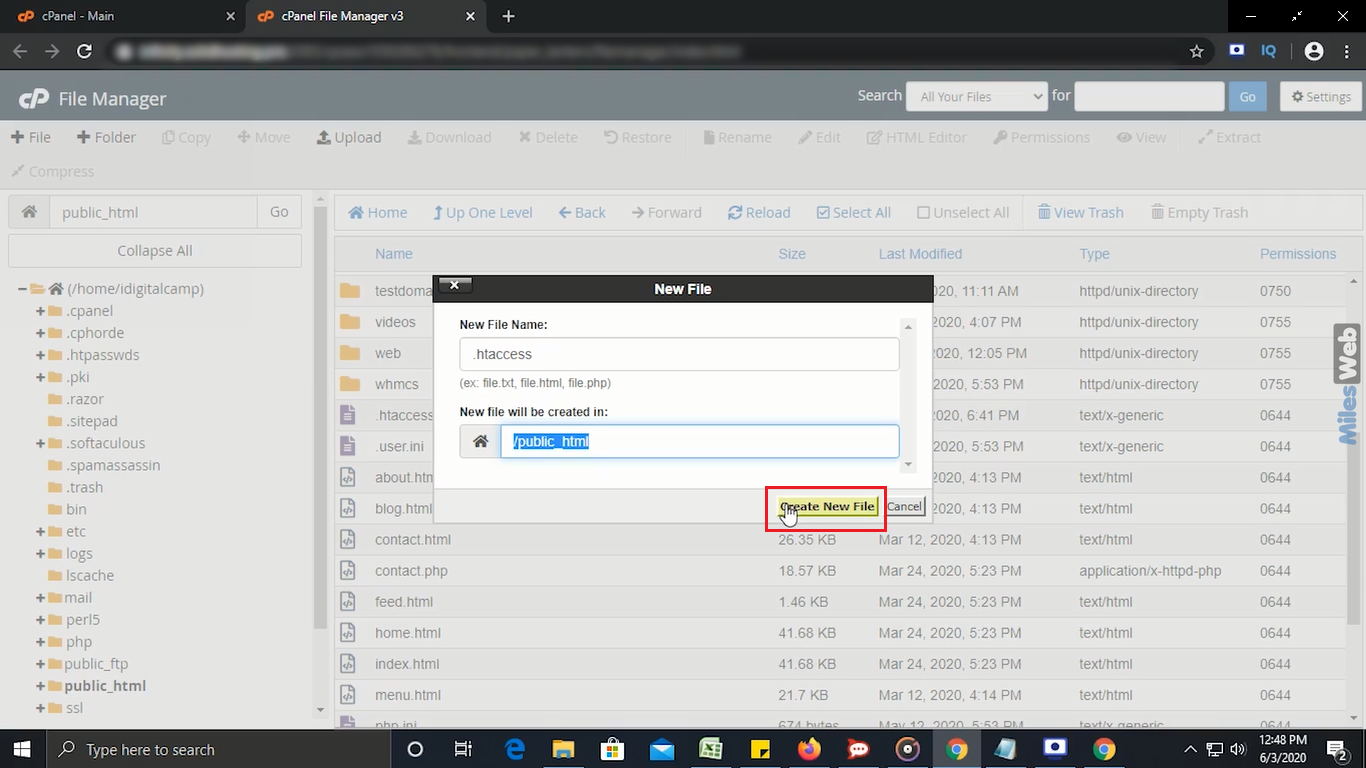
- Click on Create New File button.
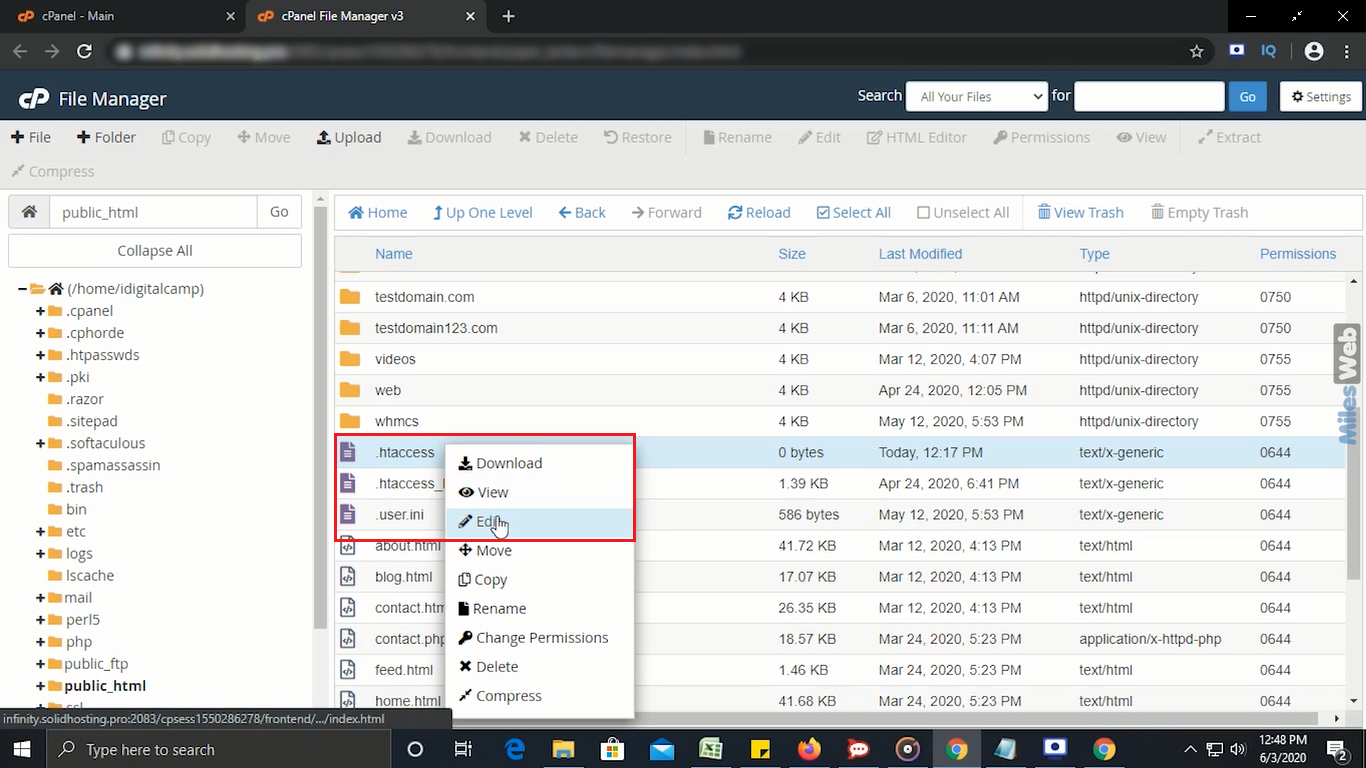
- Right-click on .htaccess file and click on Edit option in the Context Menu.
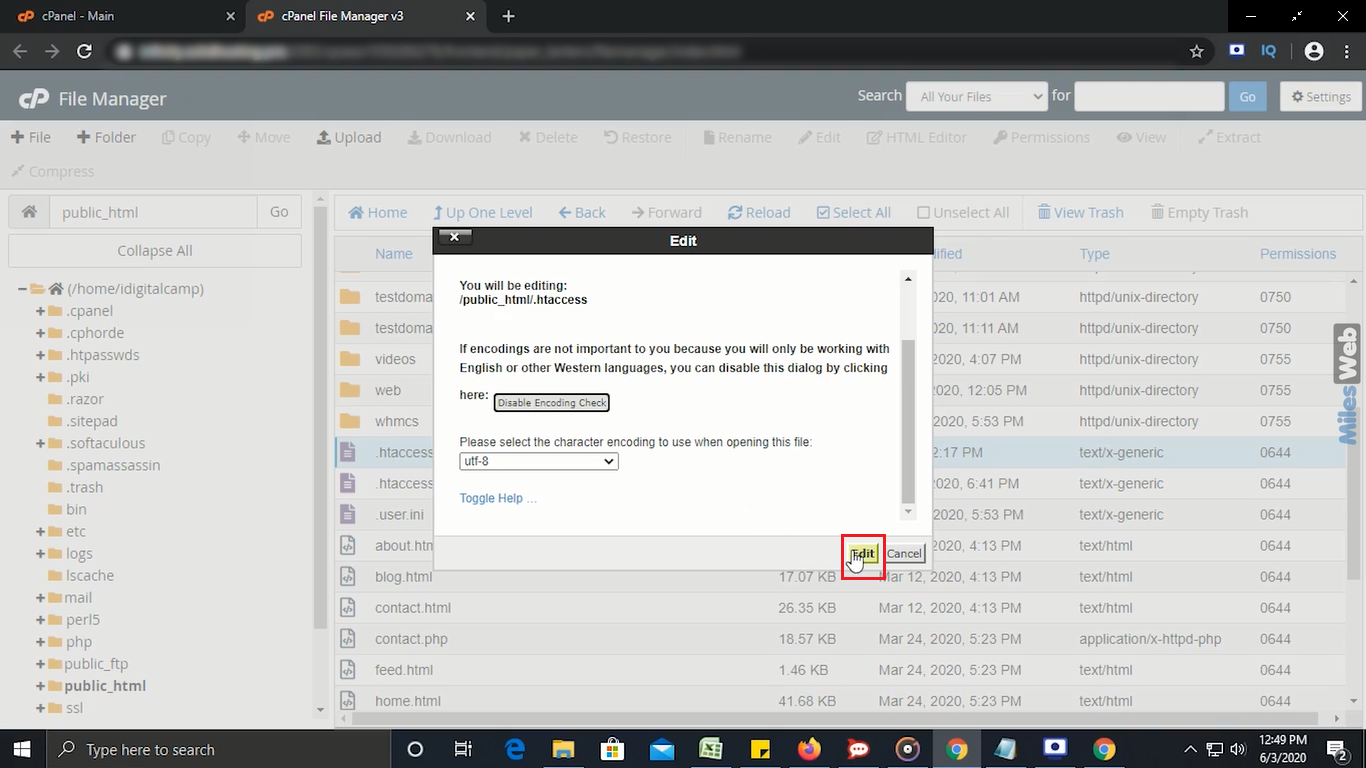
- After clicking on the Edit option, one dialogue box appears on the screen which will ask you for Character Encoding.
- If you don’t want to select any Character Encoding option, just click on the Edit button.
- After clicking on the Edit button, a new window appears in which you can update the existing code OR add a new one.
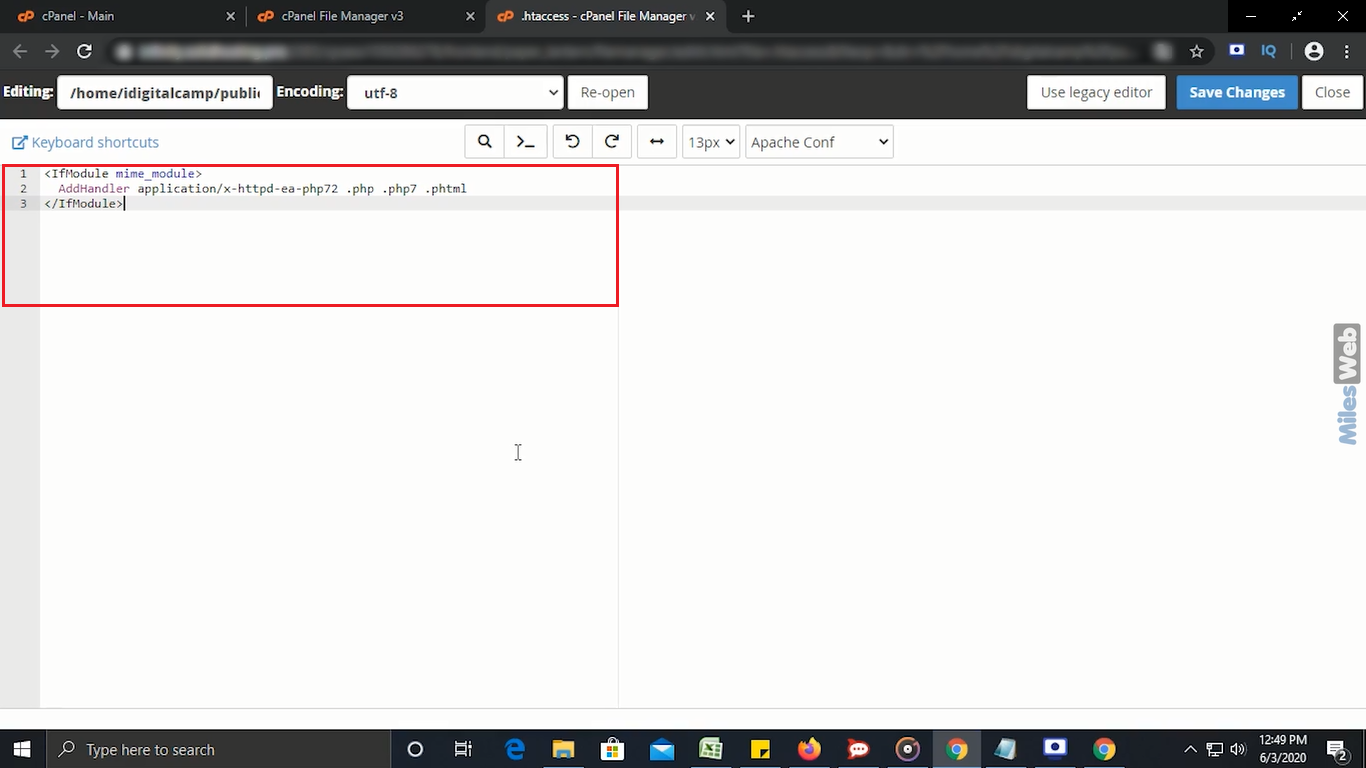
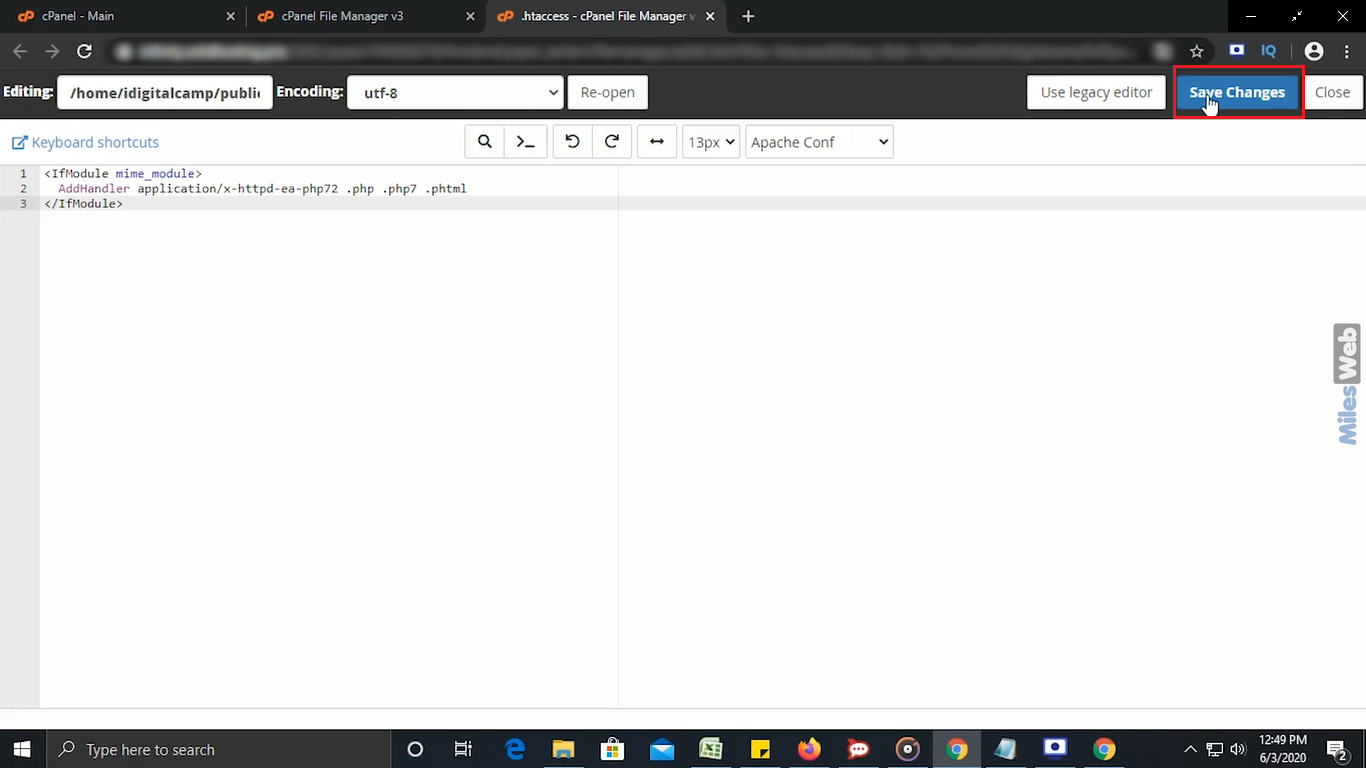
- Make the changes and click on Save Changes button.
So, in this way you can add OR edit .htaccess file through cPanel file manager.


