cPHulk Brute Force Protection is an application to prevent bruteforce attacks aimed to crack server passwords. It is effective as it blocks the IP addresses that have attempted bruteforce attacks on your server.
To Enable cPHulk Brute Force Protection
1. Log in to the WHM panel with your root account.
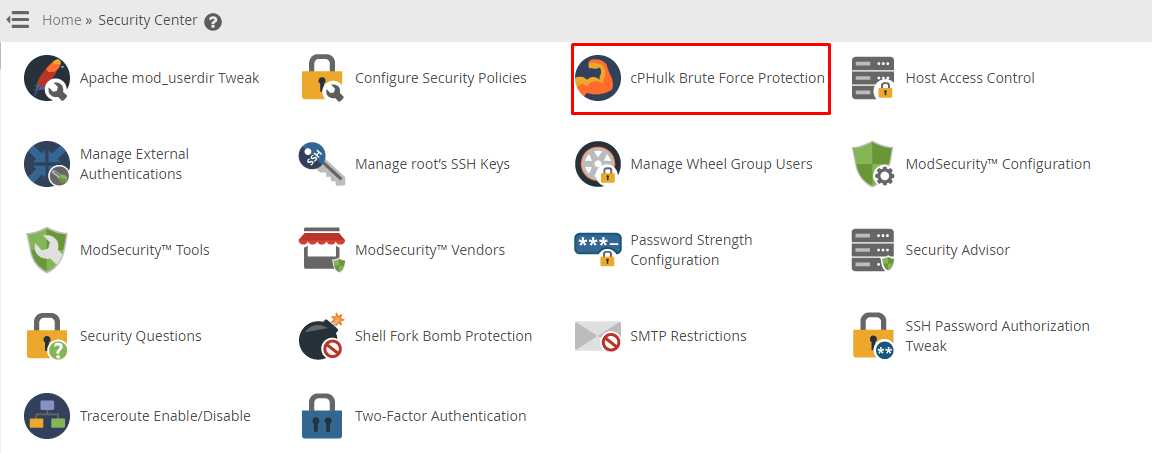
2. Select the Security Center option on the navigation menu.

3. Click on cPHulk Brute Force Protection.
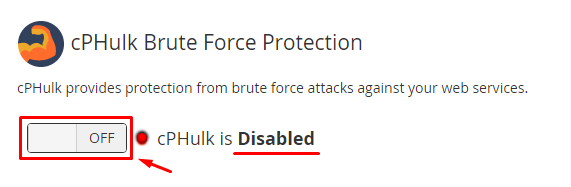
The current status of the application will appear, showing whether cPHulk Brute Force Protection is enabled/disabled.
4. Click the toggle button to ON/OFF the cPHulk Brute Force Protection.
5. If you switch ON the cPHulk Brute Force Protection button, you can freely customize the configuration and management settings for the application. Although, we recommend you keep the settings as default.
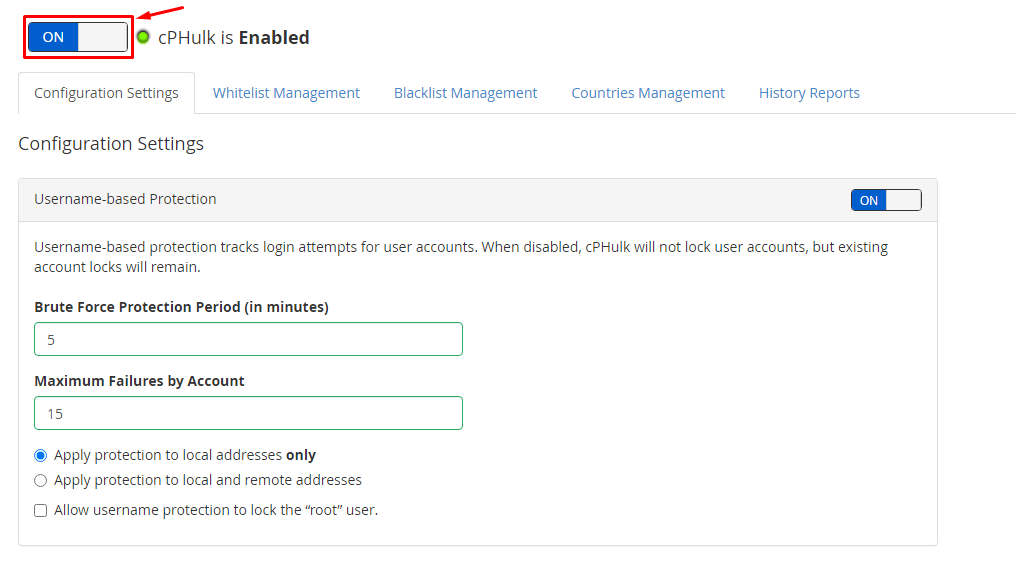
6. If you make any changes, you have to scroll down and click Save.
It will apply the customized settings to the cPHulk Brute Force Protection application.


