Cloudflare is a content delivery network (CDN) technology that accelerates the website speed and protects it from various online threats.
Cloudflare is easy to setup, affordable and offers a great performance.
There are two methods through which you can enable CloudFlare in cPanel for domain/s:
- Provision Domain with CNAME Setup
- Provision Domain with Full Zone Setup
Now will see the difference between Provision Domain with CNAME Setup and Provision Domain with Full Zone Setup.
Partial (CNAME) Setup
A CNAME setup doesn’t need any change of your DNS provider. It simply requires pointing any subdomain to Cloudflare by means of a CNAME record. In order to add www.domain.com to CloudFlare.
Full DNS Setup
Full DNS setup requires an update of the existing DNS provider to Cloudflare’s DNS, where Cloudflare becomes your authoritative DNS. This means you will need to update your name servers to the name servers provided by Cloudflare once the domain is added to Cloudflare.
Now, let’s start with the first method i.e. provision domain with CNAME setup.
Provision Domain with CNAME Setup
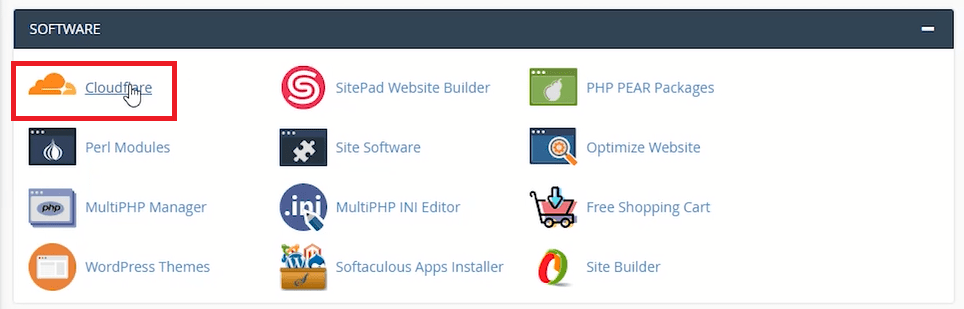
1. Login to cPanel.
2. Navigate to Software section, under that click on CloudFlare.

3. You can see the CloudFlare dashboard.
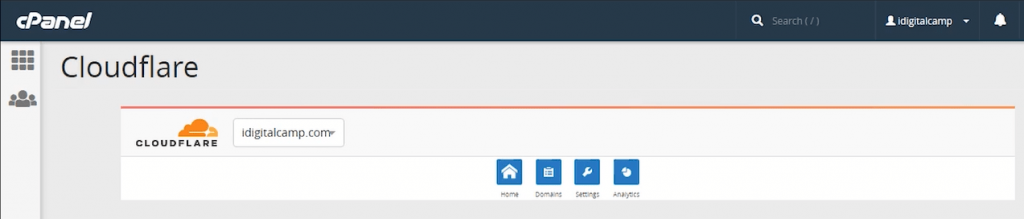

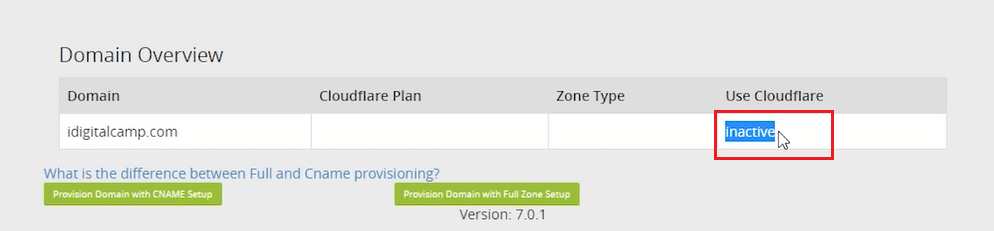
4. Here, we have already added idigitalcamp domain.
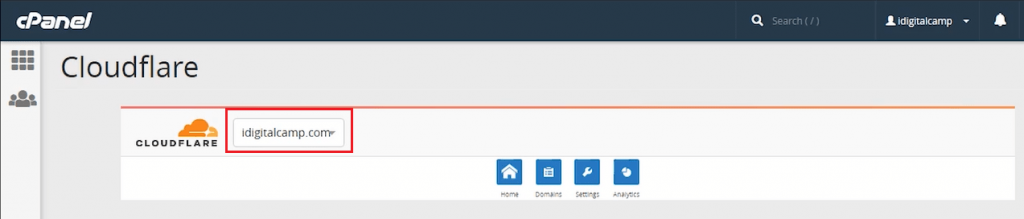

5. Now, click on Domains.


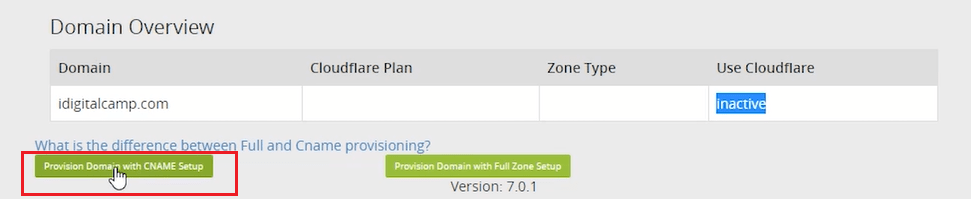
6. In the Use CloudFlare section, you get the status as inactive by default.

7. Click on Provision Domain with CNAME Setup.

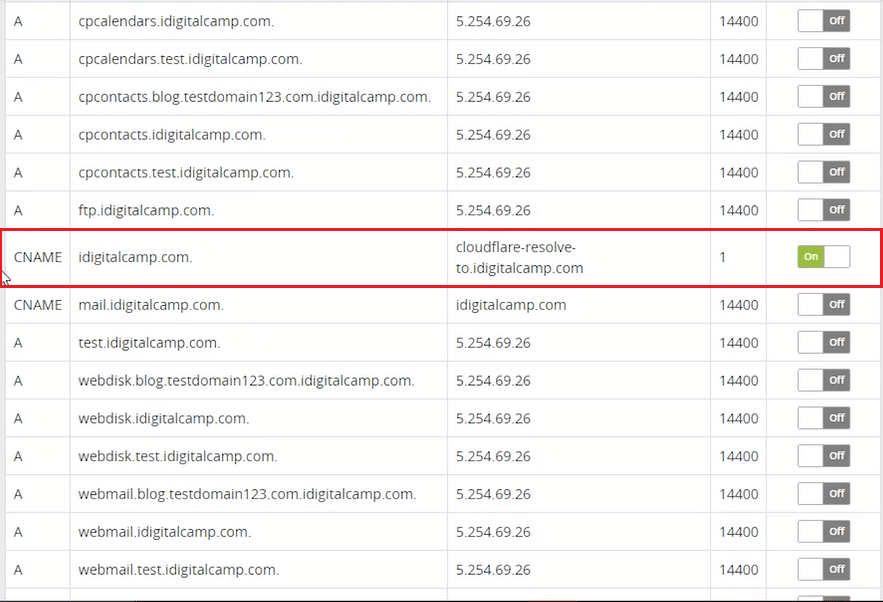
8. Here you get all the DNS records.
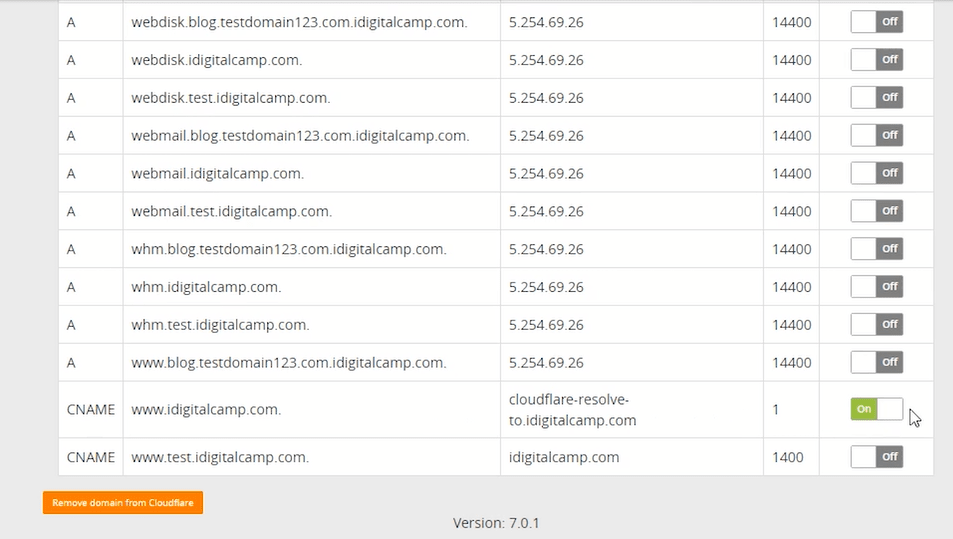

9. Then CloudFlare for a domain name gets enabled.

Provision Domain with Full Zone Setup
1. Now for second method, simply click on Provision Domain with Full Zone Setup.
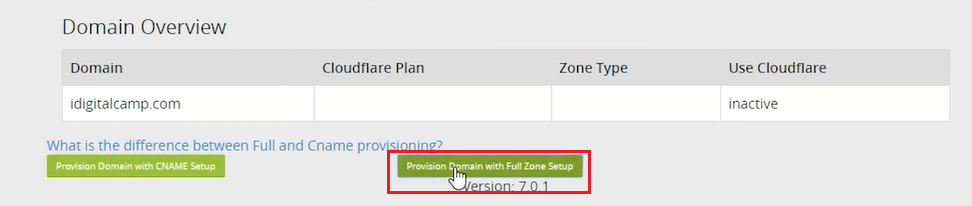

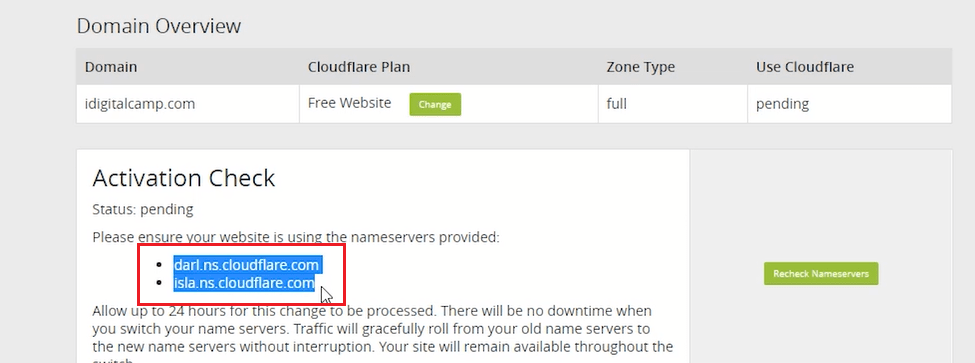
2. In the Use Cloudflare section, you get the status as pending by default.


3. Make sure that the nameservers provided to you must be updated from the domain registrars.

4. Here you can see all DNS records.
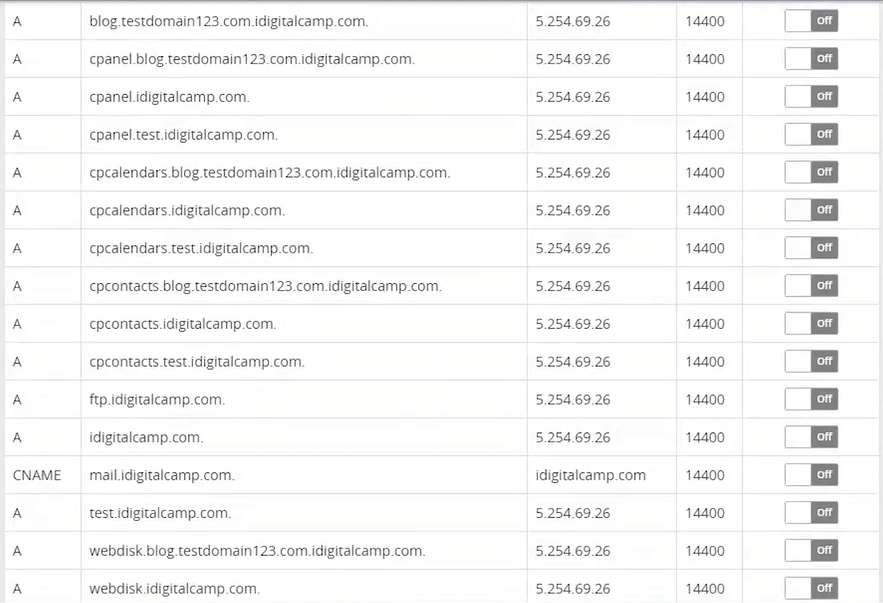

5. The DNS records which you wish to route through CloudFlare CDN, should be enabled.
And you’re done.


