Many of you face the issue of changing the cPanel username for your hosting accounts. Take a note that changing the cPanel username isn’t allowed on a shared server. Also, one needs to have root access to change it on VPS hosting and Dedicated server accounts.
Below are the steps to change the cPanel username of an account within the Web Host Manager (WHM):
Steps to Change the cPanel username in WHM
1. Log in to you WHM account.
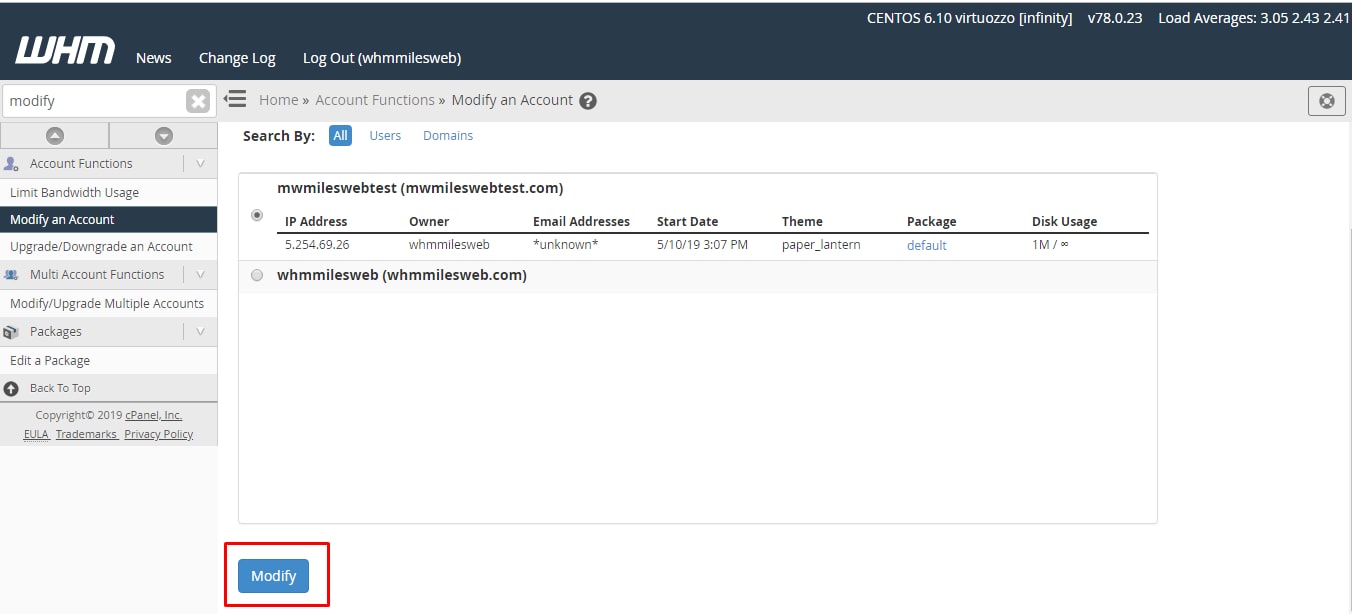
2. In the left-hand sidebar, find Modify Account and click on it.

3. This will take you to the list of accounts on the server. Find the account that you want to work with. You will need to click on it to highlight it and then click on the Modify button.
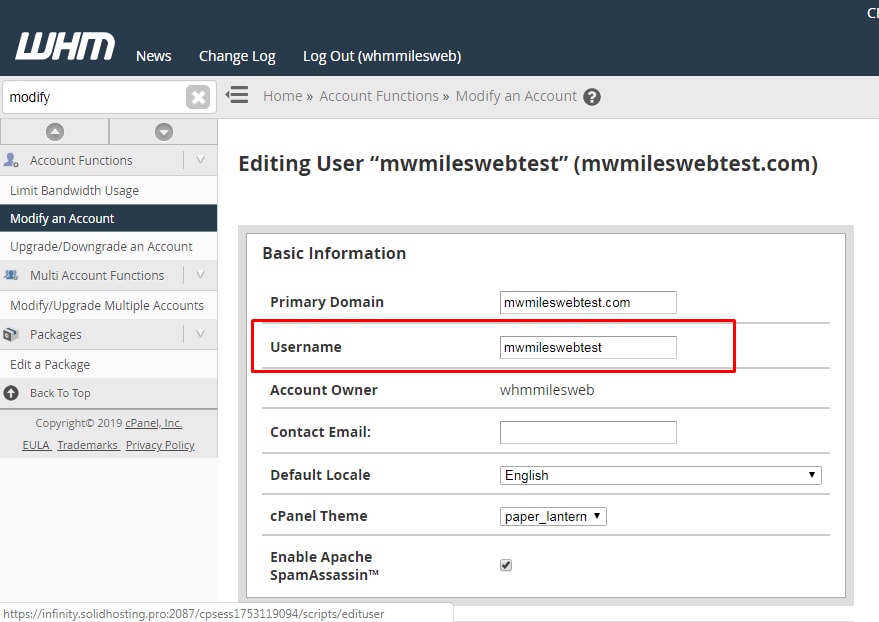
4. Now a list of attributes will appear and you can change the attributed accordingly. You will find the Username field at top of the page. Delete the current username and enter the new one there.
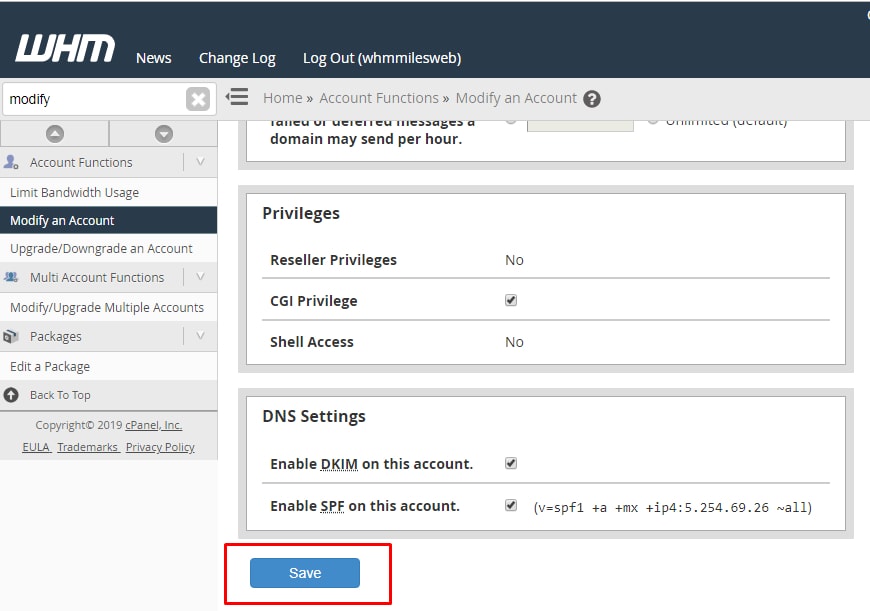
5. After changing the cPanel username, click on the Save button. A success message will be displayed that indicates that the name has been changed. Check below image that displays a new cPanel username as it will appear in the account list.
Once you change the cPanel username, you can use it to log in to the cPanel. Remember that you may need to modify the code for any program that uses the cPanel username for connecting to the site or server.


