Your hosting users are tenants that use the resources of your server. But, you need to manage their usage, or it will affect the server performance. With your Webuzo root access, you can set a limit on the allocated disk space for a user account.
To Set Disk Space Limit
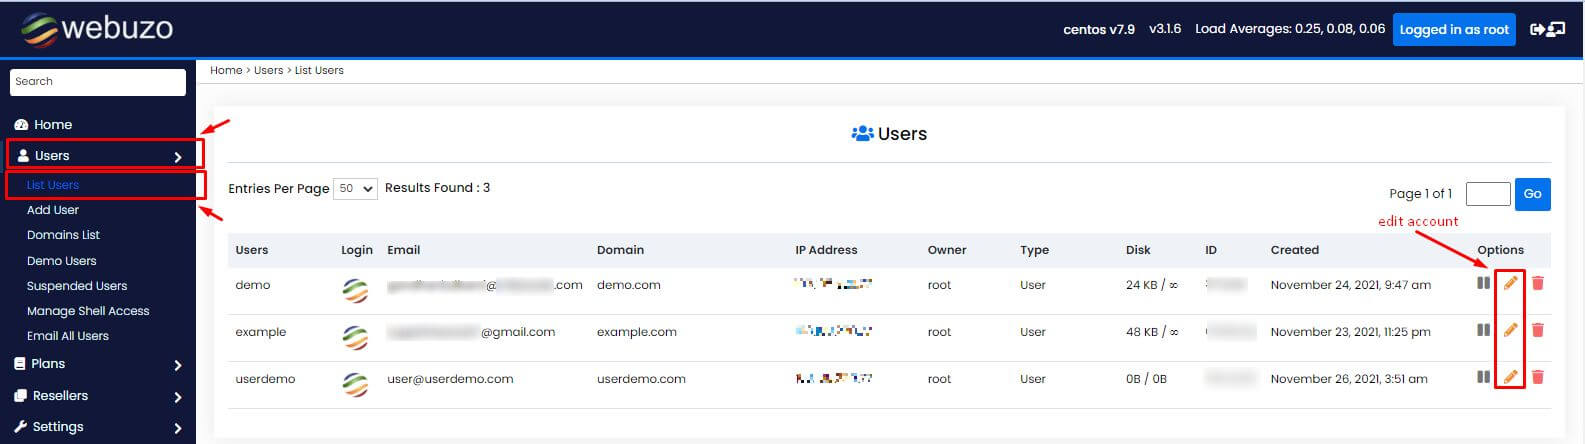
1. Log in to your Webuzo root account.
2. Open the Users section in the navigation menu and select the List Users option.
3. Click the pencil icon for the user account to edit its disk space limit.
The Edit User interface will open with many account edition options.
4. Scroll down to the Resource section and click the dropdown list for the Disk Space Quota field.
It will show two options: Unlimited and Custom.
5. Select the Custom option.
A text box will appear beside it.
6. Enter the memory (in MB) for the disk space you want to allocate the account.

7. Scroll down to the end and click on Save User.

Webuzo will save the details and apply the disk space limit to the user account.


