To set up your site using the AI website builder, log in to your WordPress dashboard and navigate to Appearance > AI Website Builder. Enter the domain name you wish to create in the designated field. The setup window will appear, allowing you to customize the website to suit your business. Follow the intuitive setup wizard to build your website exactly how you want it.
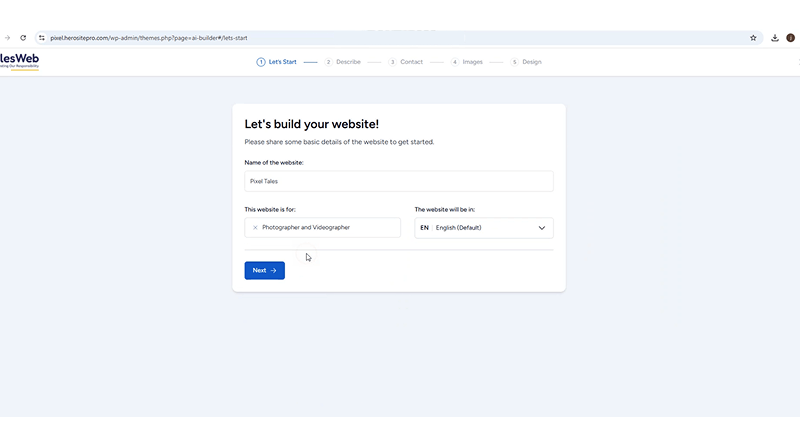
Step 1: Let’s Start
To begin, enter the core configuration details for your new project. Enter the core details for your new project to begin the setup process. This information serves as the foundation for your website setup.
- Website Name: Enter your desired title in the Name of the website field (e.g., The Vintage Cup).
- Business Category: Use the “This website is for” field to select your specific industry or business type (e.g., Cafe).
- Language Selection: Choose your preferred language from the menu, or proceed with English, which is set by default.
- Click Continue after filling in all the inputs to move to the next screen.
Step 2: Describe
In the text box, provide a short summary of your business. This helps the system understand your brand and tailor the website structure accordingly.
Description :
The Vintage Cup theme brings a classic look meant for cafes, tea rooms, and boutique bakeries. It combines a timeless aesthetic with modern capabilities to enhance your brand’s online visibility. This guide explains how to get your website ready quickly so you can focus on your customers.
We have provided sample text above; you can generate your ideal business description using the Improve Using AI option.
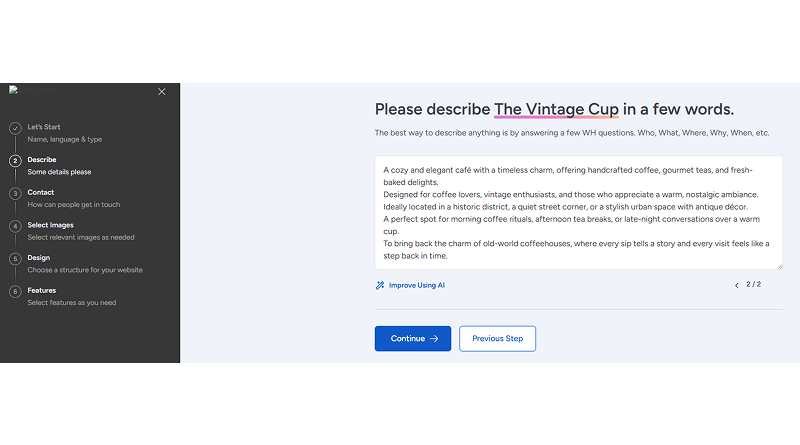
- Enhance Your Draft: Click Improve Using AI if you want to polish your writing and ensure your message is clear and professional.
- Finalize Details: Once you are satisfied with the inputs, select Continue to proceed to the next screen.
- Make Adjustments: If you need to revise your summary, use the Previous button to return to the description step.
Step 3: Contact
Help customers reach your business by providing your official contact details. This ensures your audience can connect with your business across multiple channels.
- Email Address: Enter your professional email in the Email field.
- Phone Number: Input your official contact number in the Phone Number field.
- Physical Address: Provide your business location in the Address field.
- Social Media: Click the Social Media button to link your profiles and grow your online audience.
- Continue: Select Continue after filling in the inputs to proceed to the next stage.
- Previous: Press Previous if you need to return to the description step.
- Skip: Click Skip Step if you wish to enter your contact information later.
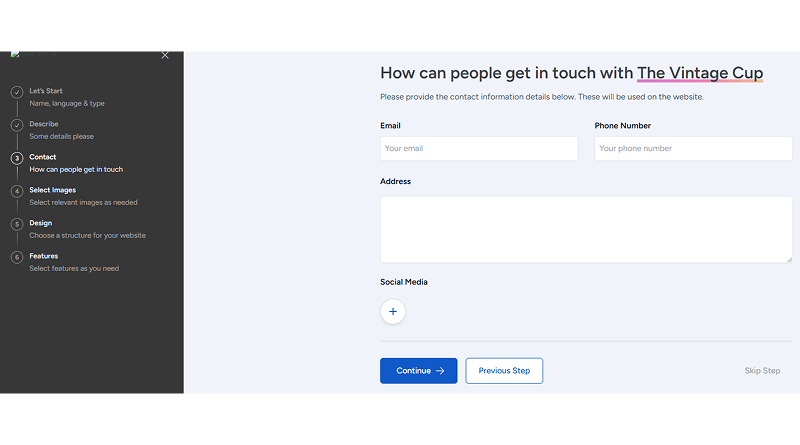
Note: The header for this section will automatically adjust based on your chosen name, appearing as How can people get in touch with [Your Website Name]?
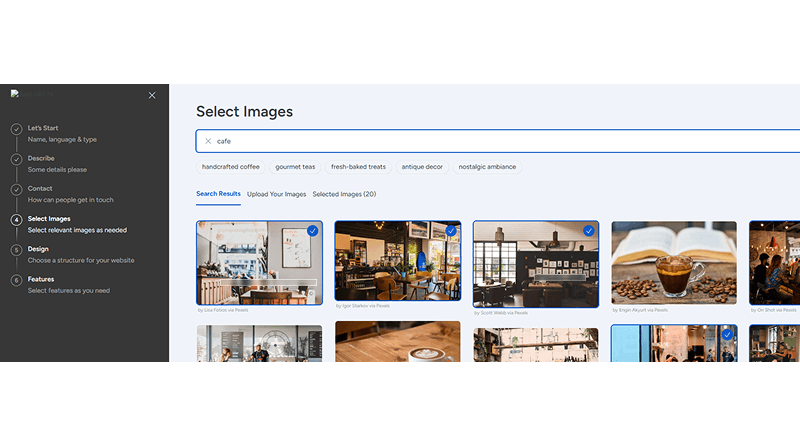
Step 4: Images
- Choose high-quality visuals to define the look of your website.
- Use the search bar to find specific photos. For a cafe, enter “Cafe” to browse relevant results.
- Pick at least 15 images that best represent your brand.
- Select Continue once you have finished choosing your images to move to the next stage.
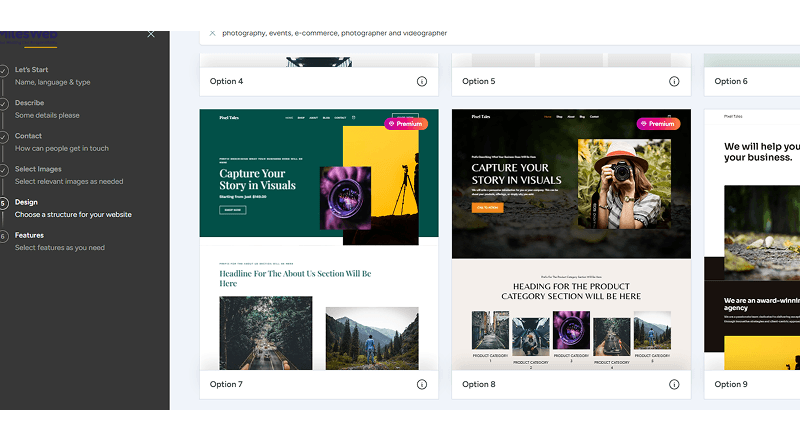
Step 5: Design
Choose the structure and style that best reflects your brand identity.
- Type “Cafe” in the search bar and press Enter to filter the layout options.
- Pick a design that suits your vision (e.g., option number 22).
- Use the Font Pair menu to select your typography (recommended: Open Sans & Work Sans).
- Choose your color palette from the available options (recommended: original).
- Press Back to other designs if you want to explore different layout structures.
- Select Continue once you have finalized your design choices to move forward.
Step 6: Select features
Pick the specific tools and functionalities you want to include on your website.
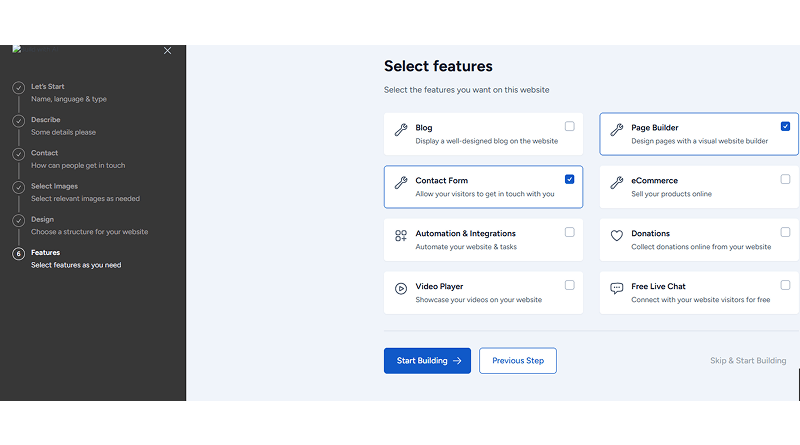
- Pick from multiple options such as Blog, Page Builder, eCommerce, Contact Form, or Automation & Integrations to customize your website. For instance,
- Blog: Post your stories, news, and updates through regular articles.
- Page Builder: Design and edit your pages using a visual editor.
- eCommerce: Create a store to sell products and handle payments.
- Contact Form: Give visitors a quick way to send you messages.
- Automation & Integrations: Link your favorite tools to handle repetitive tasks.
- Live Chat: Talk to your customers instantly to help them out.
- Portfolio: Put your best work on display in a professional gallery.
- Events & Booking: Organize your schedule and let people book slots or tickets.
Start Building: Press Start Building to generate your website using your selected preferences.
Previous: Use the Previous button to go back and adjust your design or color settings.
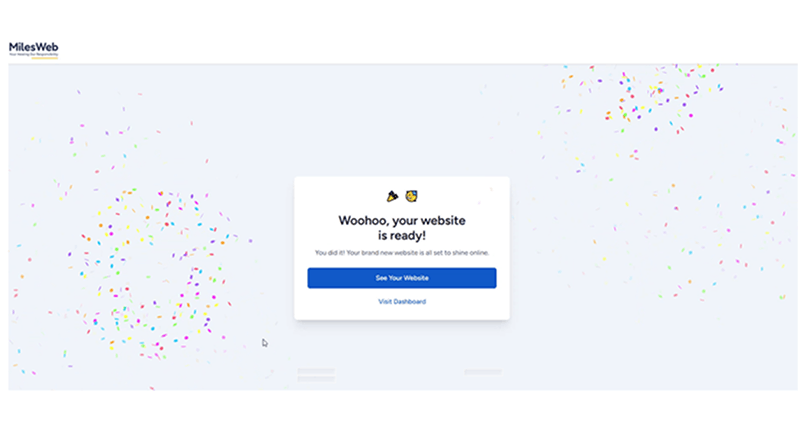
Congratulations! Your website is completely ready. You can now view your live site or continue making refinements to match your vision.
For more advanced customization, you can also check out – How to customize your website using AI Website Builder?


