
A dedicated mail server like IceWarp gives you full control over your organization’s email infrastructure, communication tools, and data privacy. IceWarp is a great solution for a Virtual Private Server (VPS) that delivers great performance and scalability but needs careful configuration of the terminal commands and DNS records to deploy it initially.
Here’s the full, step-by-step guide to getting your VPS set up from login to DNS configuration after installation.
Step 1: Log in to your VPS
Now log in to your VPS with the server IP address and root password provided.
Step 2: Start IceWarp Installation
When you’re logged in, execute the following command to start the setup process:
install_icewarpLet the script run. Do not make any changes until you get to the hostname configuration step.
Step 3: Set the Hostname
When asked:
Hostname: mail.clientdomain.com
Enter a valid hostname, e.g: mail.thatisfun.in
Important: Make sure the hostname points to your VPS IP before continuing. Create an A record for the hostname at your DNS / nameserver provider.
Record Type: A
Name: mail.thatisfun. in
Value: Your VPS IP address

Step 4: Configure the Primary Domain
When asked: Enter primary domain name [icewarpdemo.com]: Enter the domain name you want to configure with IceWarp, e.g., thatisfun.in

Step 5: Set the Username and Password
Select a user name and password to suit your needs. When you type your password into the terminal, you won’t see anything. That’s normal behavior. Type the password in, either type it in or copy and paste it into the terminal by right-clicking. Enter the password correctly. And be sure to keep it safe.

Step 6: Obtain the Trial License
You will see:
Start the wizard and get a trial license [Y/n]: Press Y for a trial license. If you have already bought an IceWarp license, you can use the license you bought instead.
Step 7: Complete the IceWarp Wizard
You are now entering the IceWarp Setup Wizard. Press Enter to continue and enter the required information. Ensure that all the information you enter in the wizard is valid and correct.
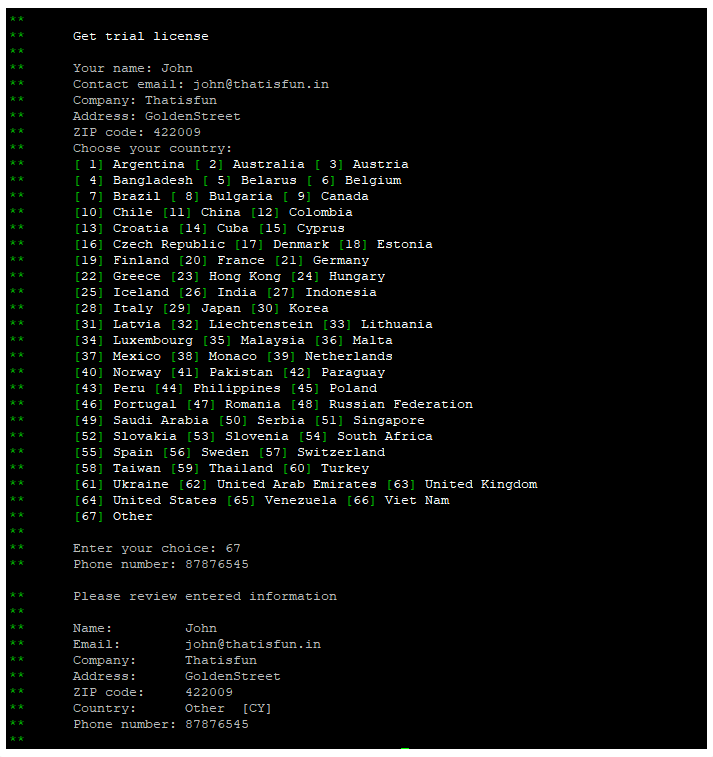
Step 8: Confirm the Configuration
You will see:
Do you want to edit entered data? [N/y]:
Enter N.
Then:
Do you want to register for a trial license now? [Y/n]:
Enter Y.

Step 9: Access the IceWarp Dashboard
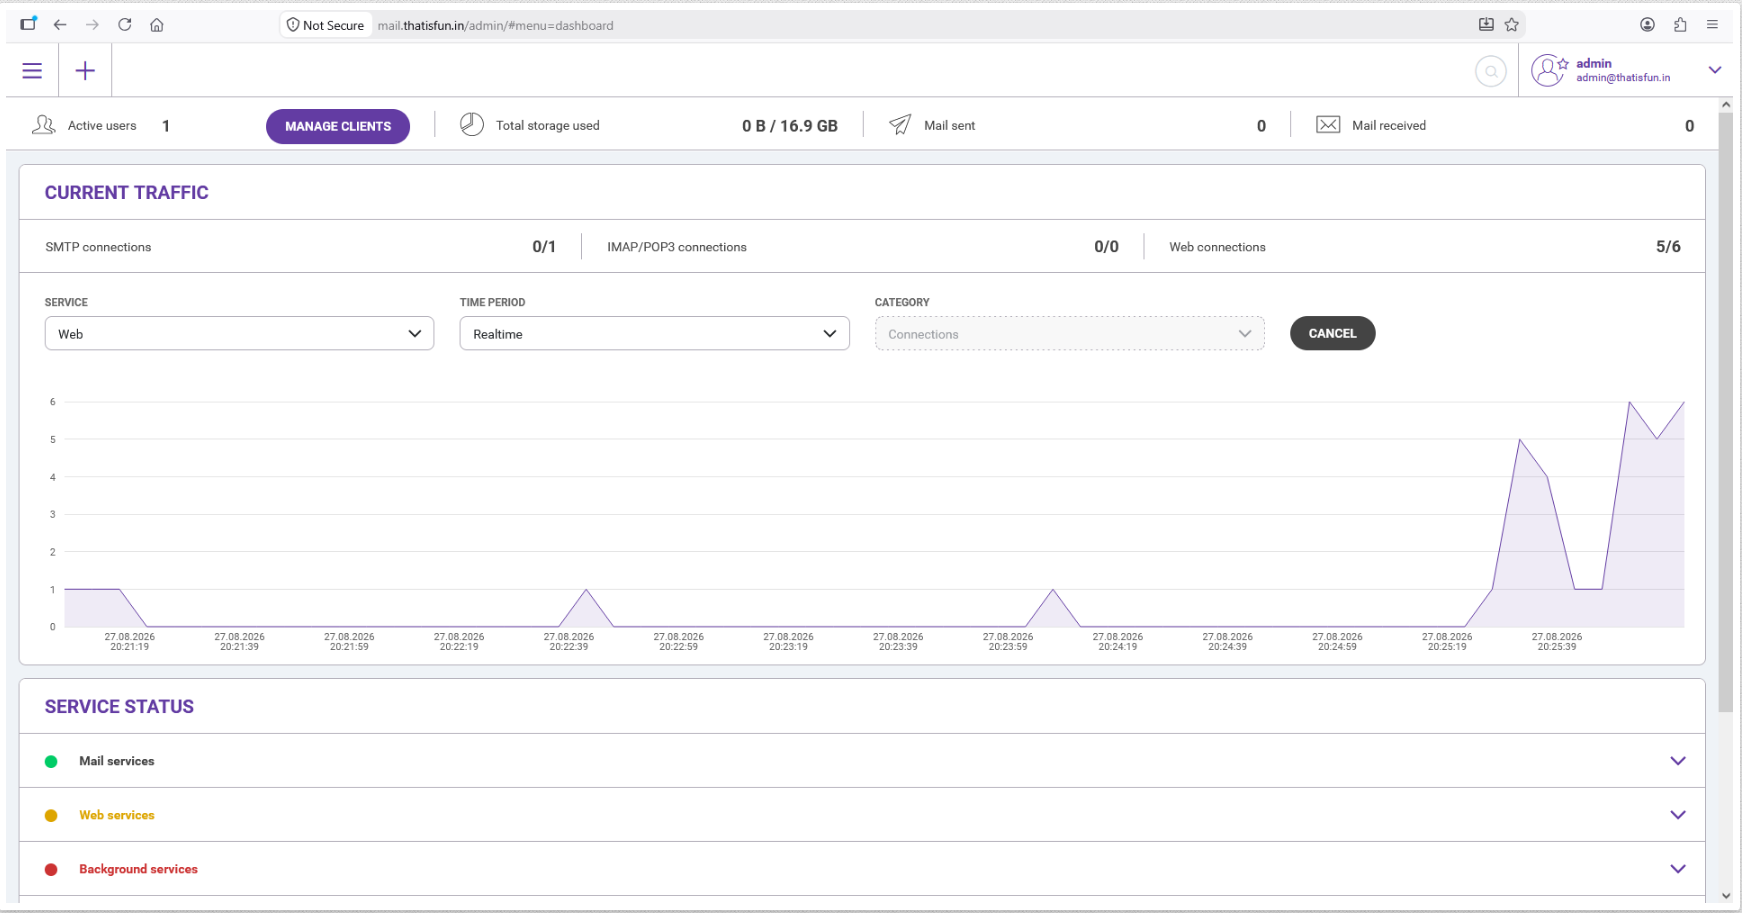
Once the setup is completed successfully, you will get a link to access the IceWarp dashboard. Please open the link below in your web browser. Log in to the dashboard using the username and password you set during installation.
Reference screenshots:

DNS Configuration
After you have installed IceWarp, you need to set up the following DNS records with your DNS/nameserver provider for your domain.
A Record
Record Type: A
Name: mail.domain.com
Value: Your VPS IP address
Example:
mail.thatisfun. in → Your VPS IP address
MX Record
Record Type: MX
Name: domain.com
Value: mail.domain.com
Example:
thatisfun.in → mail.thatisfun.in
Important: Before you configure the MX record, you must have a valid A record for the mail.domain.com hostname pointing to your VPS IP. Allow enough time for DNS propagation after making DNS changes.
You have successfully completed the installation of your IceWarp mail instance, and you have configured your DNS records correctly. Your IceWarp mail instance is now ready for production.
Now you have full control over your enterprise communication platform, like accounts, storage quotas, and security settings. For best server health, you should install a valid SSL/TLS certificate to secure WebAdmin and mail transport connections and (if needed) add SPF, DKIM, and DMARC DNS records to increase email deliverability and protect your domain from spoofing.