Log In to Your Client Area
To start managing your VPS, log in to your MilesWeb client area using your registered email address and password.
Navigate to Service > My Services
After logging in:
- Go to Service > My Services from the main menu.
- Under the My Products & Services section, locate your VPS plan.
- Click on the Manage VPS option next to the domain.
Navigate to the List VPS
Once the VPS interface opens:
- Navigate to the List VPS menu.
- Here, you will see all the VPS instances added under your account.
- Select the hostname/IP of the VPS you want to manage.
Use VPS Control Options
Next to each hostname, you’ll find multiple action icons that allow you to control the VPS:
- Stop VPS – Gracefully stops the server.
- Restart VPS – Reboots the VPS.
- Power Off VPS – Immediately powers off the server.
- VNC (Virtual Console) – Access the VPS console directly.
- Manage – Opens advanced VPS management options.

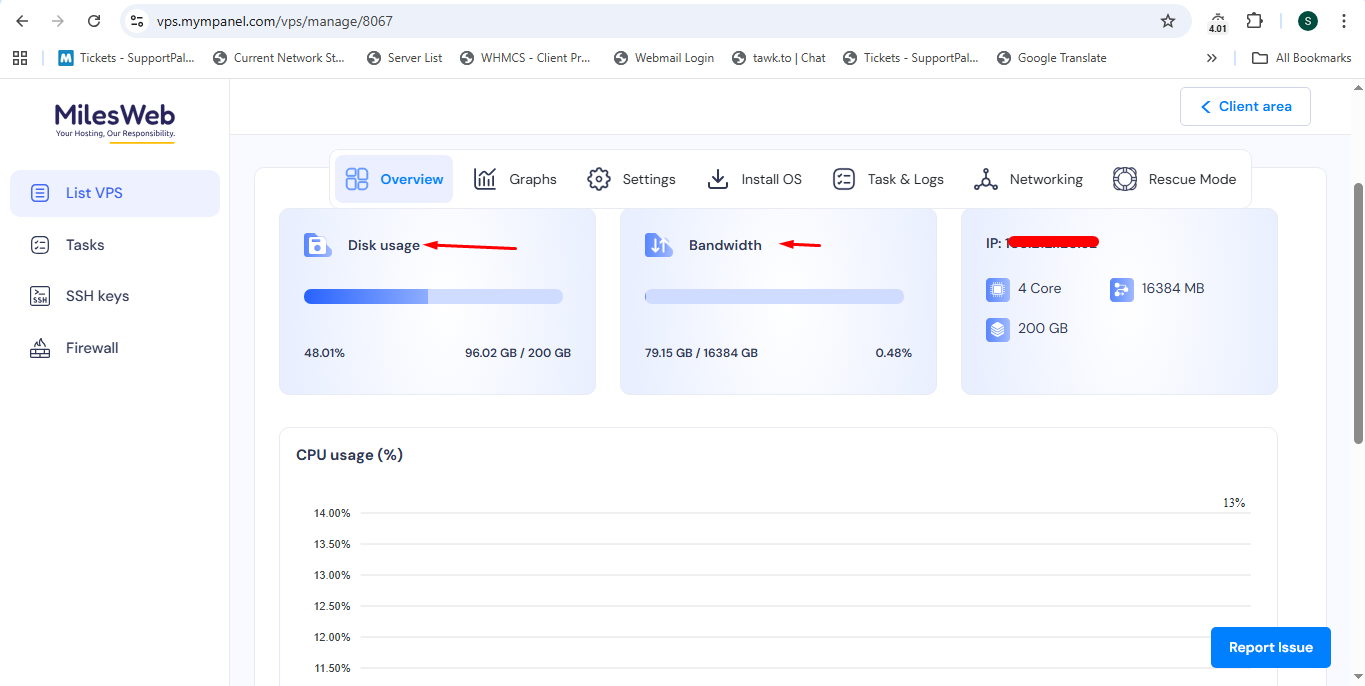
Manage VPS Settings
Click on the Manage option to access detailed controls. Inside this interface:
- Overview Tab
- Monitor disk usage, bandwidth consumption, and CPU usage.
- Monitor disk usage, bandwidth consumption, and CPU usage.
- Install OS Tab
- Perform operating system installation or reinstallation.
- For step-by-step guidance, refer to the OS installation article.
- Perform operating system installation or reinstallation.
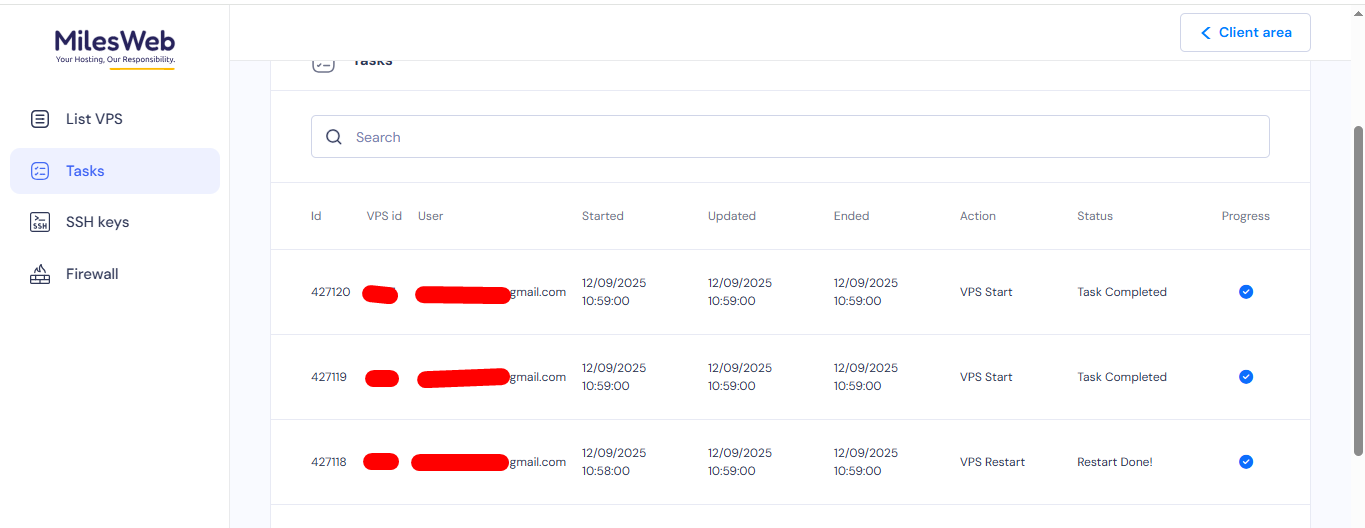
Navigate to the Task Menu
In the Task section:
- View logs of all server-related actions such as start, stop, restart, and power off.
- This helps you track VPS activity and troubleshoot issues if needed.
Navigate to the SSH Keys Menu
To manage SSH access:
- Open the SSH Keys menu.
- Click on Add SSH Key.
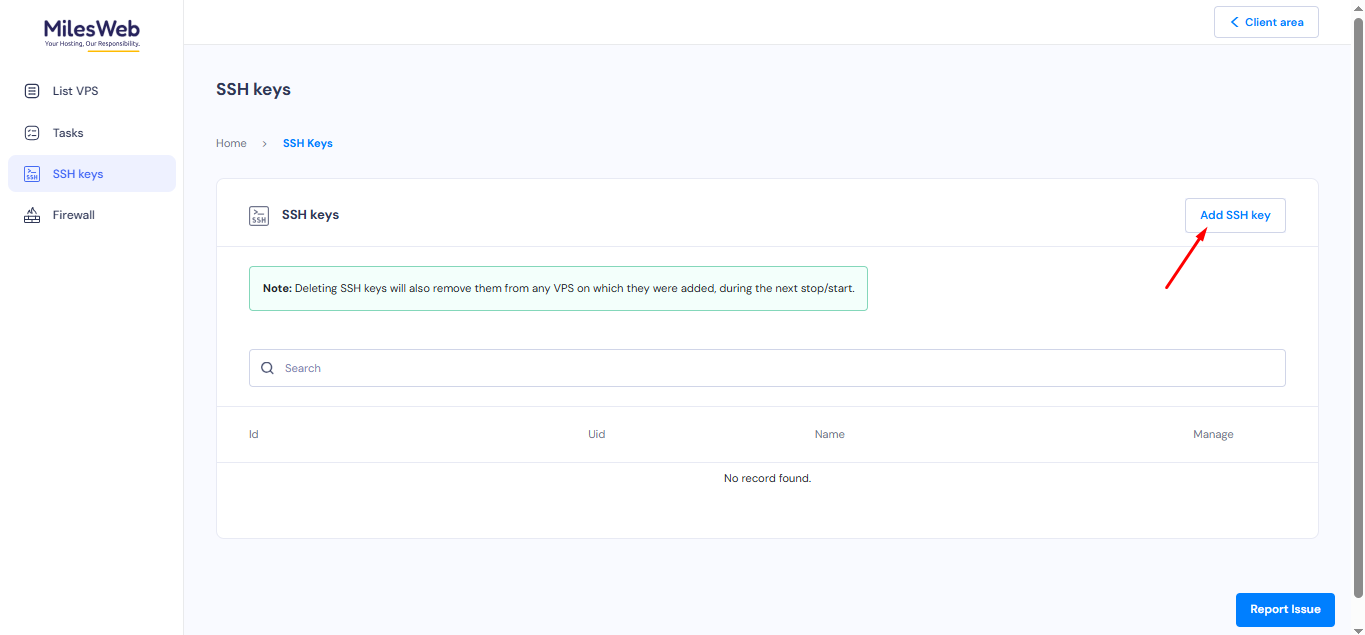
- Enter the SSH key name and public key.
- Click Save to securely store the SSH key details.

Navigate to the Firewalls Menu
To configure firewall rules:
- Go to the Firewalls menu.
- Click on Add Firewall Plan.
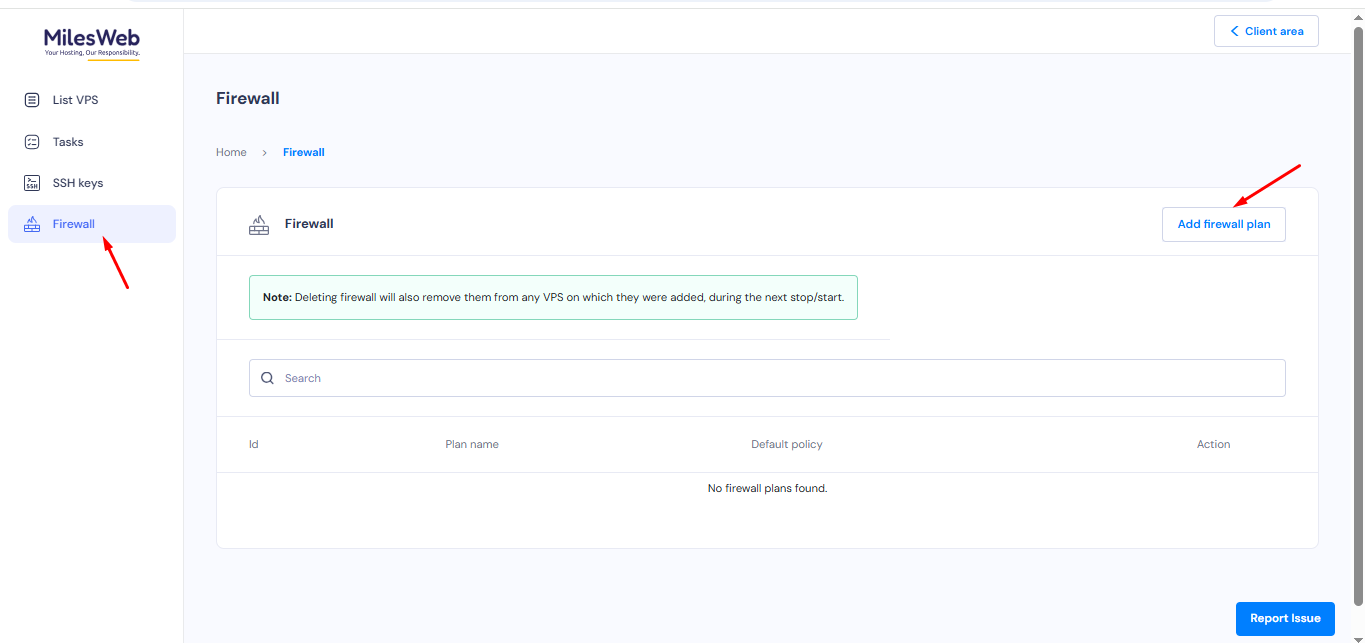
- Enter the plan name and other required details.
- Click Add to save and apply the firewall configuration.

Note: Whenever you add SSH keys and firewall rules, ensure that you restart the server from the control panel.


