Introduction
Configuring email forwarders in cPanel is a simple process that enables you to send mail that is addressed to one email account automatically to another. In the “Email” tab of your cPanel control panel, the “Forwarders” function makes it possible for you to set up rules indicating which email address should have its incoming mail forwarded to a given destination email address.
This is especially handy for grouping several email accounts together or generating professional-looking aliases for your main inbox, so you never miss a vital message.
How to Add An Email Forwarder (in cPanel)
Below mentioned are steps for adding an email forwarder:
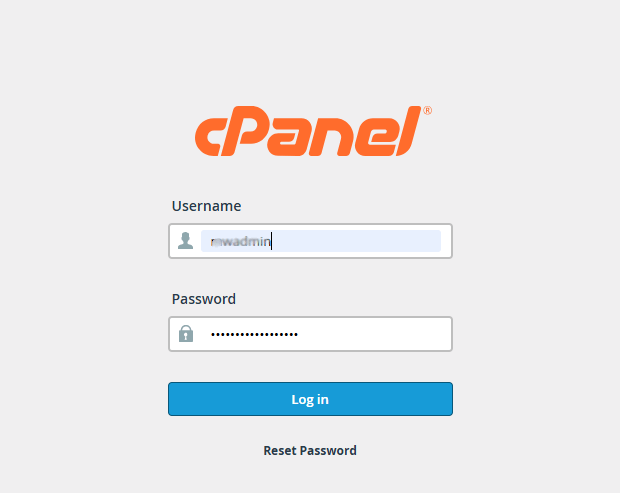
Step 1: Log in to your cPanel account.
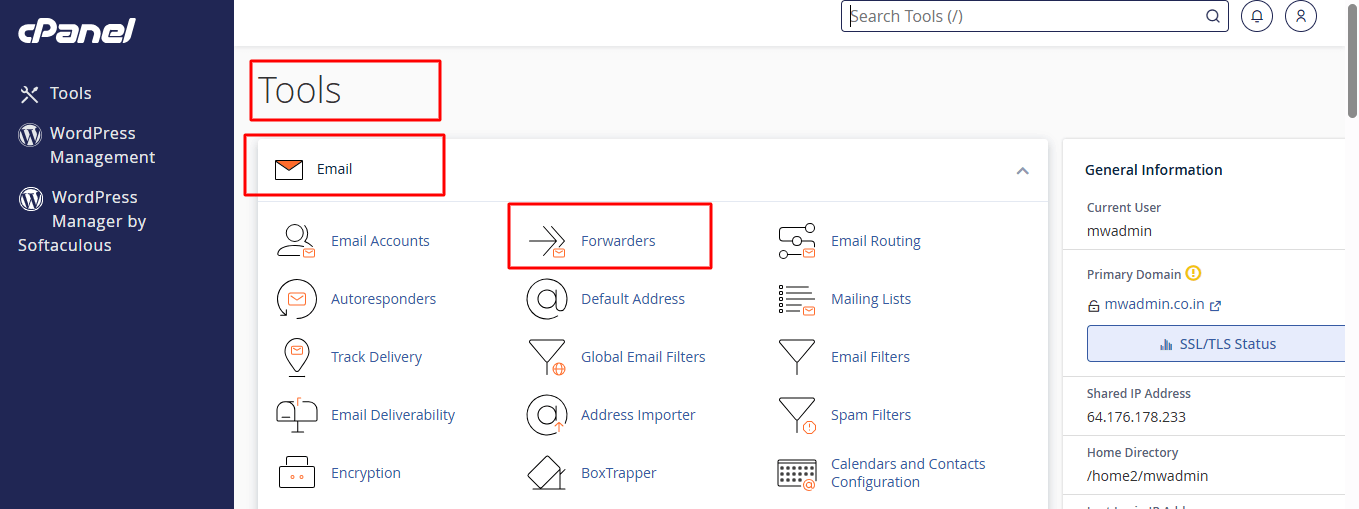
In order to access the forwarders menu, click on the Tools > Email > Forwarders on the main screen of your cPanel interface.
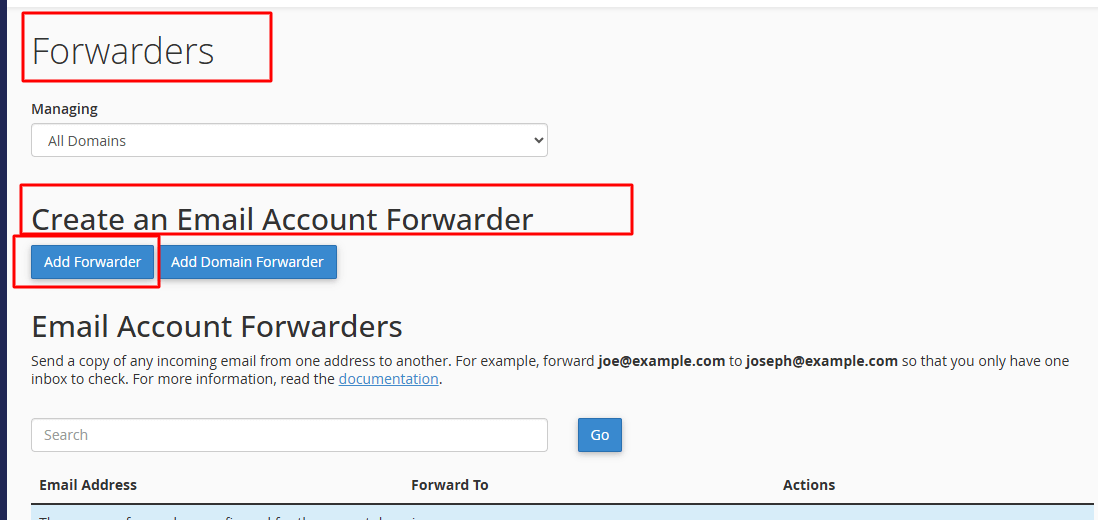
Step 2: Locate “Create an Email Account Forwarder” in the Forwarders section. Next, click on Add Forwarders.
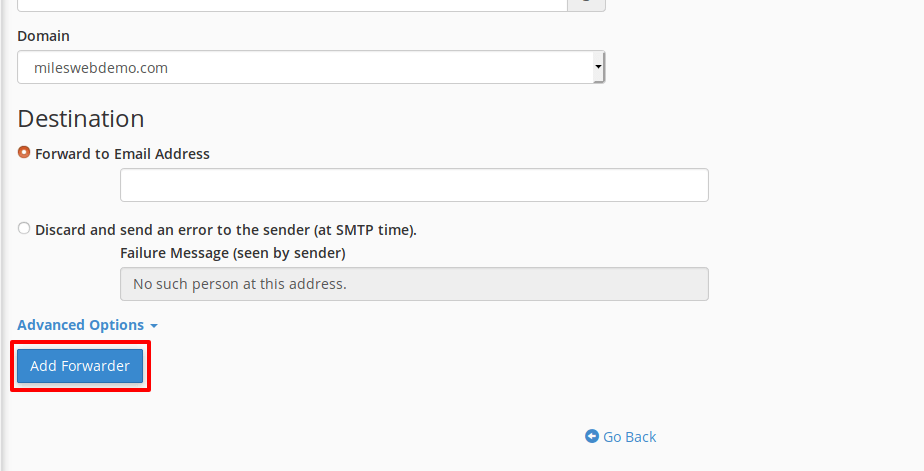
Step 3: Enter the relevant name for the email address you wish to forward from in the first blank field.
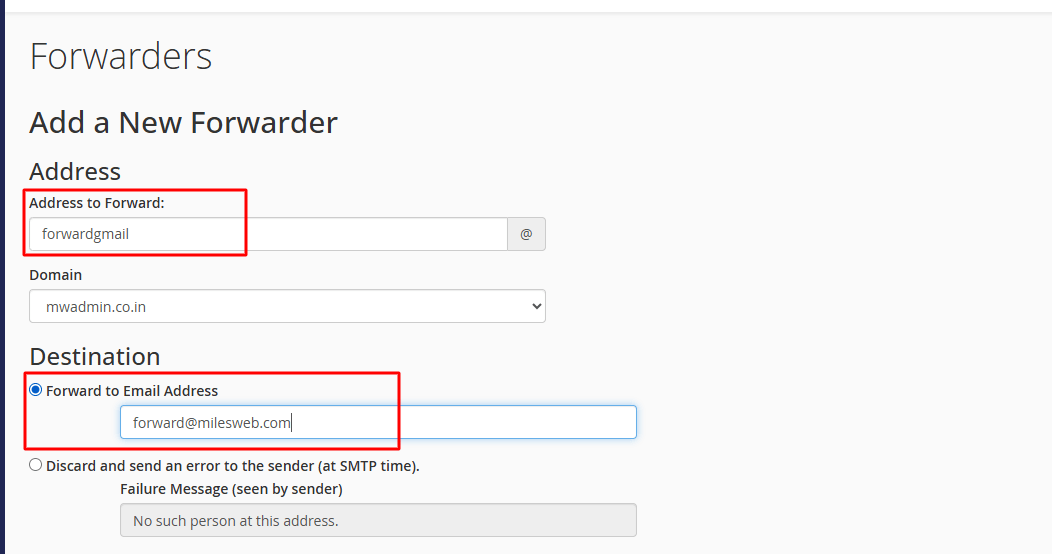
Step 4: You can choose the email address to which the incoming mail should be forwarded. Another option is to choose a failure message that will be returned to the sender.
Step 5: If you go to Advanced Options, you can choose to forward the message to a system account; you can either pipe it to a program or discard the forwarded mail.
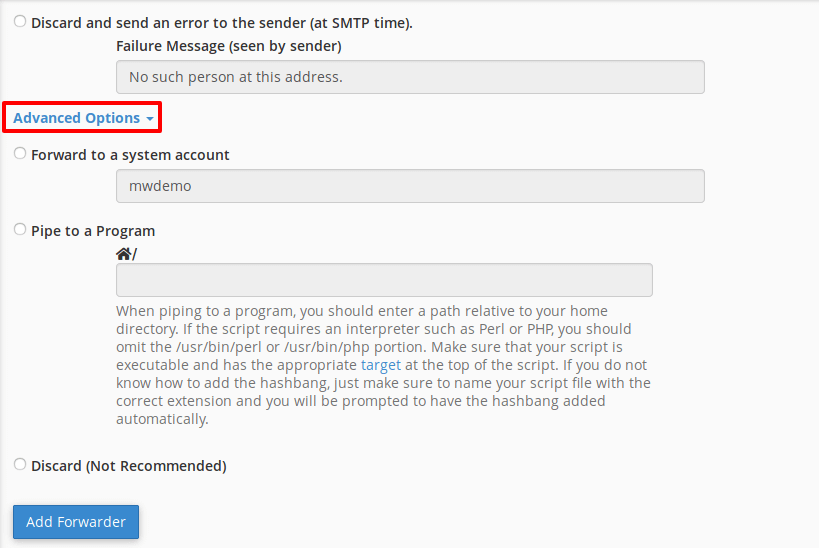
Step 6: Click on the Add Forwarder button to add the forwarder.
Step 7: In order to delete the forwarder, you only have to click on the Delete button.
This completes the process of setting and managing email forwarders. While adding the forwarders, make sure that you have spelled both the email addresses perfectly.
cPanel is the most user-friendly if you have the right web hosting platform to work with. If you are in search of a reliable hosting provider in order to help you manage your website with cPanel, check MilesWeb cPanel hosting packages. Go through the best cPanel hosting packages and select the best one for your website.


